Product Installation
Download Instructions
BannerSpring
Wallscapes and Vinyl Finishing Info
BannerFrame Installation Instructions
Step 1:
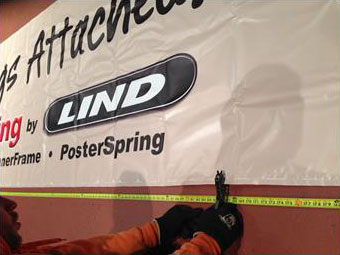
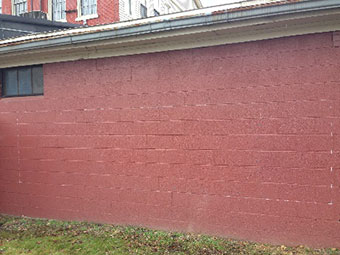
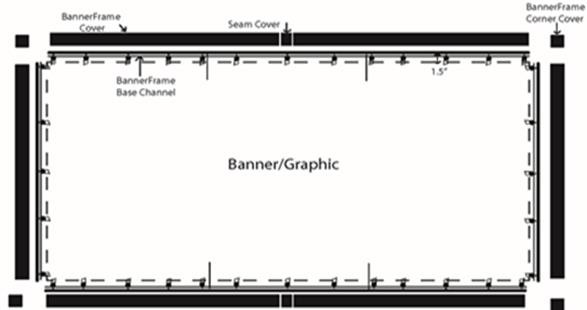
Determine Banner Size and mark dimension perimeter on install surface.
Step 2:
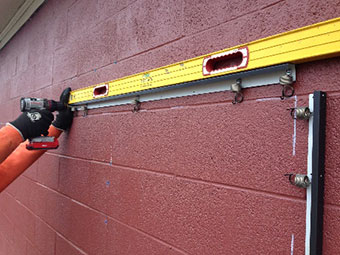
Install base channel 1.5”around perimeter.
Step 3:
Install Banner by pulling BannerSpring tips into pre marked banner holes (see banner prep instructions).
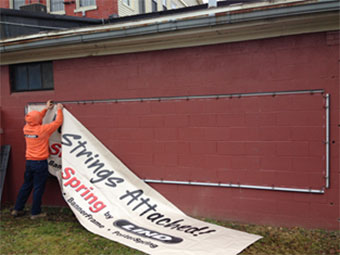
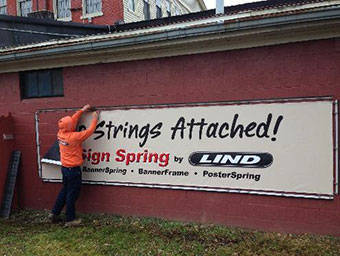
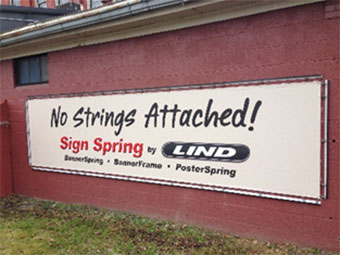
Step 4:
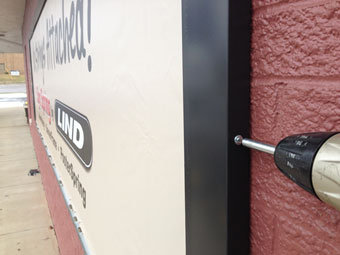
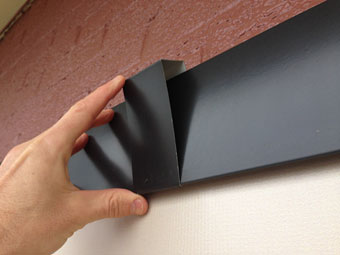
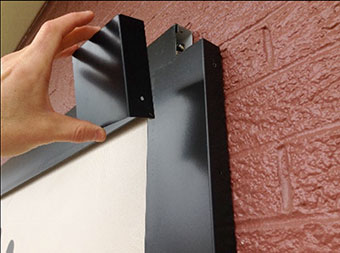
Snap on BannerFrame Cover Sections, Seam Covers and Corner Caps over Base channel. Light screws as needed.
BannerFrame Fabric Graphic Print and Finishing Instructions
Step 1:
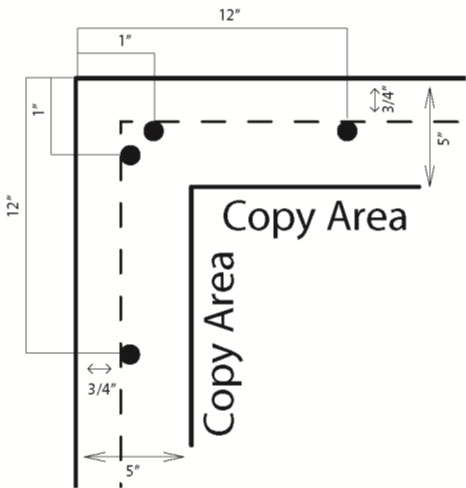
Mark the Mark-line Print or sketch a thin line around the entire banner perimeter, ¾” inside the banner edge.

Step 2:
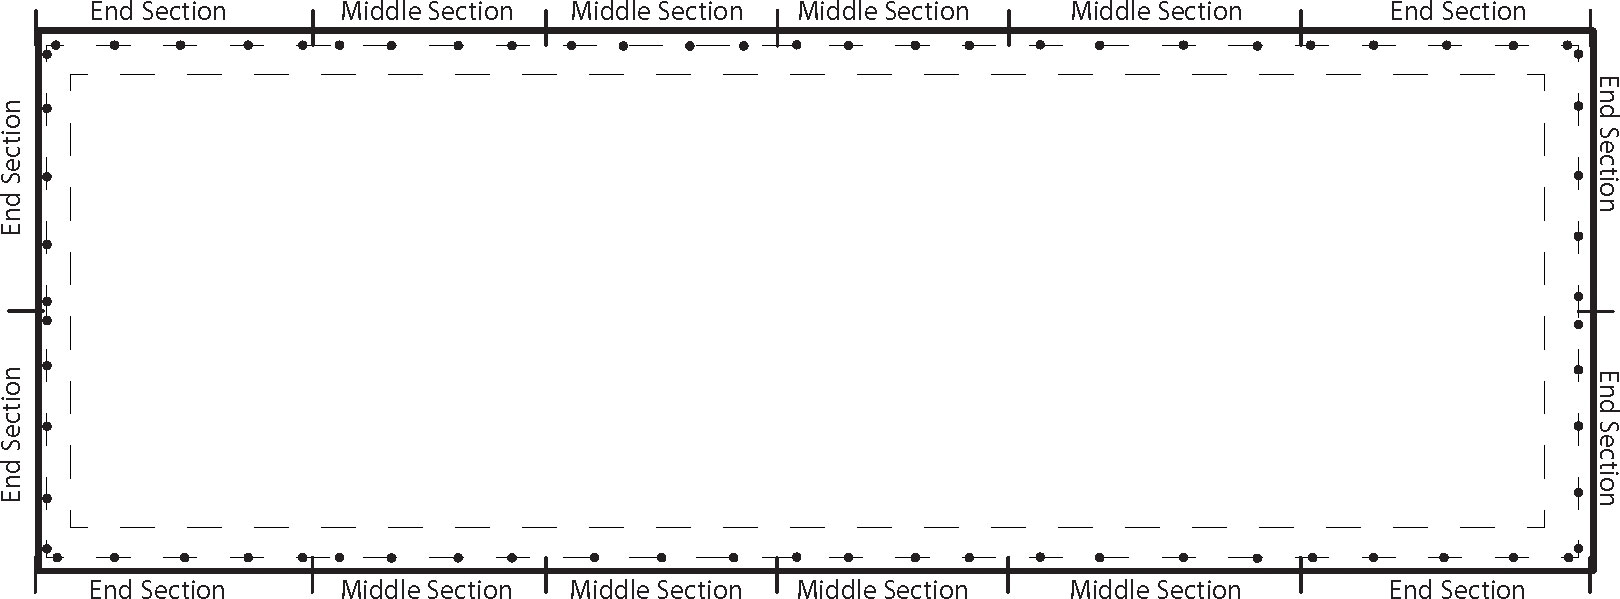
Mark holes on the 4 Sides* BannerFrame 4’ sections are either End-Sections or Middle-Sections. End Sections come pre-loaded with (5) springs. Middle Sections come pre-loaded with (4) springs. For either section type, Mark and punch 1/8” holes along the Mark-line (3/4” in from banner edge) using the correlating spacing for each section.
4' End Section:


4' Middle Section:


Corner:

Substrate: Lind SignSpring Group suggests 8 oz mesh for any project over 100 square feet. For under 100 square feet, 7 oz vinyl or mesh is recommended.
Finishing: For best results, edges should be stitched, hemmed, or welded to avoid edge-curl. Do not use grommets.
Printing: Artwork and Final printing should include a mark-line bordering the entire graphic, ¾” inside the banner edge. The holes may also be marked or inserted as part of the printing process. If using BannerFrame cover sections, remember that approximately 3” of vinyl perimeter will be covered by BannerFrame Cover. As such, do not print AD copy within 5” of edge.
Lind SignSpring Group provides graphic fulfillment that includes pre-markings and protrusions to assure efficient installation and flawless results.


BannerSpring Installation Instructions

Step 1:
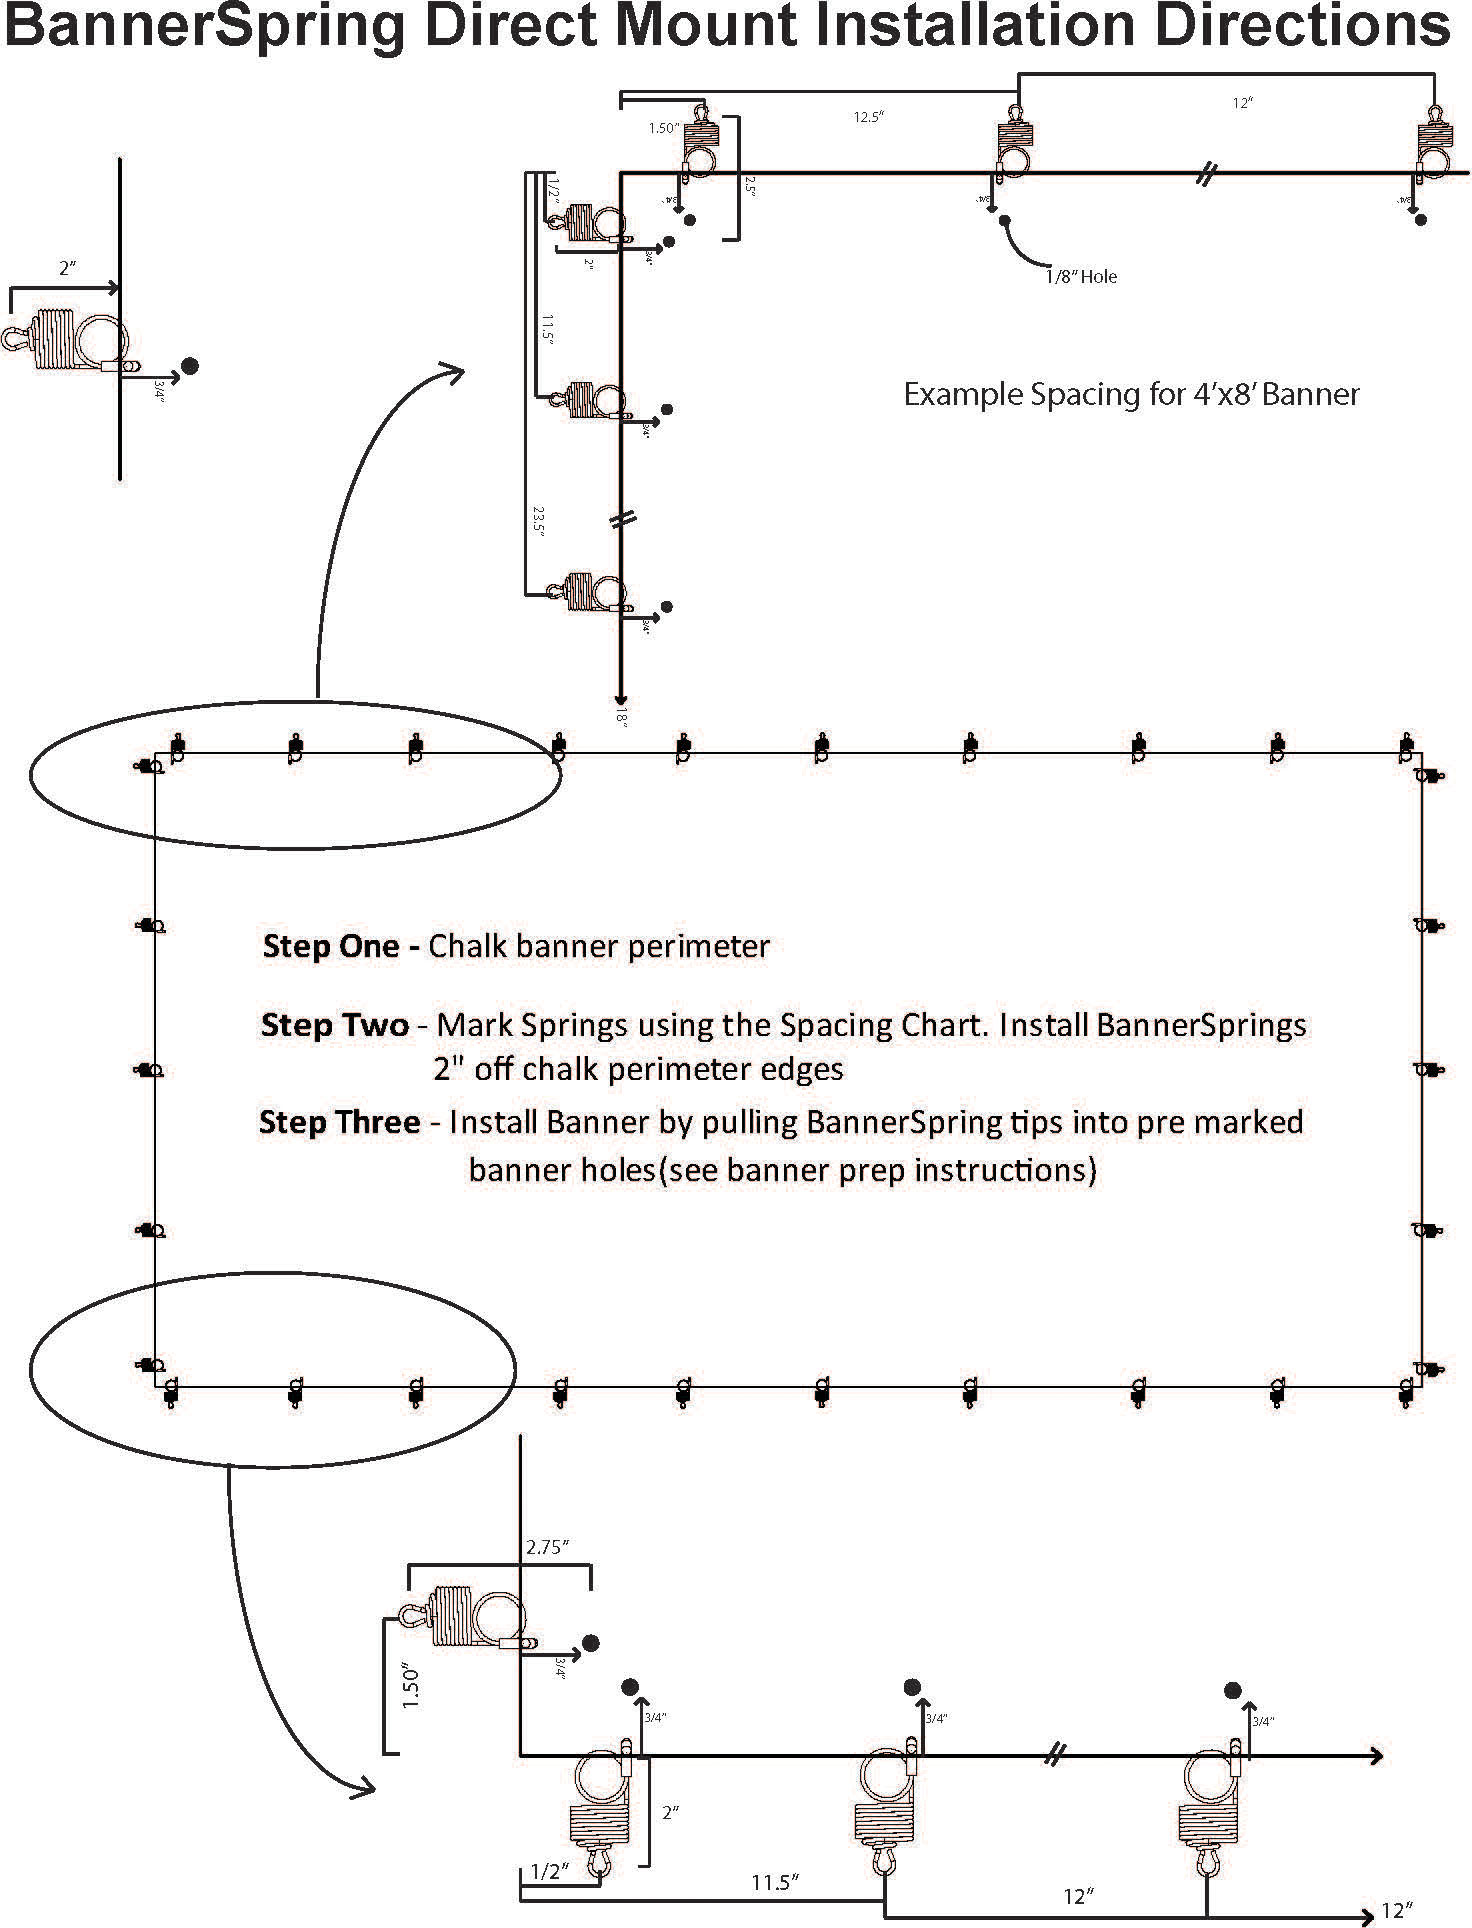
Chalk banner perimeter.
Step 2:
Mark springs using the spacing chart. Install BannerSprings 2 inches off chalk perimeter edges.
Step 3:
Install banner by pulling BannerSpring tips into pre-marked banner holes (see banner prep instructions).
Example spacing is for 4 foot x 8 foot banner.


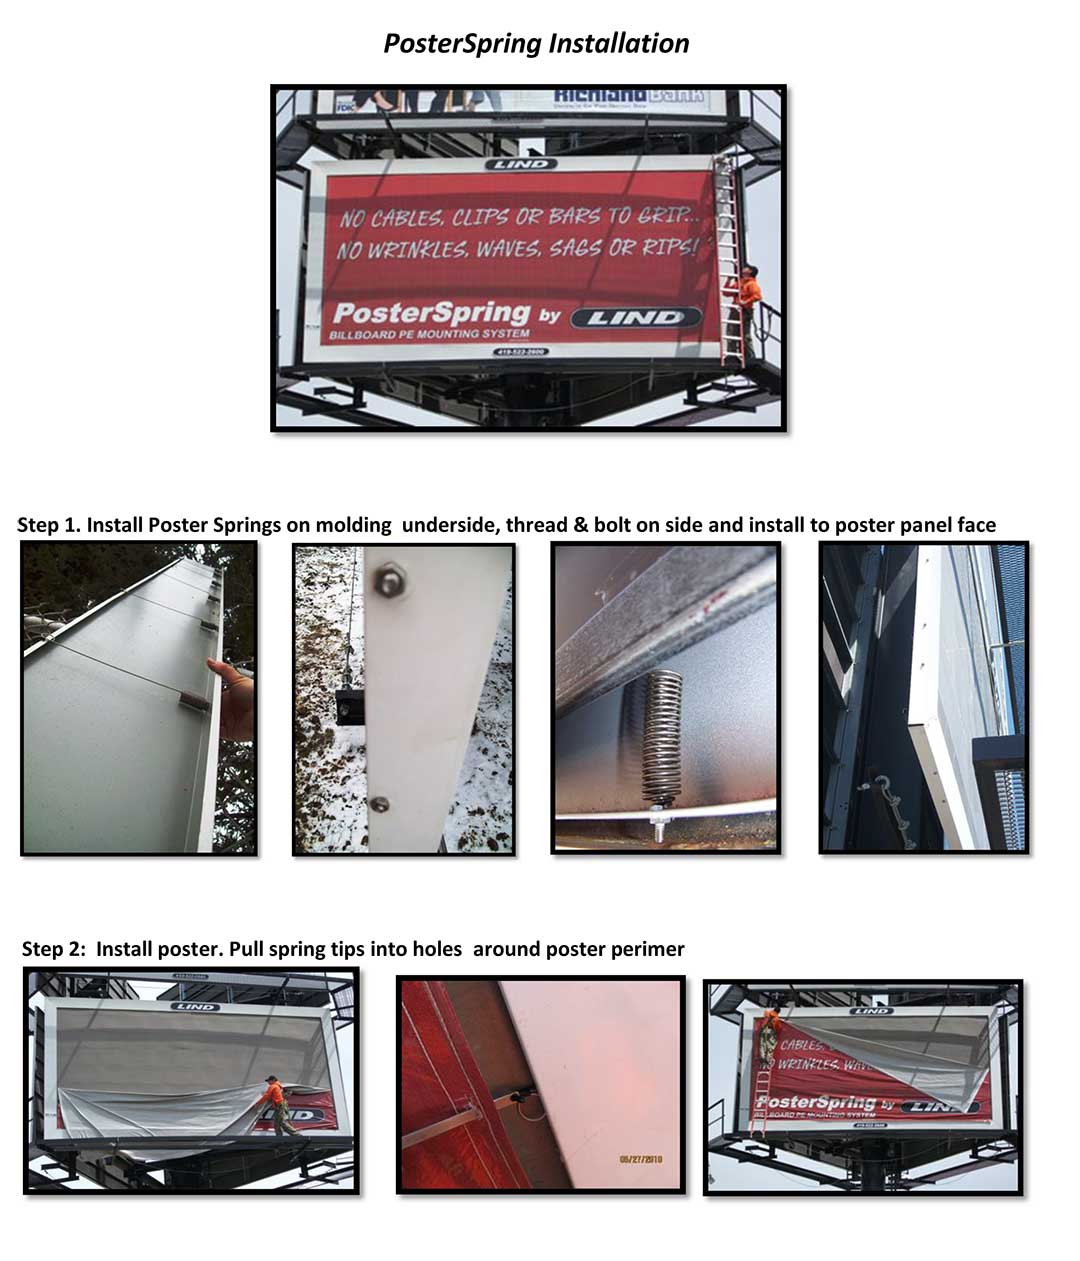
PosterSpring Installation Instructions
