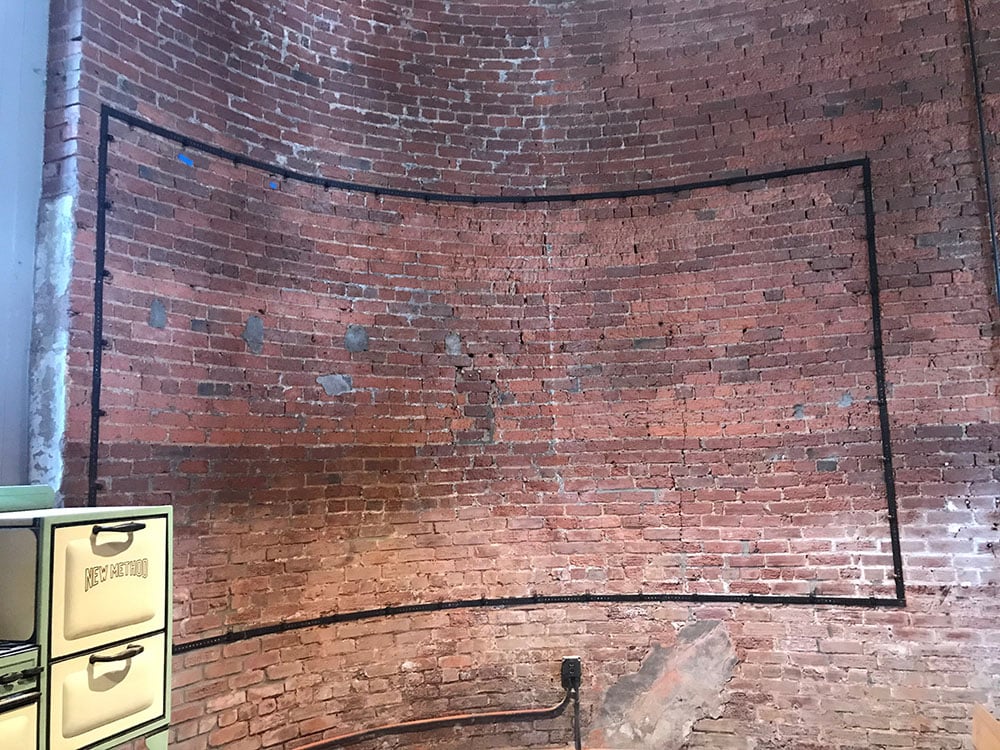
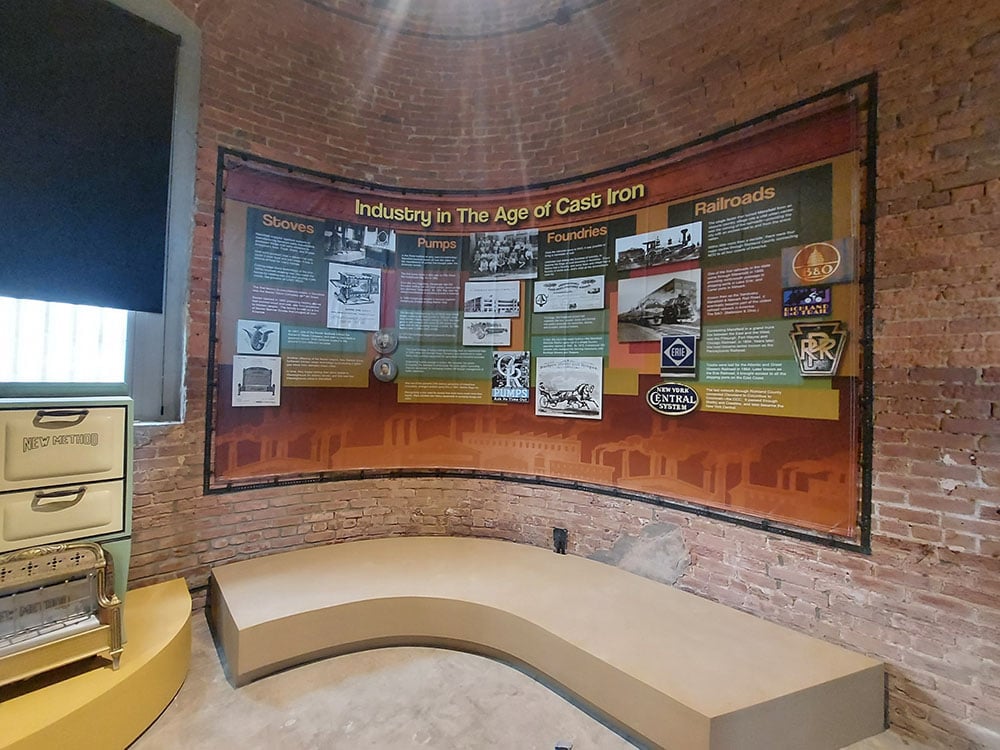
BannerFrameFLEX

The ultimate solution to curved surfaces where a flat tract is not possible, BannerFrameFLEX features pre-measured sections for a tight installation, preventing any wrinkles, tracks, or rips!

More Information

Curved surfaces can present a challenge for even the most experienced banner installer. Luckily, BannerFrameFLEX comes to the rescue!

BannerFrameFLEX uses our patented spring/hook technology to securely fasten the banner to the installation frame, providing continuous tension that is distributed on the fabric graphic. This creates a sag-free and wrinkle-free installation every time!

Installation can be done in three easy steps:

  1. Remove the pre-measured sections
  2. Secure the sections onto the surface
  3. Install the banner by pulling the banner’s pre-cut holes through the SingSpring ends

With BannerFrameFLEX, you eliminate the need for grommets, rods, cables, accessories, or any extra hardware that could damage your banner. And since the protrusions are limited, the life of your vinyl and PE banners is extended.

Our fabric graphic installation system is engineered for use under the most extreme conditions while looking great from the first day to the last.

No, there are no requirements when printing your banner for use with BannerFrameFLEX. However, we do recommend that you print a ¾” dashed line around the perimeter of your banner. This is where you will punch the holes for the BannerSpring tips.

BannerFrameFLEX has been designed specifically for curved surfaces, no matter what type of material! From wood to concrete to brick to steel, BannerFrameFLEX works with them all!

Since BannerFrameFLEX is so easy to use, you’ll be able to change out and install new banners within minutes. That means your sign rotation schedule just got better!

Yes! BannerFrameFLEX can be used on any surface, no matter what the material is. Brick, wood, concrete, or metal, it works on them all!

BannerFrameFLEX is engineered with stainless steel for long-time use in any type of weather condition. From blizzards to hurricane winds, it will stand the test of time!

It only will take a couple of hours to install the entire system. Once BannerFrameFLEX is installed, rotating in new banners will only take a few minutes.

Since it’s a breeze to replace the banners on a regular basis, you’ll be able to use and reuse banners on a regular basis. No more getting rid of vinyl after one use!

BannerFrameFLEX can use all types of vinyl products, though we do recommend a lighter type of mesh vinyl, such as a 7 oz. and a 10 oz.

Step 1:

Mark the banner perimeter on the surface of the installation site.

BannerFrameFLEX Step 1

Step 2:

Tacweld BannerFrame Flex’s base channel 1.5” off the perimeter.

BannerFrameFLEX Step 2

Step 3:

Install the banner onto the base channel by pulling it through the BannerSpring tips into the pre-marked banner holes (information can be found in the banner prep instructions).

BannerFrameFLEX Step 3
BannerFrameFLEX Diagram
Notice about installation of the Lind BannerSpring system

Step 1: Mark the Mark-line

Print or sketch a thin line around the entire banner perimeter, 3⁄4” inside the banner edge. All punch holes should be placed on mark-line.

Step 2: Mark Punch-Holes around Banner Perimeter on Mark-Line On Each of the 4 sides.....

Place your first dot 1” in from the banner edge along the Mark-Line
nPlace your second dot 6” in from the banner edge also along the Mark-Line
nAll additional dots should be spaced at 1’ intervals until you reach the end of the banner where the dots should be 6” and 1” from the edge respectively.

How to install a banner into the Lind SignSpring system
an example of how to install a 8' x 24' banner into the Lind SignSpring system

Substrate: Lind SignSpring Group suggests 8 oz mesh for any project over 100 square feet. For under 100 square feet, 7 oz vinyl or mesh is recommended.
Finishing: For best results, edges should be stitched, hemmed, or welded to avoid edge-curl. Do not use grommets.
Printing: Artwork and Final printing should include a thin printed line bordering the entire graphic, 3⁄4” inside the banner edge. The holes may also be marked or inserted as part of the printing process. BannerFrame Cover Sections will cover 3’’ around the Banner perimeter. Avoid printing copy within 5” of Graphic Edge.

Notice about installation of the Lind BannerSpring system