BannerFrameFREESTAND
Simple. Durable. Flawless!
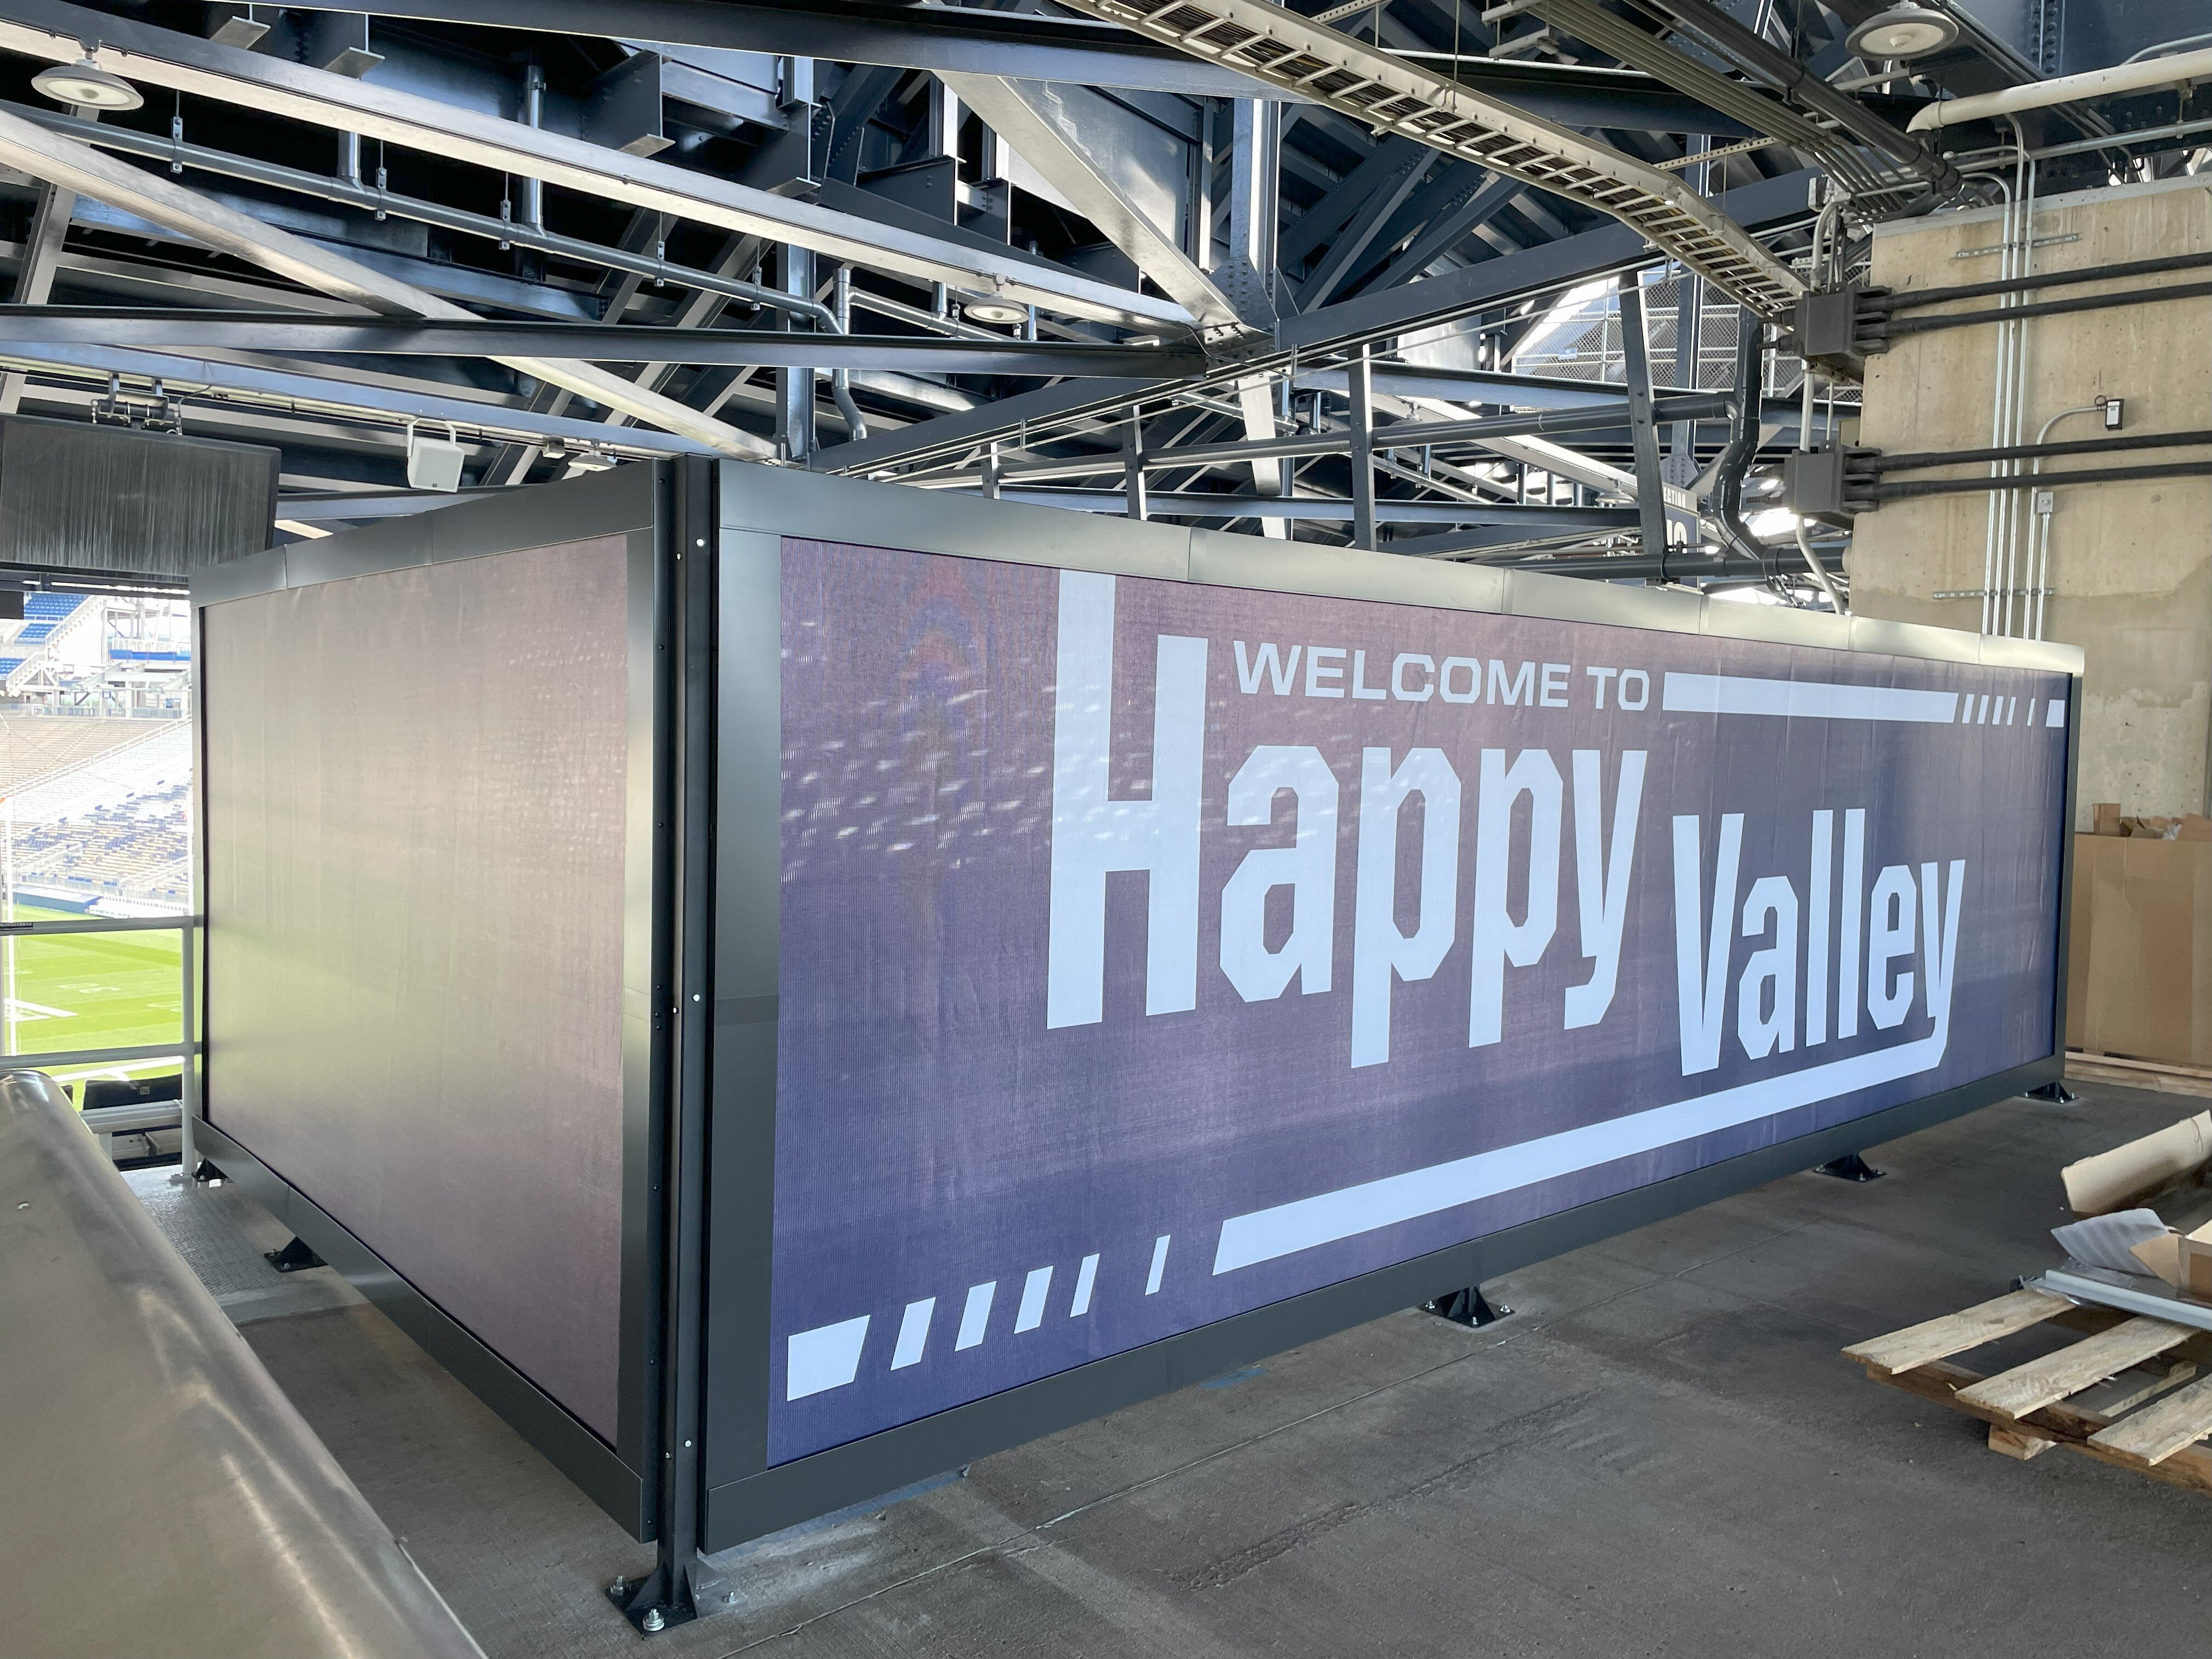
An unbeatable freestanding banner and signage solution combines durability, portability, and customization, making it perfect for outdoor use. The adjustable, weather-resistant base ensures stability on various surfaces while featuring high-quality, long-lasting graphics. With minimal tool assembly, easy setup, and customizable sizes and branding, businesses can create impactful displays with minimal effort. Optional features like lighting and expandable units add versatility, and the entire system provides a cost-effective, eco-friendly solution that stands the test of time.
Ships pre-measured and prepped for direct-from-box installation!
Product Details
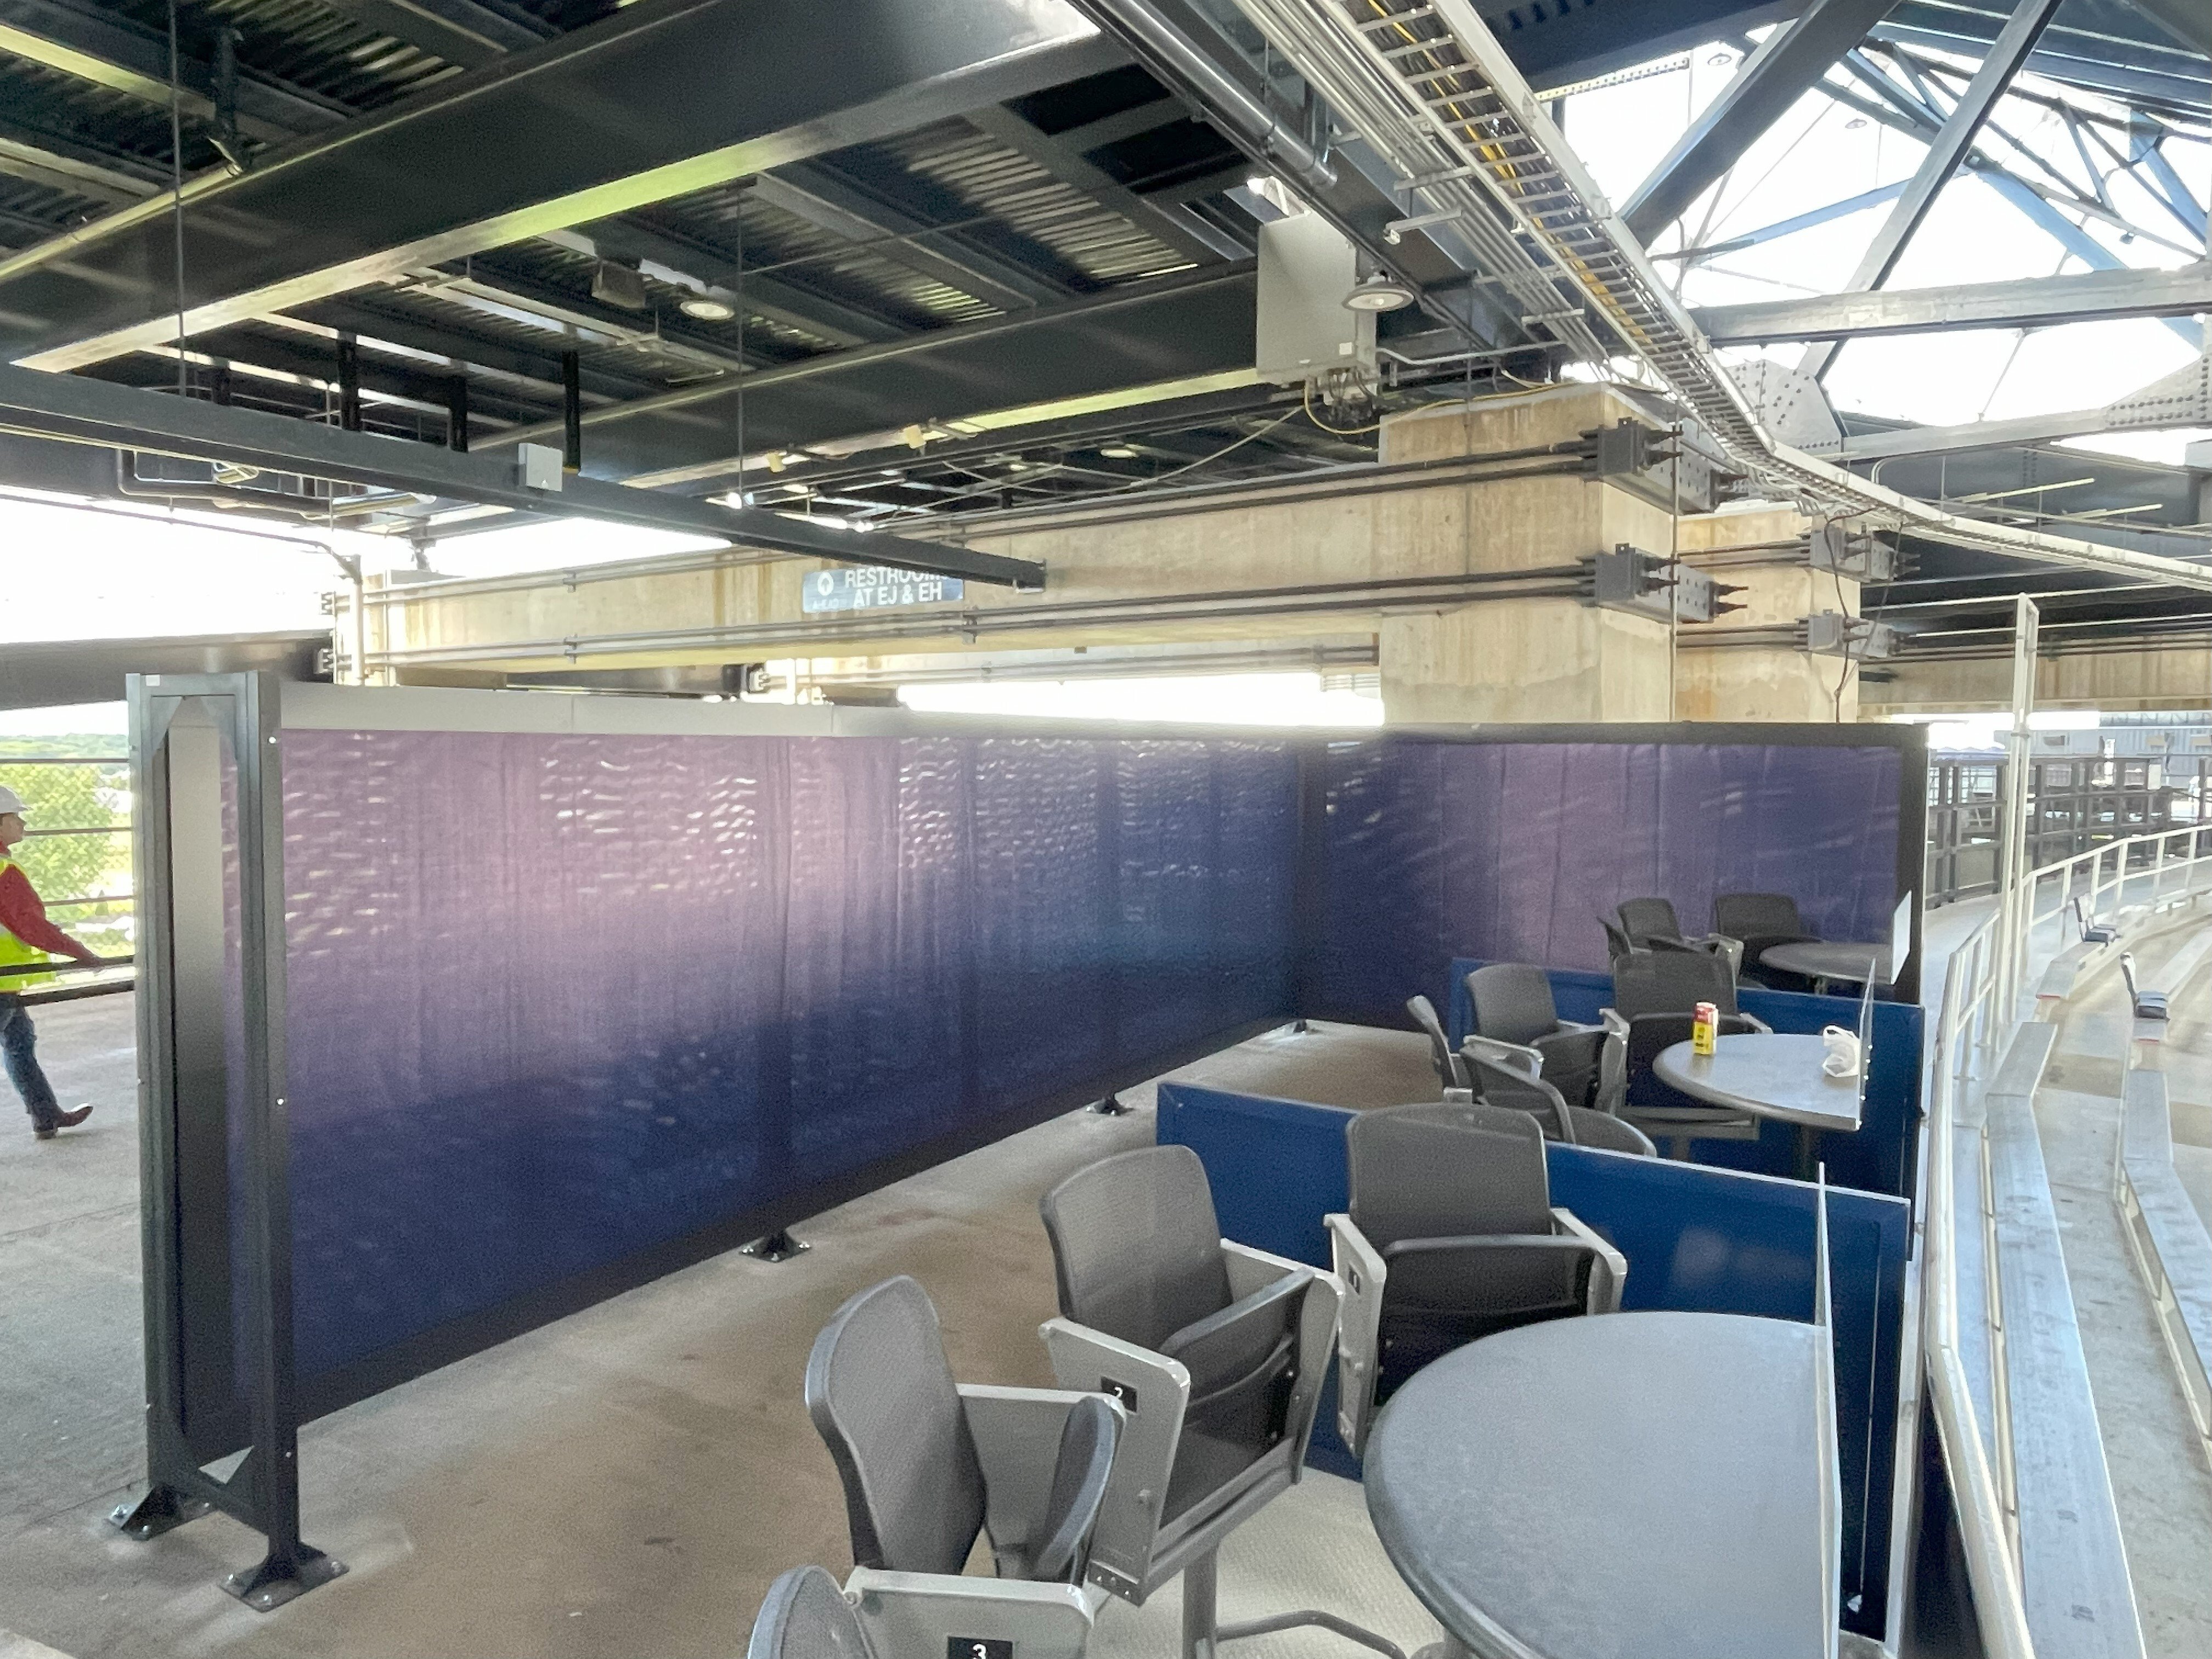
Lind BannerFrameFREESTAND ships pre-measured & prepped for direct-from-box installation! A complete solution for free-standing, ground-up signage.
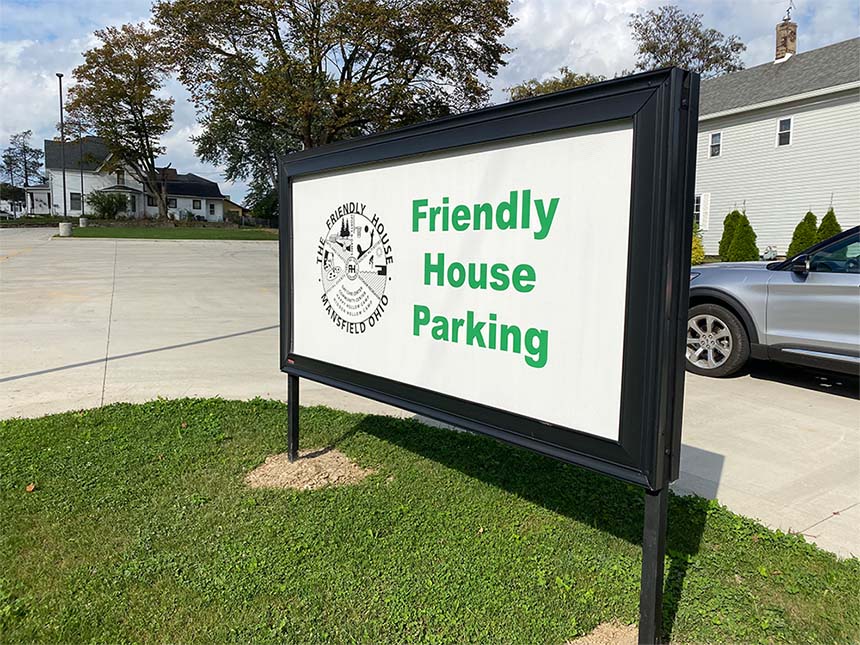
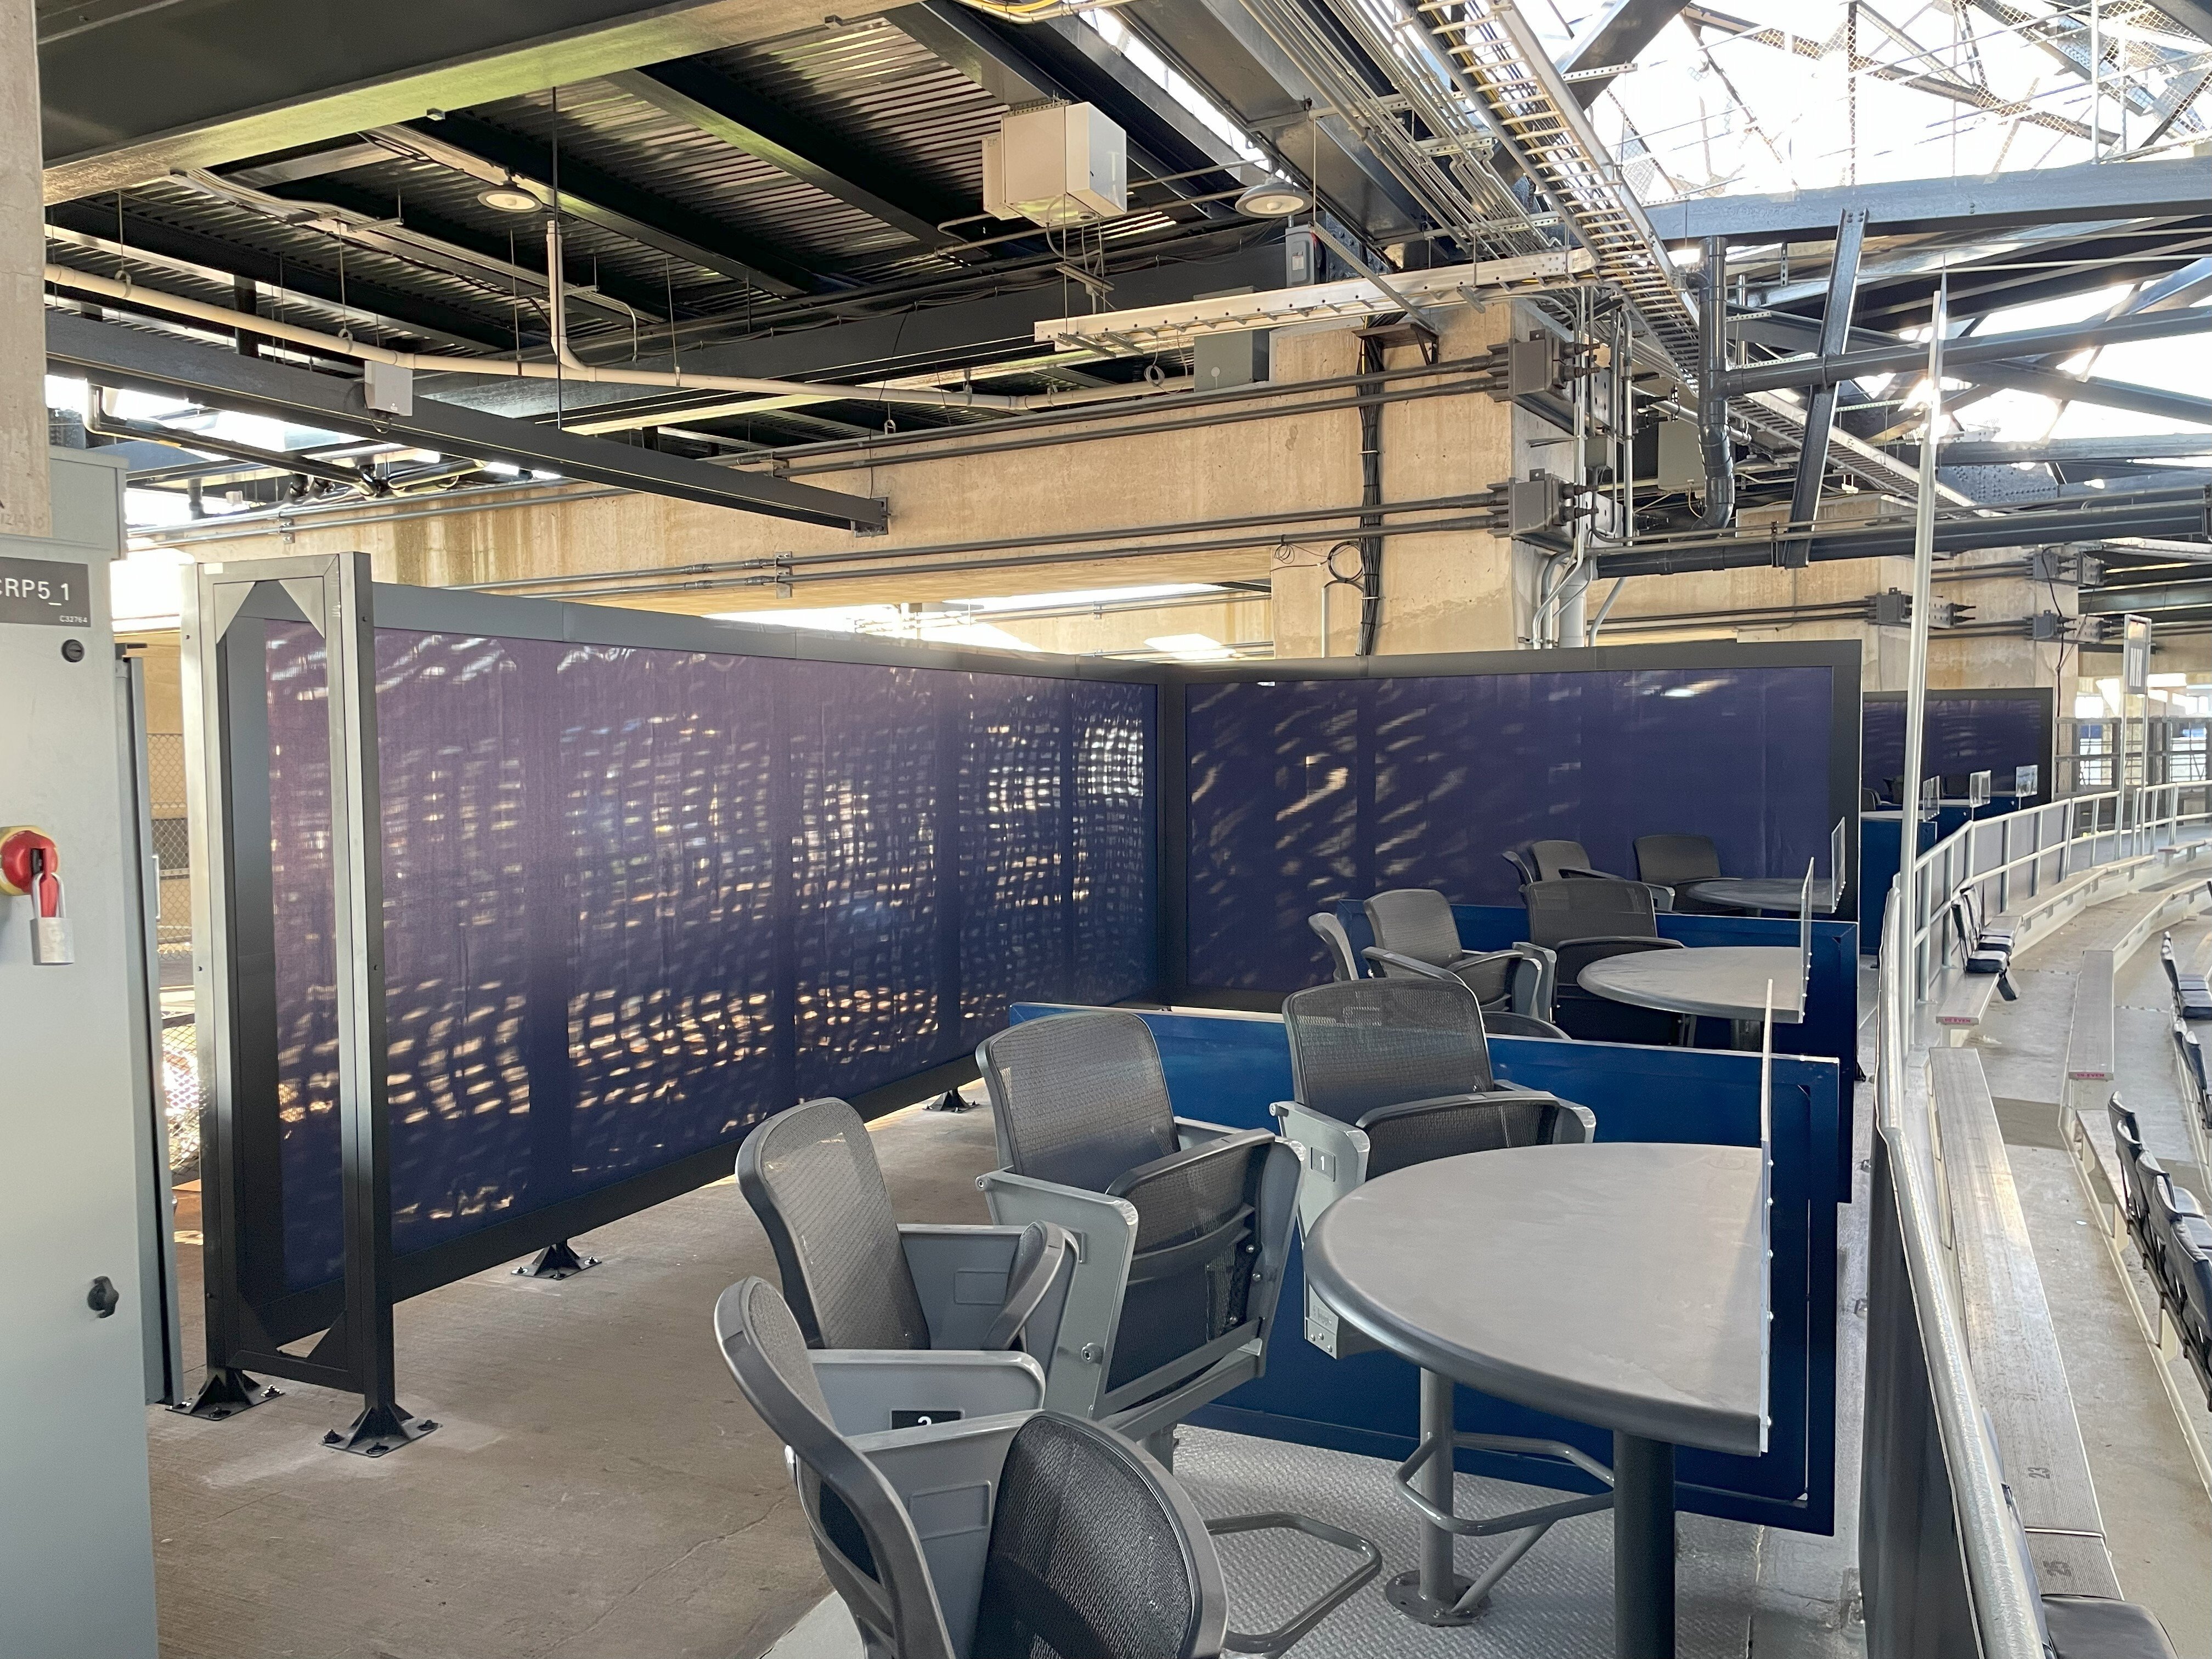
Designed to assemble on site, BannerFrameFREESTAND is a complete banner and signage solution for long term performance, easy installation and quick simple changeouts. Its freestanding banner design is flexible and adaptable, no matter the location or surface type, making it a versatile choice for diverse outdoor environments.
BannerFrameFREESTAND options include BannerFrameClassic, BannerFrameDELUXE, and BannerFrameHINGE. Each provides exceptional simplicity, durability, and an exceptional finishing touch to a dynamic system! With its precision-engineered freestanding banner frame, the system guarantees a flawless display without compromising stability.
Customization Options
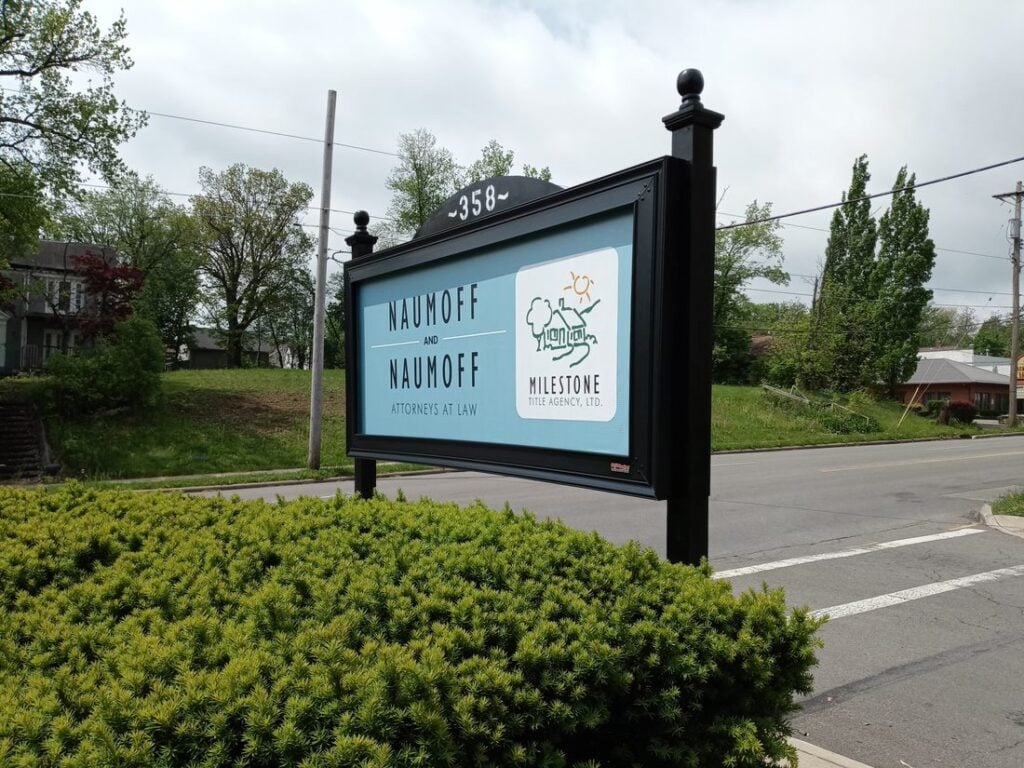
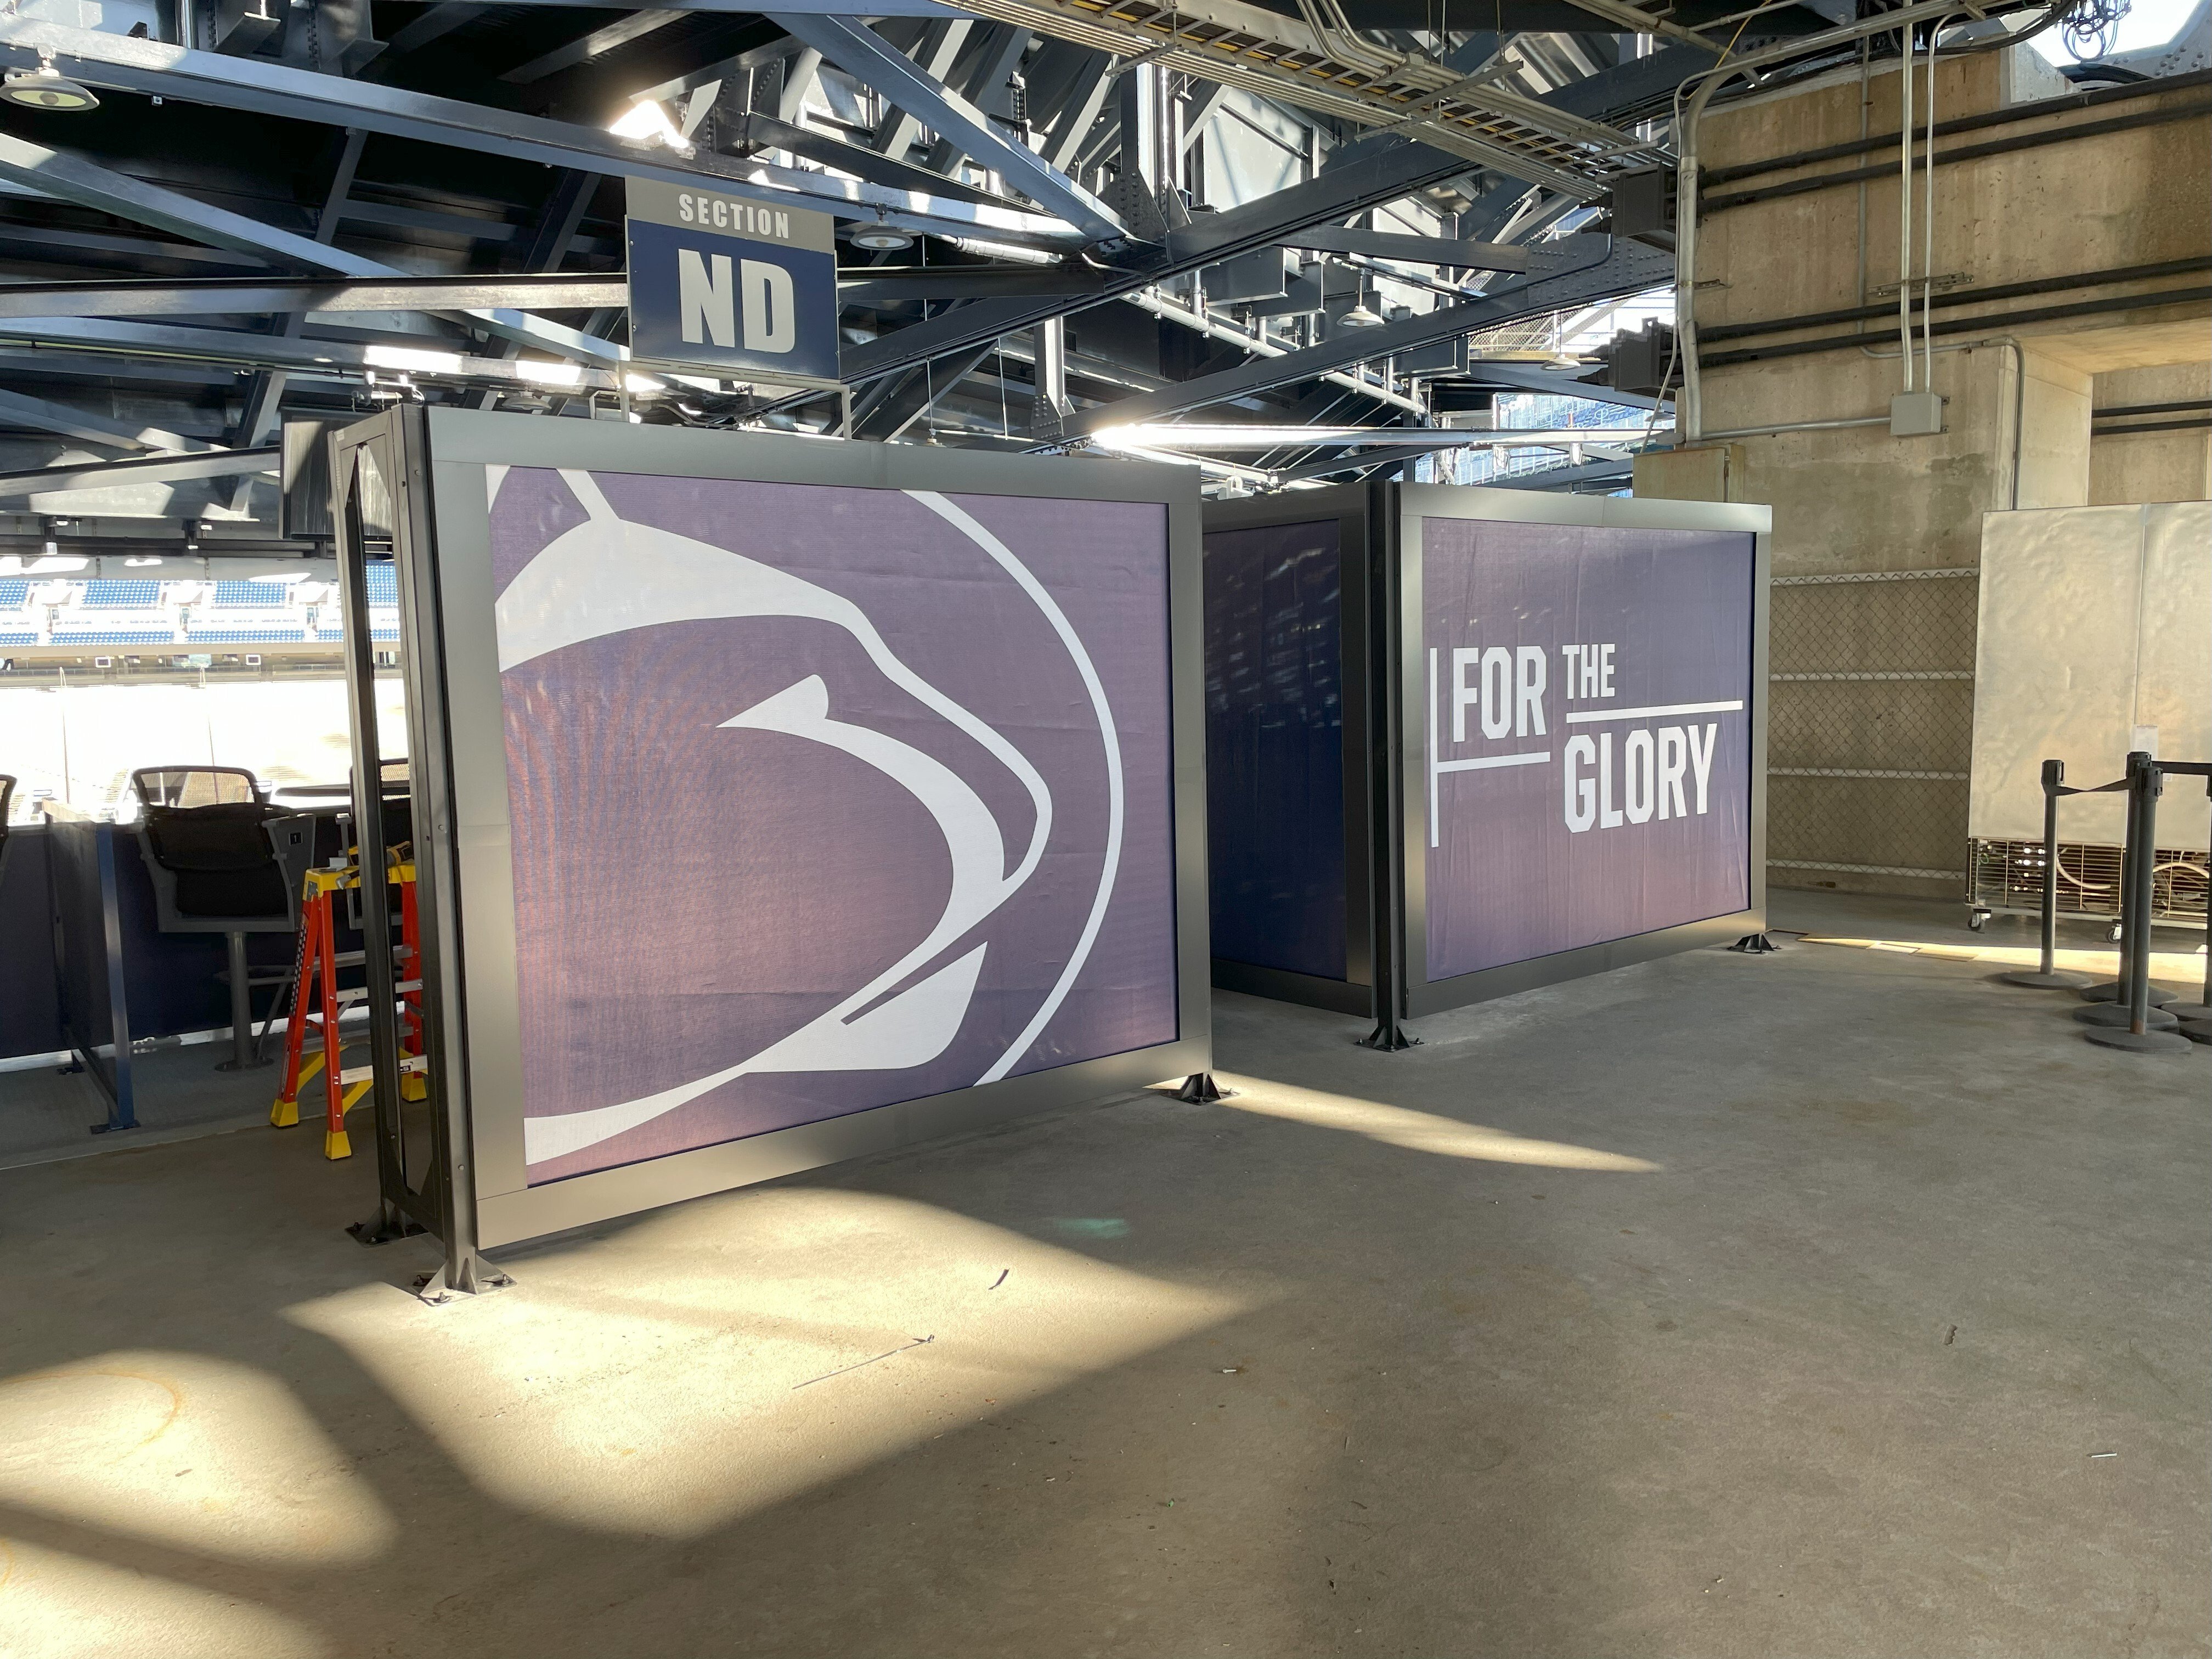
BannerFrameFREESTAND offers design flexibility to meet your branding needs. It adapts to spaces of all dimensions, whether you need a compact frame for a small event or a larger, impactful display for outdoor advertising. You can add logos, vivid graphics, and messaging.
Weather Resistance
Built with weather-resilient materials, BannerFrameFREESTAND excels under the harshest conditions. The frame resists rust, corrosion, and wear, while the UV-protected graphics stay vibrant under prolonged exposure to intense sunlight. Additionally, the system’s weatherproof components shield against heavy rainfall, ensuring your message is safe from damage.
To install the BannerFrameFREESTAND system, follow these simplified steps:
- Dig Post Holes: Dig holes in the ground where you want to place the banner posts.
- Pre-Assemble Kit: Pre-assemble the kit on the ground.
- Set Posts: Lift and drop your feet into the pre dug holes
- Install Sleeves and Backfill: Place the sleeves around the posts and backfill with gravel/concrete to secure them in place.
- Install Vinyl: Attach the vinyl banner to the frame.
This freestanding banner display system redefines customization, seamlessly combining professional looks with practical application.