

Bulletin Frame
Bulletin Frame is an innovative outdoor advertising system that offers a flexible, easy-to-install solution for billboards and banners. Its modular design allows for quick setup and customization, making it perfect for a variety of campaigns, from large-scale displays to temporary promotions. Built for durability and eco-friendliness, Bulletin Frame enhances visibility with a modern aesthetic, while cutting installation and maintenance costs. Ideal for both urban and rural settings, it's the future of outdoor advertising—flexible, efficient, and eye-catching.
Product Details
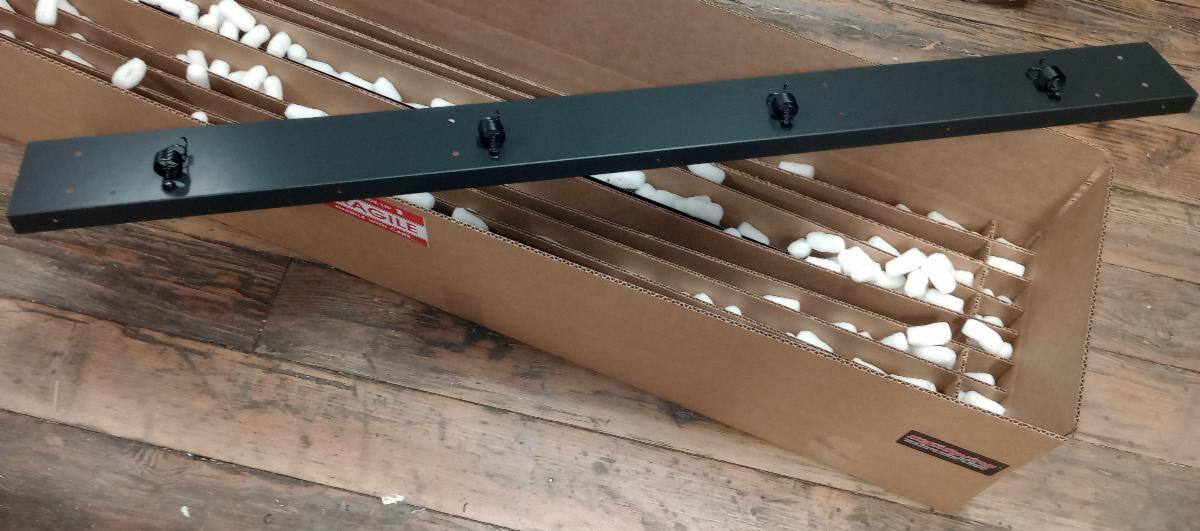
Bulletin Frame is a game-changing outdoor advertising system that eliminates the need for cables, clips, bars, and grommets. Using patented spring/hook technology, it attaches directly to the billboard’s face, creating a tight, flawless installation that’s quick to set up and easy to change out. The system provides consistent tension, ensuring a sag-free and wrinkle-free display every time, while also strengthening and preserving the perimeter of large billboards. It's simple, trampoline-like design enhances durability and versatility, giving advertisers a clear advantage in creating efficient, high-impact campaigns. Bulletin Frame is the ideal choice for a modern, hassle-free outdoor advertising solution.
Bulletin Frame makes installation a breeze with just three simple steps:
- Remove the pre-measured sections.
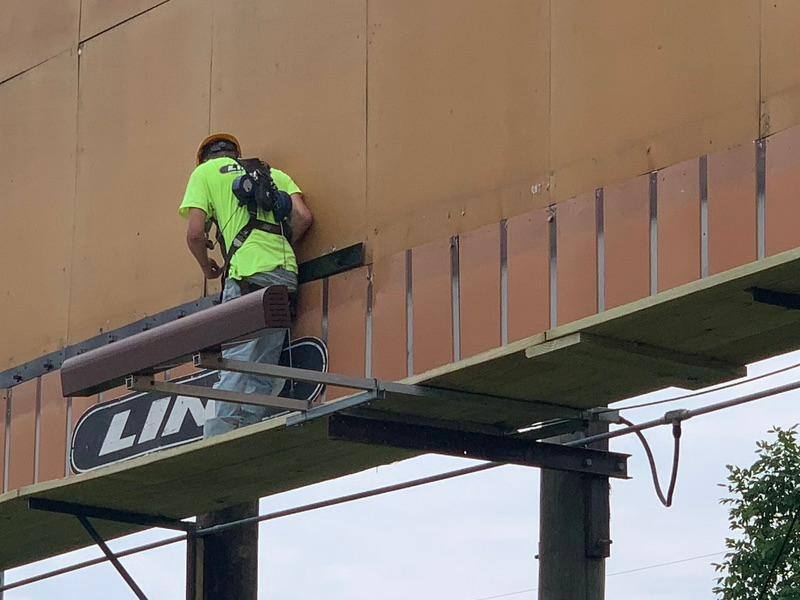
- Secure the sections onto the surface.
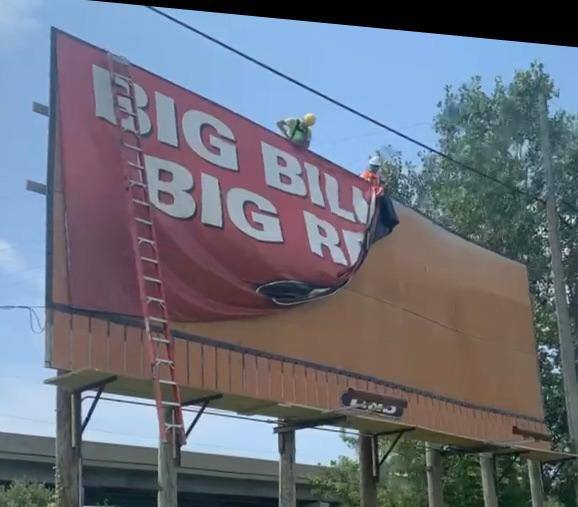
- Install the banner by pulling the pre-cut holes through the SignSpring ends.
This straightforward process eliminates the common headaches and damage often caused by outdated installation systems. With fewer protrusions and a more streamlined approach, Bulletin Frame helps extend the life of your vinyl and PE banners, preserving their quality over time. Engineered for durability, our fabric graphic installation system is built to withstand even the harshest conditions, while maintaining a sleek, professional appearance from the first day to the last.
SignSpring is the best fabric graphic
installation system on earth!
Bulletin Frame offers a hassle-free, direct-from-box installation experience. No need for complicated setup or extra prep work—simply unpack the pre-measured sections, grab your basic tools (preferably a cordless drill, attachment hardware, tape measure), and you're ready to install.
And, should you need any assistance, 24/7 support is available to ensure your installation goes smoothly from start to finish. Whether you're a first-time user or a seasoned pro, our team is ready to provide expert guidance whenever you need it.
Bulletin Frame is compatible with all types of vinyl, though for optimal performance, we recommend using a lighter-weight vinyl such as a 7 oz. This ensures a smooth, tight fit and enhances the overall appearance of your sign.
No, though we do recommend printing a 3/4" dashed line on the inside perimeter of the vinyl as a guideline for where to hook the SignSprings. We recommend a double stitched hem; however, any finishing method, or even unfinished banner edges, will still work with the system. Spec sheets are provided for each order to ensure sizing is accurate and tailored specifically to your system size, helping to guarantee a perfect fit for your installation.

Step 1
Unpack Lind BulletinFrame Sections. Each system ships prepped and pre-measured for direct from box installation.

Step 2
Install BulletinFrame around billboard perimeter. Install from the front or sides of your face. Simply use a cordless drill and your preferred wood or metal screw fastener.

Step 3
Install vinyl. Pull Spring tips into vinyl perimeter.

Step 1: Mark the Mark-line
Start in the top left corner and attach the "Left 1" section first. Then, install "Top 1," ensuring that "Top 1" overlaps "Left 1."
Step 2: Install Top Sections
Continue installing the top sections one at a time, simply butting them together.
Step 3: Install Side Sections
Tuck "Right 1" under your last section on the top.
Step 4: Install Right Sections
Continue to install your right section pieces as they are labeled, such as Right 1, Right 2, and so on.
Step 5: Install Left Sections
Return to the left side of your board and install all the left-side pieces as they are labeled.
Step 6: Install Bottom Sections
Overlay "Bottom 1" over the last section installed on the left side. Work your way across the bottom, installing each section one at a time.
Step 7: Install The Vinyl Banner
Install your vinyl, beginning in the left-hand corner of the board. Spring all 4 corner springs, then work your way across the top until you reach the right corner. Once the top is completely sprung, spring the bottom 2 corners- then you can spring the remaining springs that are not sprung.
Notes
- Your 45° angle pieces overlay your pieces in the corners.
- 8 pre-drilled attachment holes per 4’ section- only 4 are required to be used.
- Gap plates are provided and are to be tucked behind your pieces to fill any gaps that you may run into.

