
Banner Sign Frames
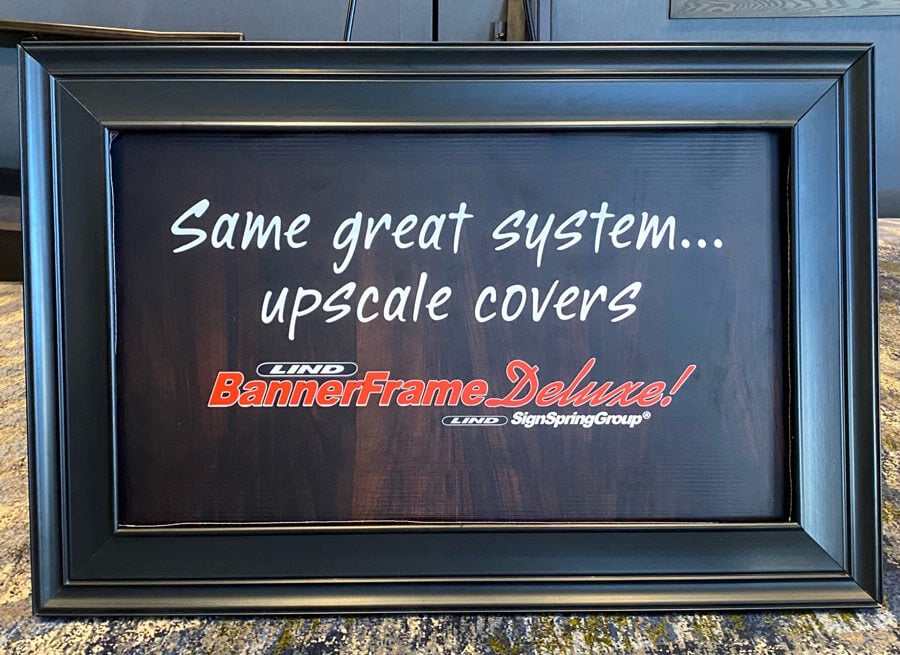
It’s like BannerFrameCLASSIC in a Tuxedo!
When it comes to creating eye-catching indoor and outdoor marketing designs, your signage deserves more than just functionality—it deserves sophistication, durability, and ease of use. That’s exactly what BannerFrameDELUXE delivers. Combining elegant design with innovative engineering, this banner sign frame is the ultimate solution for those who want to showcase their brand with style and confidence.
The BannerFrameDELUXE elevates traditional banner displays with its sleek, picture-frame-inspired design. With beveled cover sections, this PVC banner frame elevates your banner displays to a new level of sophistication. Beneath its refined exterior, the system incorporates Lind BannerFrameCLASSIC, known for quick and easy installations with vinyl change-outs in just minutes. Featuring engineered spring and hook tension, it offers a durable, permanent signage solution while making graphic updates simple and efficient.
BannerFrameDELUXE is ideal for businesses and organizations that demand aesthetics and reliability in their signage. Whether you’re promoting a sale, directing foot traffic, or showcasing important information, this versatile frame ensures your messages stand out to attract new customers and catch passersby’s eyes.
Product Details
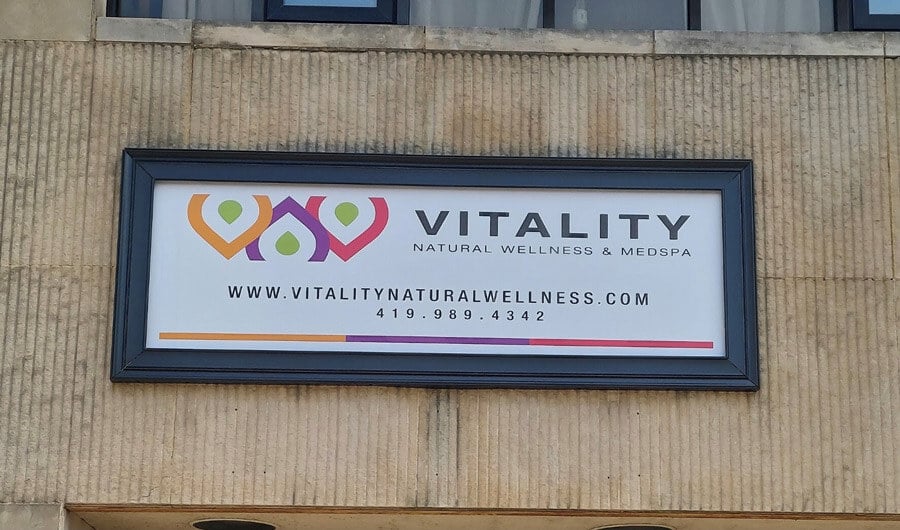
BannerFrameDELUXE elevates banner displays with its sophisticated design and durable construction. The Deluxe cover features the look of a traditional, molded picture frame with mitered corners, crafted from high-quality PVC material. Its clean, beveled cover sections create a polished and professional look that elevates it above standard banner frames. Currently available in matte black, additional color options may be offered in the future.
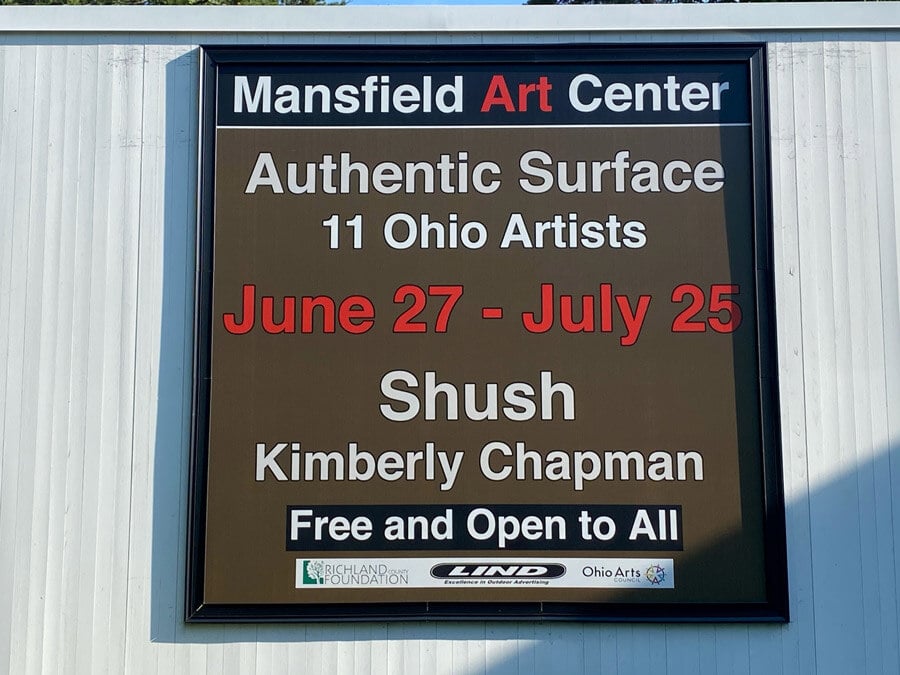
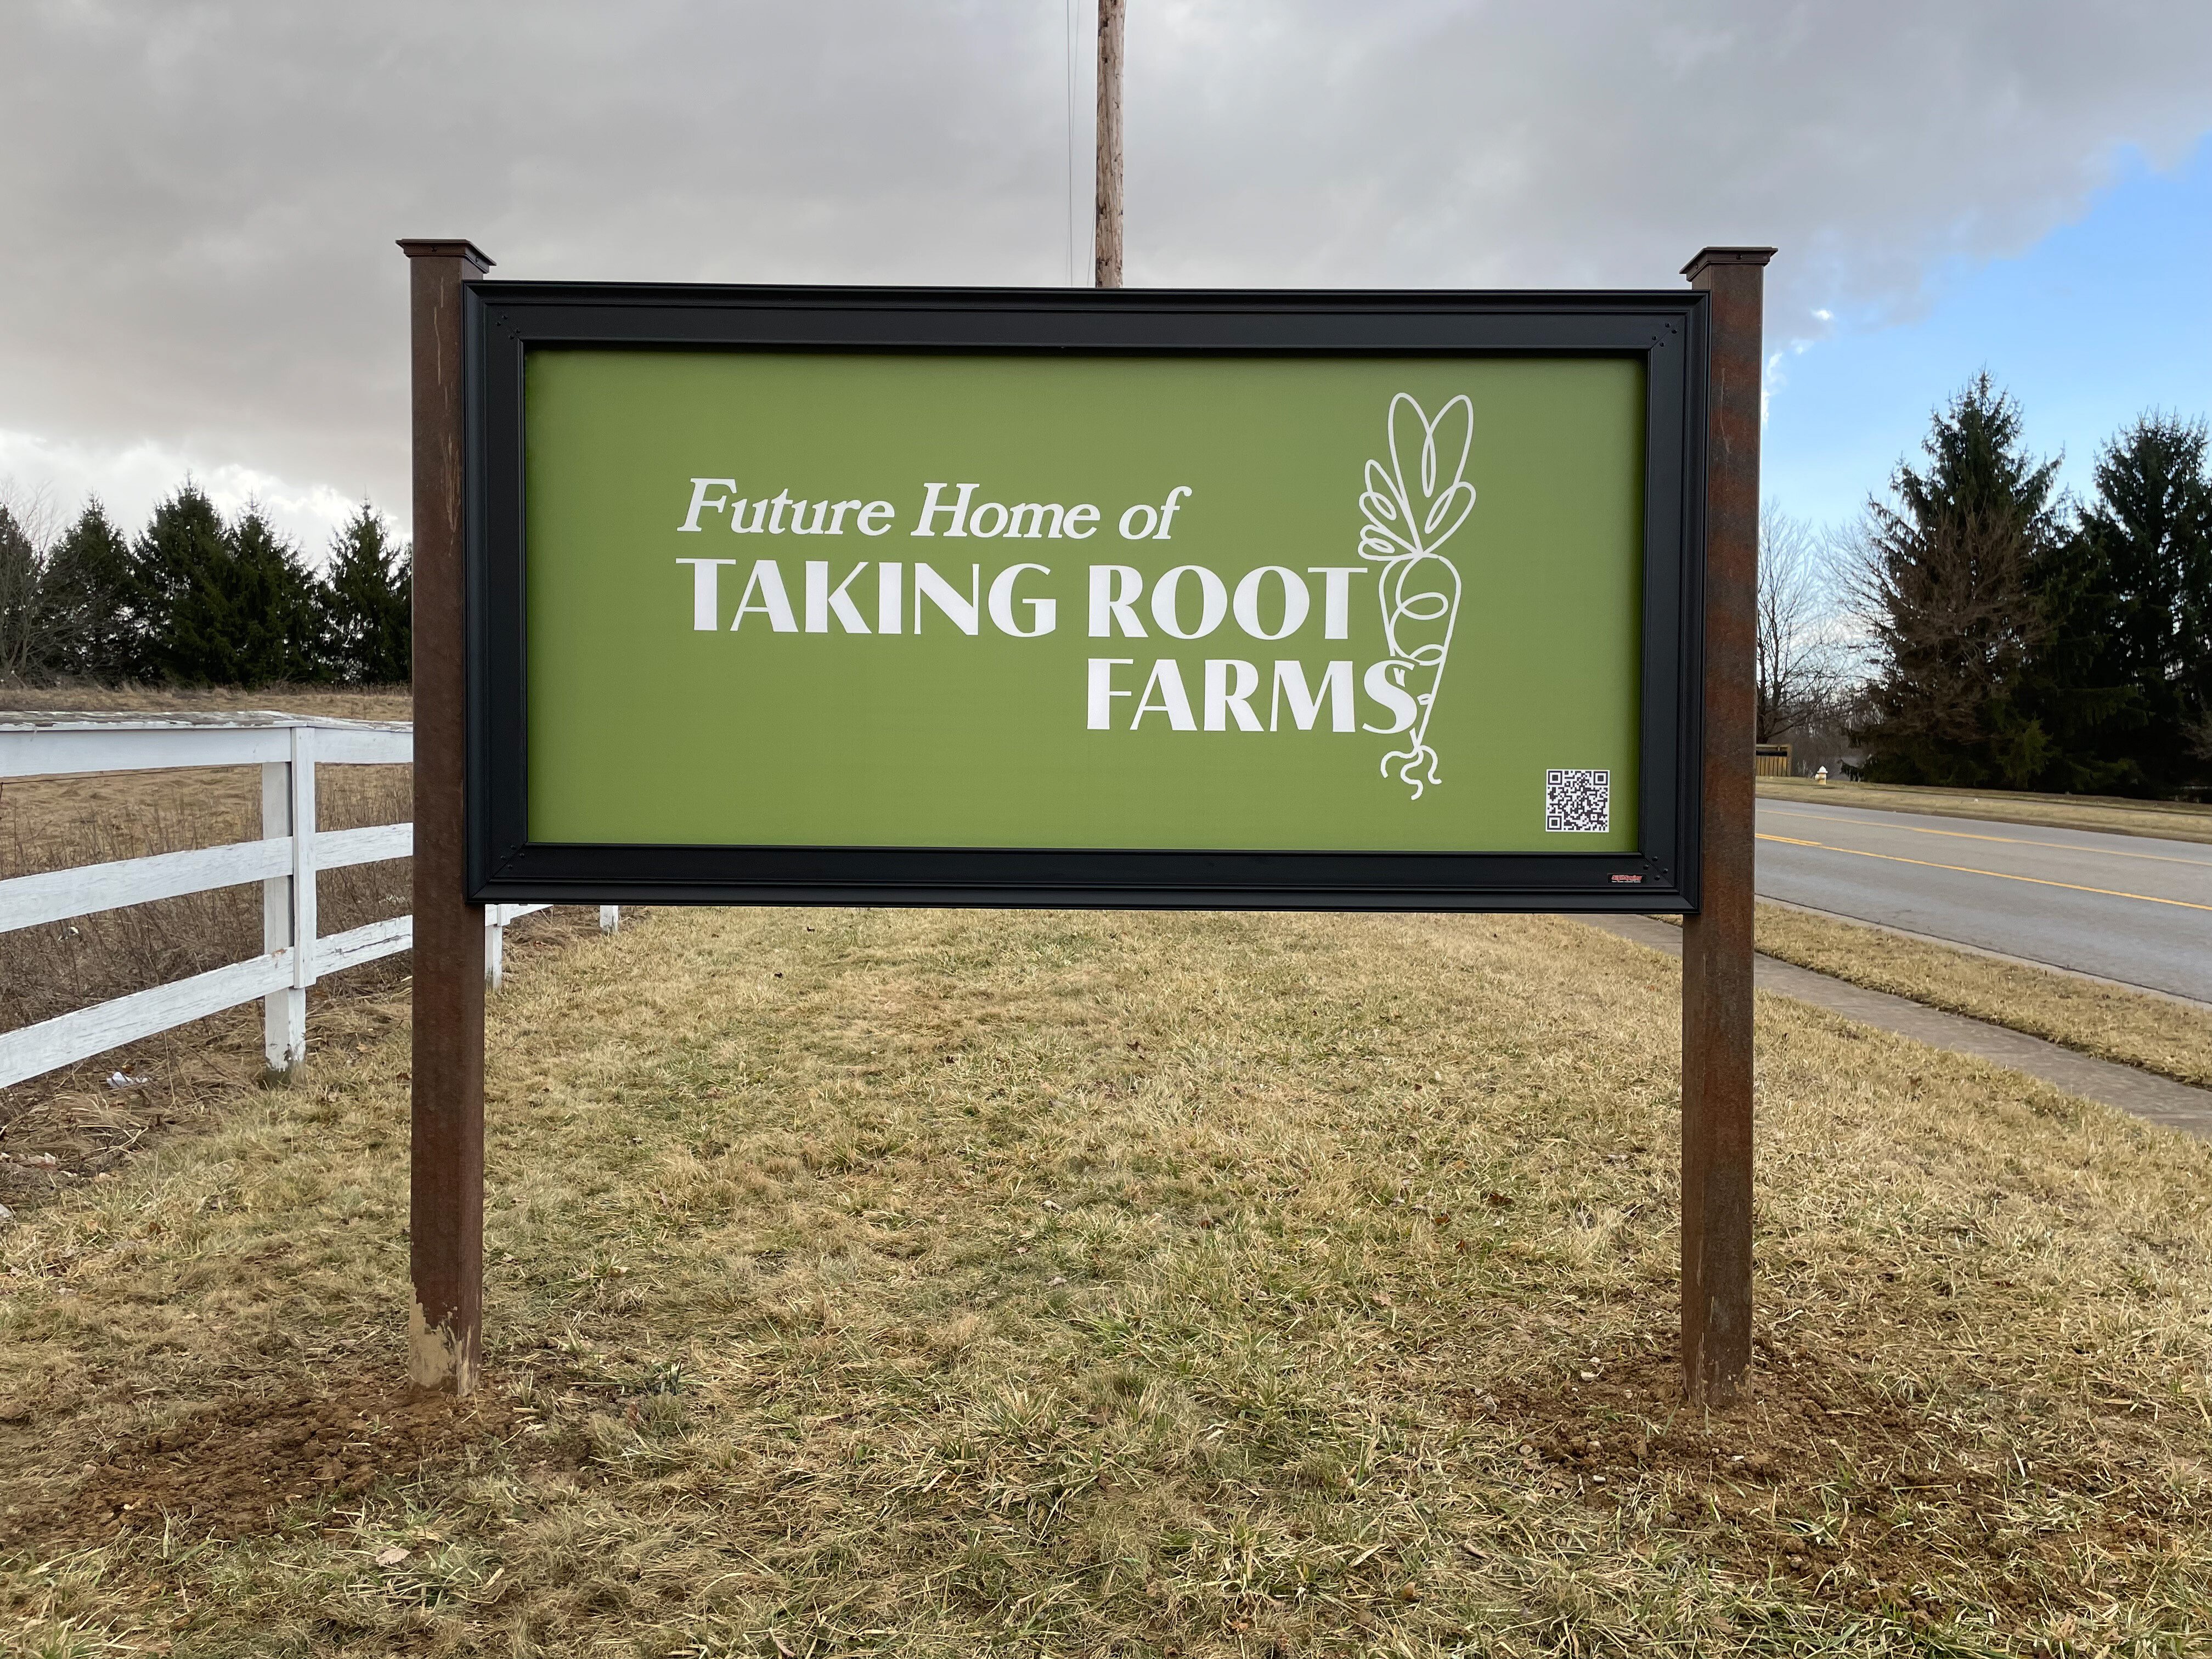
Built to withstand the elements, BannerFrameDELUXE integrates the trusted Lind SignSpring BannerFrameCLASSIC technology beneath its refined exterior. Engineered for long-term performance, this system’s sturdy PVC construction handles weather extremes without losing its charm. Whether you’re up against wind, rain, or intense sunlight, this outdoor banner frame system will remain secure and keep your signage visually sharp.
Say goodbye to tedious banner changes and time-consuming setups. This system features expertly designed spring and hook tension technology, enabling quick and secure vinyl change-outs in just minutes. This means you can keep your messaging fresh and relevant while saving time and effort.
Take your indoor and outdoor banners to the next level with BannerFrameDELUXE. Browse our full range of banner display solutions at Lind SignSpring and find the perfect fit for your needs today! We offer a wide range of banner display solutions, from our standard BannerFrameCLASSIC model to double-sided hanging options.
No matter what type of space you need to display your marketing materials in, we have you covered. Contact our team today with any questions or to help match you with the perfect vinyl banner framing solutions for your business.
BannerFrameDELUXE ships prepped for direct-from-box installation, ensuring a fast, hassle-free setup.

SignSpring is the best fabric graphic
installation system on earth!
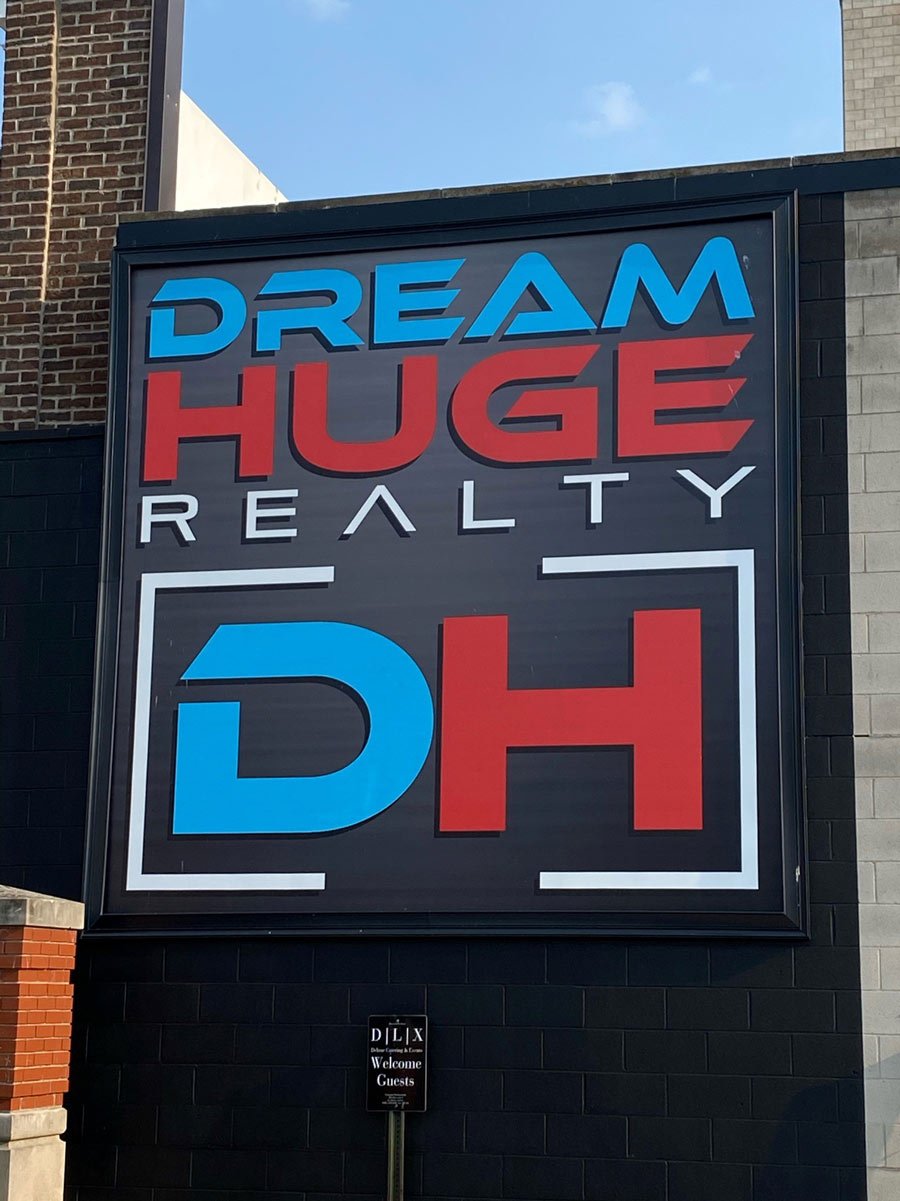
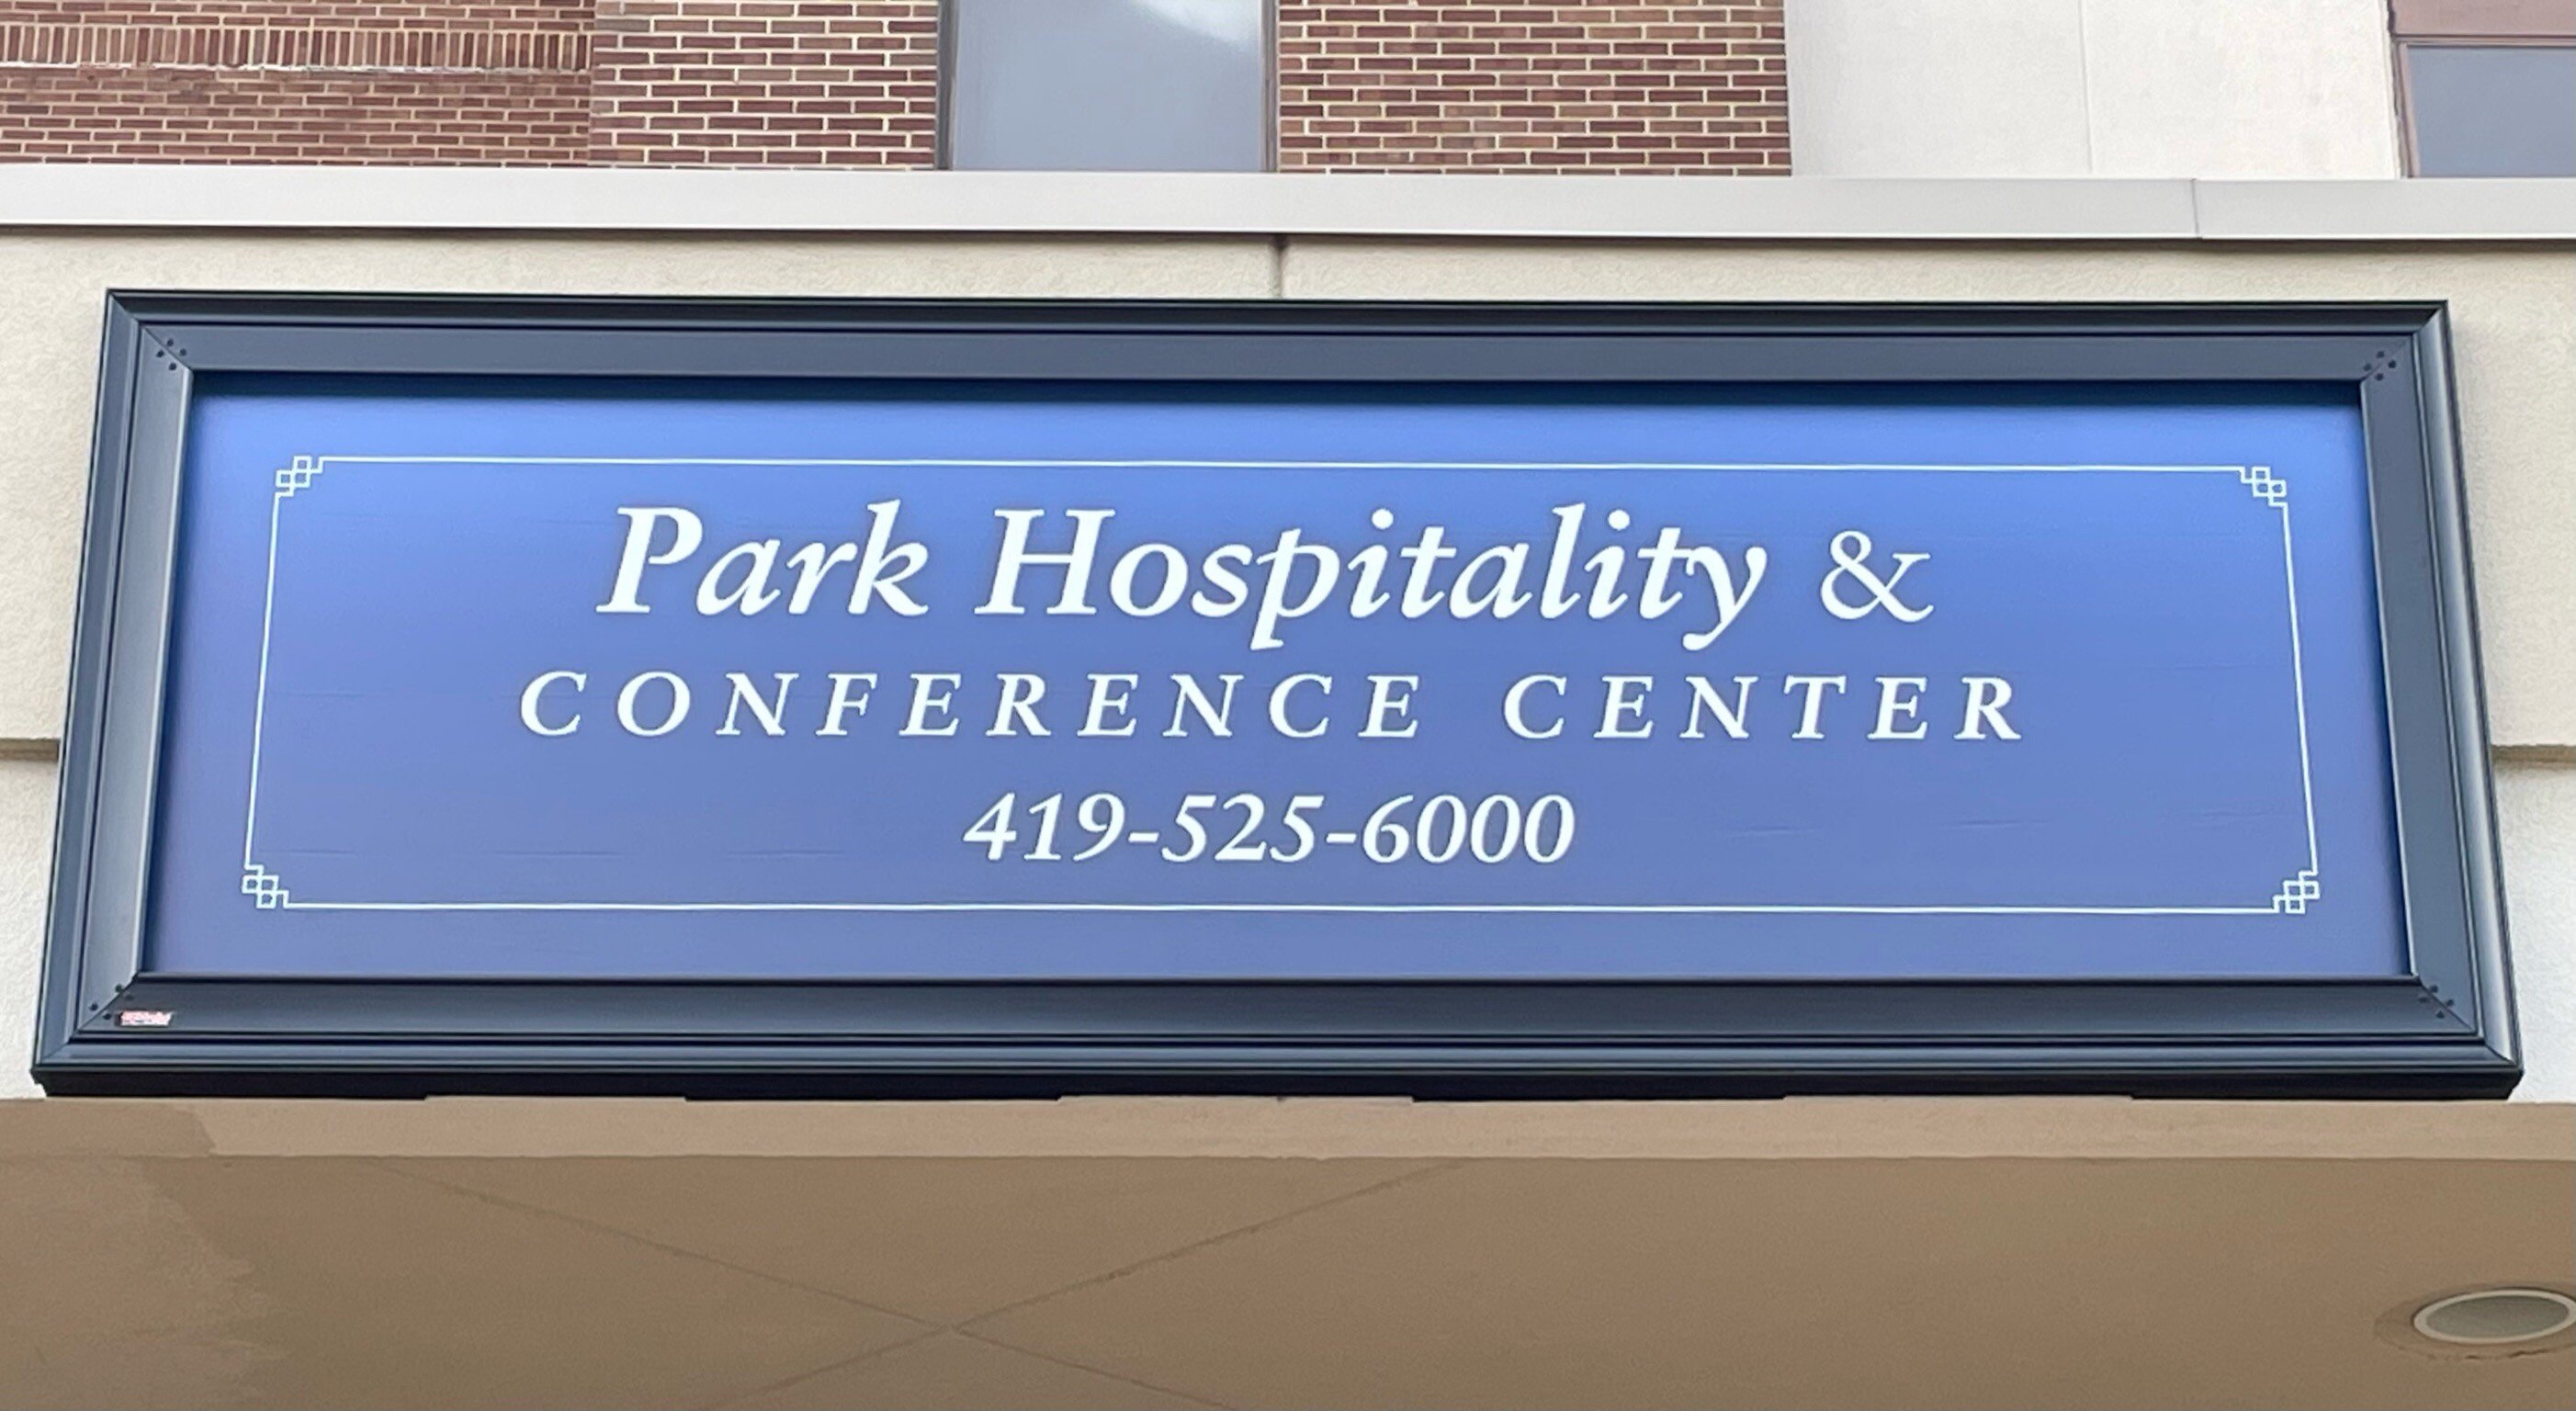
BannerFrameDELUXE is an excellent choice for a wide variety of sign applications, offering superior installation versatility across multiple surface types. Whether you're working with expansive wallscapes or smaller point-of-purchase (POP) displays, this product delivers reliable performance. The right hardware setup allows BannerFrameDELUXE to be securely mounted on diverse wall surfaces, including brick, concrete, wood, corrugated metal, stucco, and window frames, among others. Additionally, it offers the flexibility to be retrofitted over existing sign faces, making it a great option for updating or enhancing current signage without the need for a complete overhaul.
BannerFrameDELUXE offers a hassle-free, direct-from-box installation experience. No need for complicated setup or extra prep work—simply unpack the pre-measured sections, grab your basic tools (preferably a cordless drill, attachment hardware, level, tape measure), and you're ready to install. With just a drill and a few simple tools, you can have your sign mounted securely on any surface, whether it's brick, wood, stucco, or metal. The easy, intuitive process ensures you can quickly and efficiently get your signage up and running, saving you both time and effort on the job.
And, should you need any assistance, 24/7 support is available to ensure your installation goes smoothly from start to finish. Whether you're a first-time user or a seasoned pro, our team is ready to provide expert guidance whenever you need it.
BannerFrameDELUXE is compatible with all types of vinyl, though for optimal performance, we recommend using a lighter-weight vinyl such as a 7 oz. This ensures a smooth, tight fit and enhances the overall appearance of your sign.
For projects above 100 sq ft, especially with the BannerFrameHINGE system, it's best to choose a mesh vinyl. The mesh allows for proper airflow, helping to prevent damage from wind and weather, and ensures long-lasting durability for larger installations.
No, though we do recommend printing a 3/4" dashed line on the inside perimeter of the vinyl as a guideline for where to hook the SignSprings. We recommend a double stitched hem; however, any finishing method, or even unfinished banner edges, will still work with the system. Spec sheets are provided for each order to ensure sizing is accurate and tailored specifically to your system size, helping to guarantee a perfect fit for your installation.