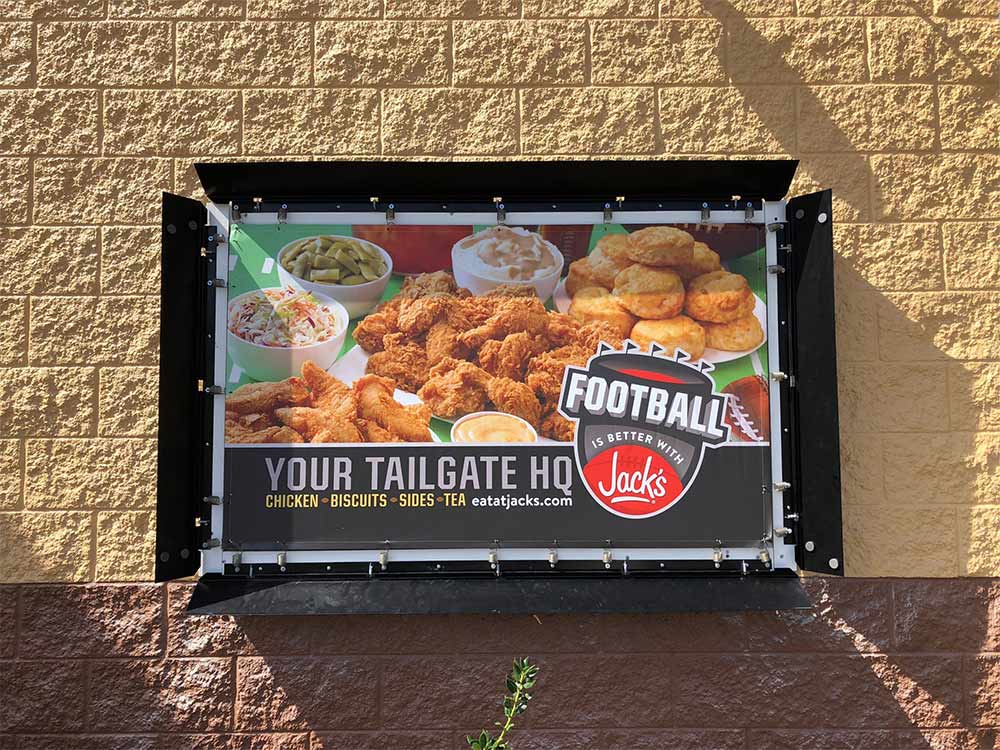
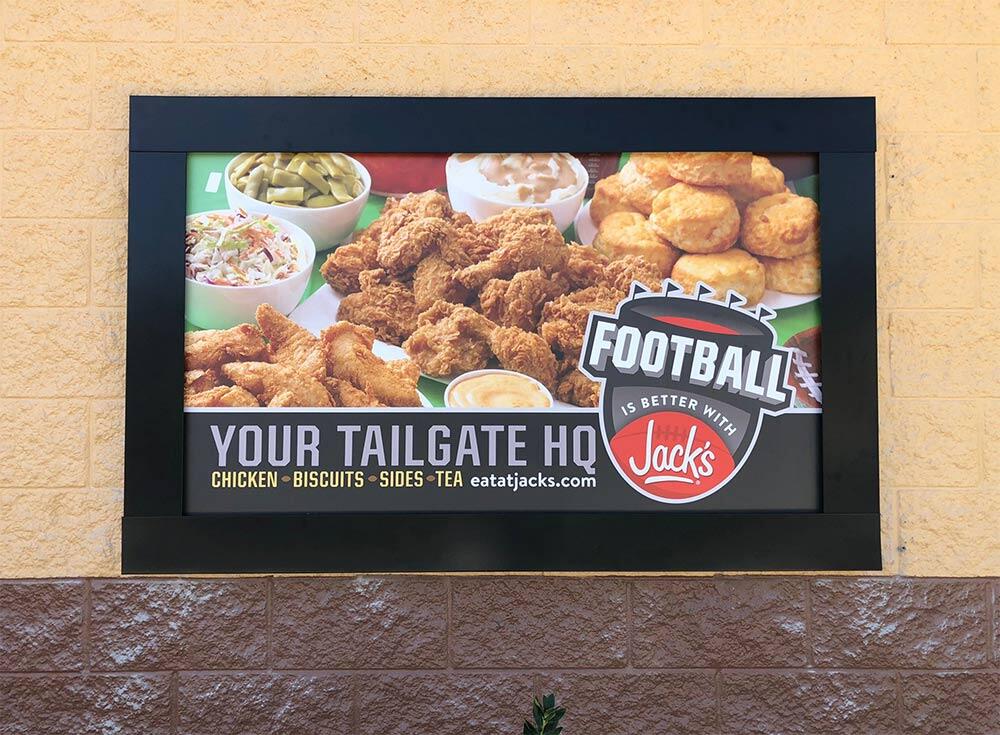
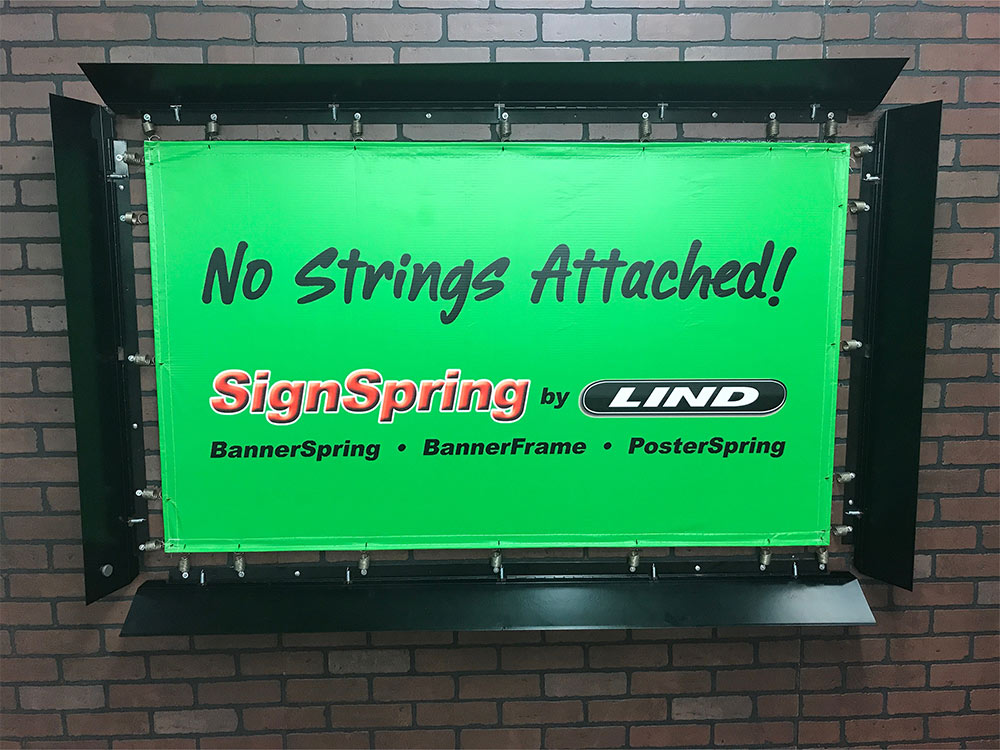
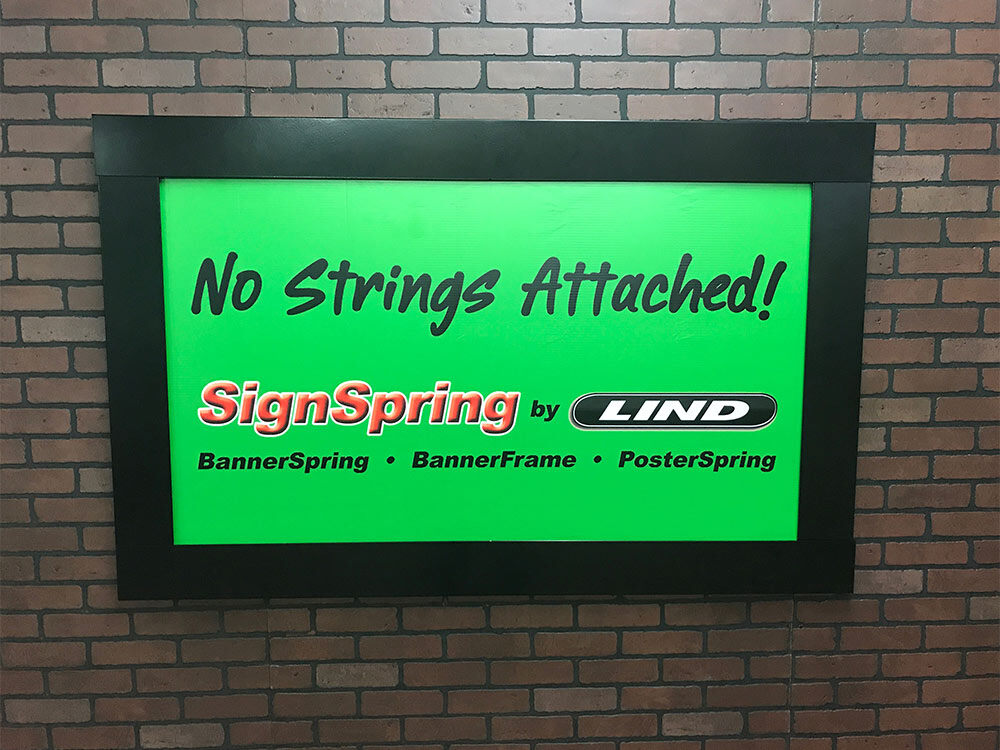
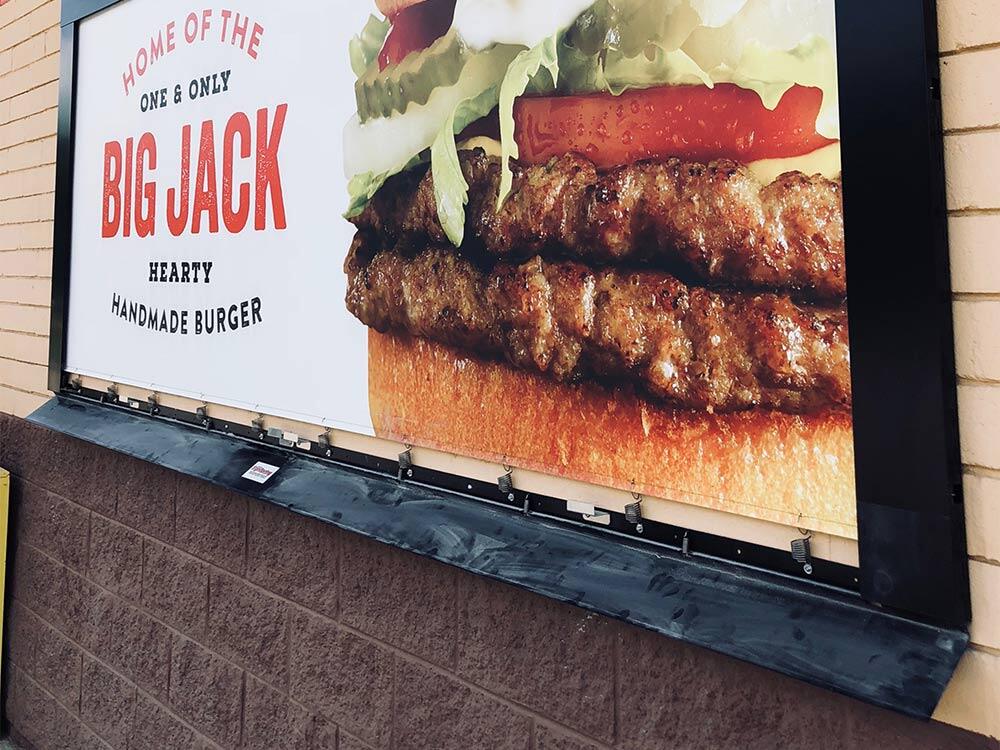
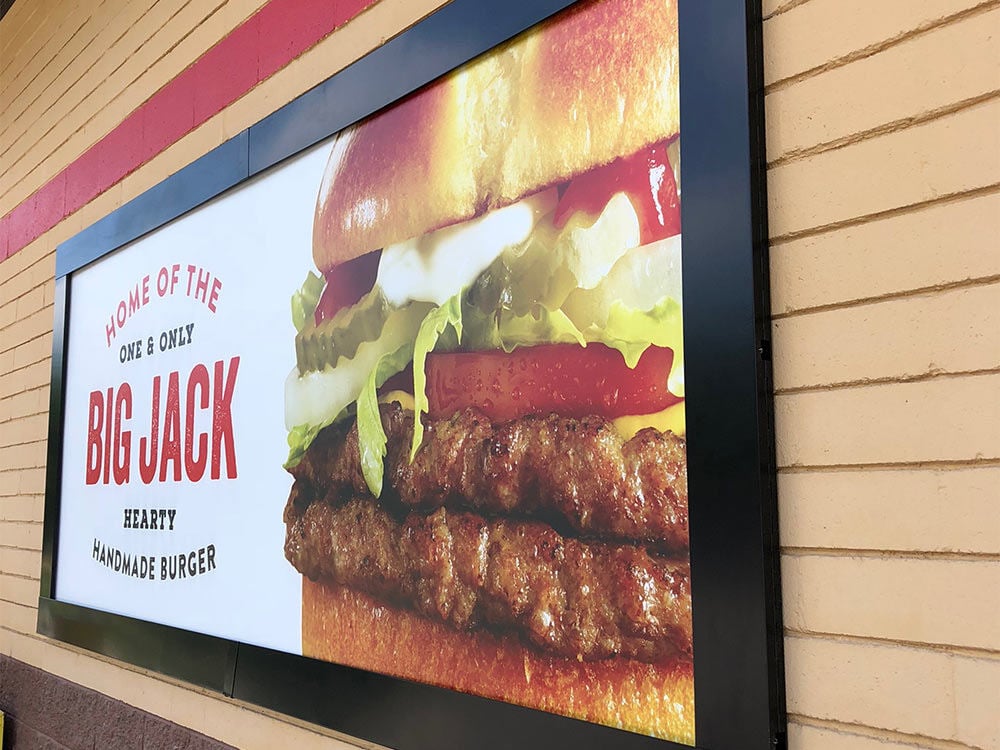
BannerFrameHINGE

BannerFrameHINGE is perfect for signs that need to be changed out frequently, offering attached, hinged covering that allow you to change out your banner fast. Perfect for signs and banners that are close to traffic, you’ll have an easy change-out every time!

More Information

Lind BannerFrameHINGE, featuring attached cover sections, enables easy installations, with even easier change-outs, every time!

Engineered spring and hook technology means no cables, grommets, tracks, tension rods or tools. Much like the simplicity of a trampoline, BannerFrameHINGE provides tight, wrinkle
free, sag free, professional installations, in minutes, every time.

Developed and proven on Billboards in extreme Great Lakes conditions, Lind SignSpring Products are unequalled from the smallest P-O-P banner displays to the largest urban wallscapes
and billboards.

There is no simpler or better technique for fabric graphic installation.

The perfect system for quick banner change-outs, installation can be done in a snap!

  1. Simply remove the pre-measured sections straight from the box
  2. Secure them to the wall’s surface
  3. Attach your banner to the patented spring tips using pre-cut holes
  4. Flip down the hinged covers for a perfect fit every time!

BannerFrameHINGE provides a tight, sag-free installation of your display — no matter how long your sign is displayed. No wrinkles here!

Please note: The size of the width or height of your banner cannot exceed 16′ to use this product. If you have a larger banner, consider BannerFrameCLASSIC with Covers.

It can take only a few minutes to change out a banner, making your vinyl rotation much easier and faster.

No! All you need is a few pieces of hardware and the pre-measured sections and you’ll have it installed within a couple of hours.

There are no specific requirements for banner printing. We do recommend adding a ¾” dash line around the perimeter of your banner to use for punching the holes needed to install the banner.

Yes! BannerFrameHINGE is made to be installed on any type of surface.

Any vinyl works well with BannerFrameHINGE; however, we do recommend using a light mesh vinyl for optimal results.

Yes! Since you will be able to use and reuse the banners without doing any damage to the vinyl, the “one and done” banners will be a thing of the past.

BannerFrameHINGE was built with outdoor advertising in mind. Using powder-coated steel frames and stainless steel springs, the durable system can stand the test of time, no matter what weather conditions it will face.

No prep is needed when installing BannerFrameHINGE. It is ready to install out of the box. In fact, it will only take a couple of hours to complete your project.

Step 1:

Mark the banner perimeter on the surface of the installation site.

empty side of a brick building

Step 2:

Install the base channel sections 1.5” of the perimeter’s marks.

BannerFrameHINGE Step 1

Step 3:

Pull the BannerSpring tips through your banner using the premarked holes along the banner perimeter (information can be found in the banner prep instructions).

BannerFrameHINGE Step 2

Step 4:

Flip down the cover sections over the base channel.

BannerFrameHINGE Step 3
BannerFrameHINGE closeup
BannerFrameHINGE closeup closed
BannerFrameHINGE Diagram
Notice about installation of the Lind BannerSpring system

Step 1: Mark the Mark-line

Print or sketch a thin line around the entire banner perimeter, 3⁄4” inside the banner edge. All punch holes should be placed on mark-line.

Step 2: Mark Punch-Holes around Banner Perimeter on Mark-Line On Each of the 4 sides.....

Place your first dot 1” in from the banner edge along the Mark-Line
Place your second dot 6” in from the banner edge also along the Mark-Line
All additional dots should be spaced at 1’ intervals until you reach the end of the banner where the dots should be 6” and 1” from the edge respectively.

How to install a banner into the Lind SignSpring system
an example of how to install a 8' x 24' banner into the Lind SignSpring system

Substrate: Lind SignSpring Group suggests 8 oz mesh for any project over 100 square feet. For under 100 square feet, 7 oz vinyl or mesh is recommended.
Finishing: For best results, edges should be stitched, hemmed, or welded to avoid edge-curl. Do not use grommets.
Printing: Artwork and Final printing should include a thin printed line bordering the entire graphic, 3⁄4” inside the banner edge. The holes may also be marked or inserted as part of the printing process. BannerFrame Cover Sections will cover 3’’ around the Banner perimeter. Avoid printing copy within 5” of Graphic Edge

Notice about installation of the Lind BannerSpring system