Hanging Banner Frames
Simple. Durable. Flawless!
Looking for a versatile, durable, and flawless signage solution for your business? Explore hanging banner frame display solutions from Lind SignSpring for stunning visual displays that demand attention. Whether you’re enhancing the exterior of a parking garage or sporting venue, this display system is the perfect balance of simplicity, quality, and performance.
An unbeatable freestanding banner and signage solution combines durability, portability, and customization, making it perfect for indoor or outdoor use. The adjustable, weather-resistant base ensures stability on various surfaces, while high-quality, long-lasting graphics. With minimal tool assembly, easy setup, and customizable sizes and branding, businesses can create impactful displays with minimal effort. Optional features like lighting and expandable units add versatility, and the entire system is designed for durability, providing a cost-effective, eco-friendly solution that stands the test of time.
One thing you can count on from our steel banner frame system is that it can hold up to harsh weather conditions. The BannerFrameAIR system is built with durability in mind. Its weather-resistant base ensures stability on various surfaces, making it a reliable choice for any region of the country. Equipped with high-quality materials, this signage solution is built to withstand the elements while maintaining its sharp, professional appearance. Invest in a durable hanging banner frame display that will withstand the elements and various conditions at your business or display site.
Ships pre-measured and prepped for direct-from-box installation!
Product Details
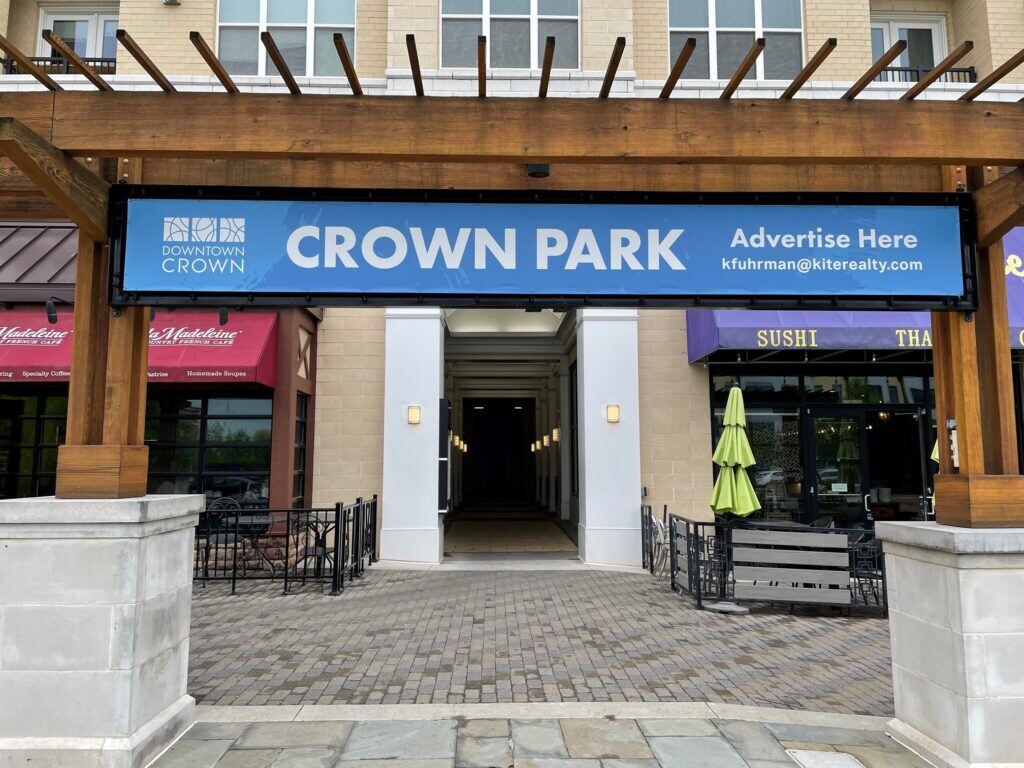
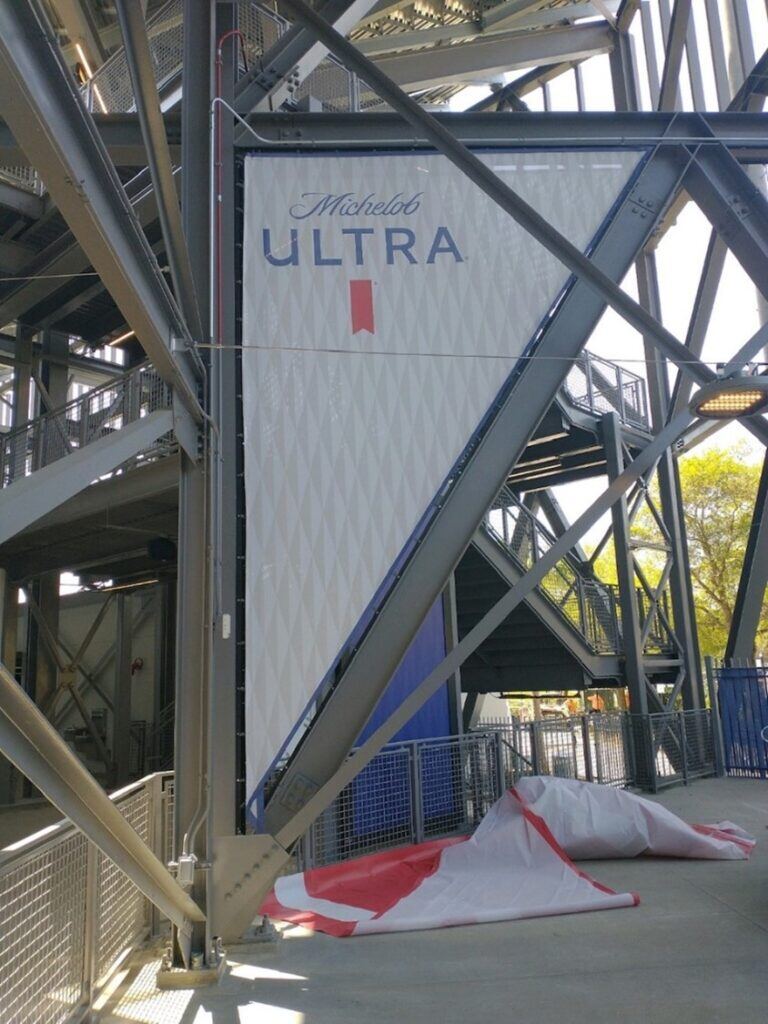
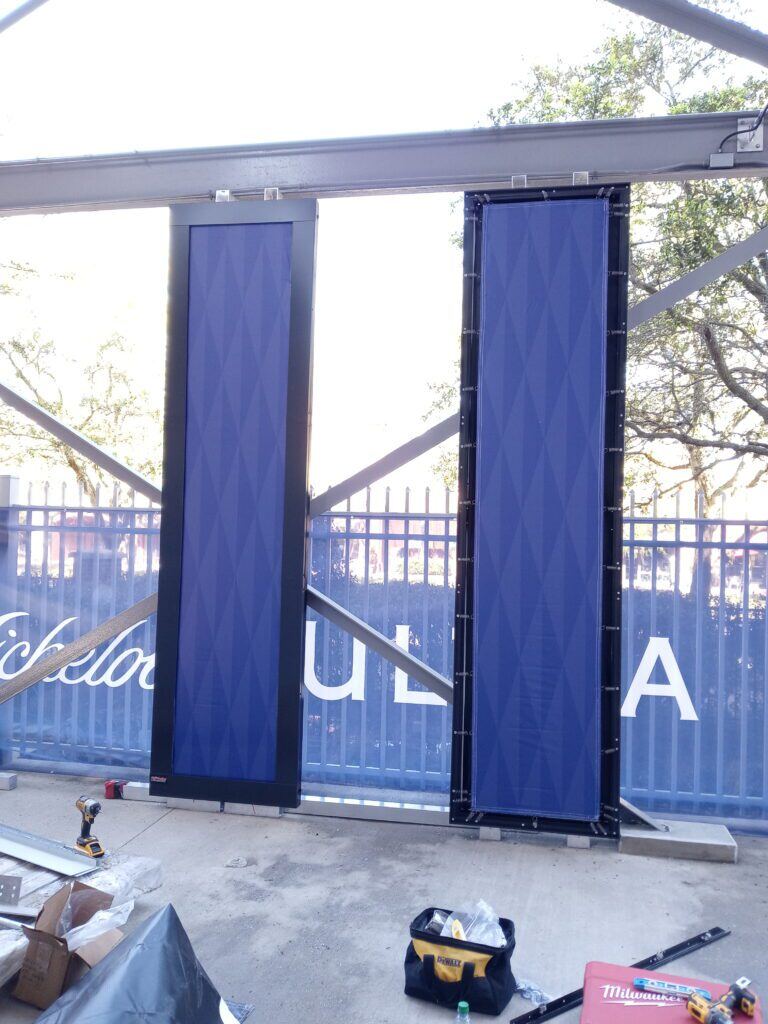
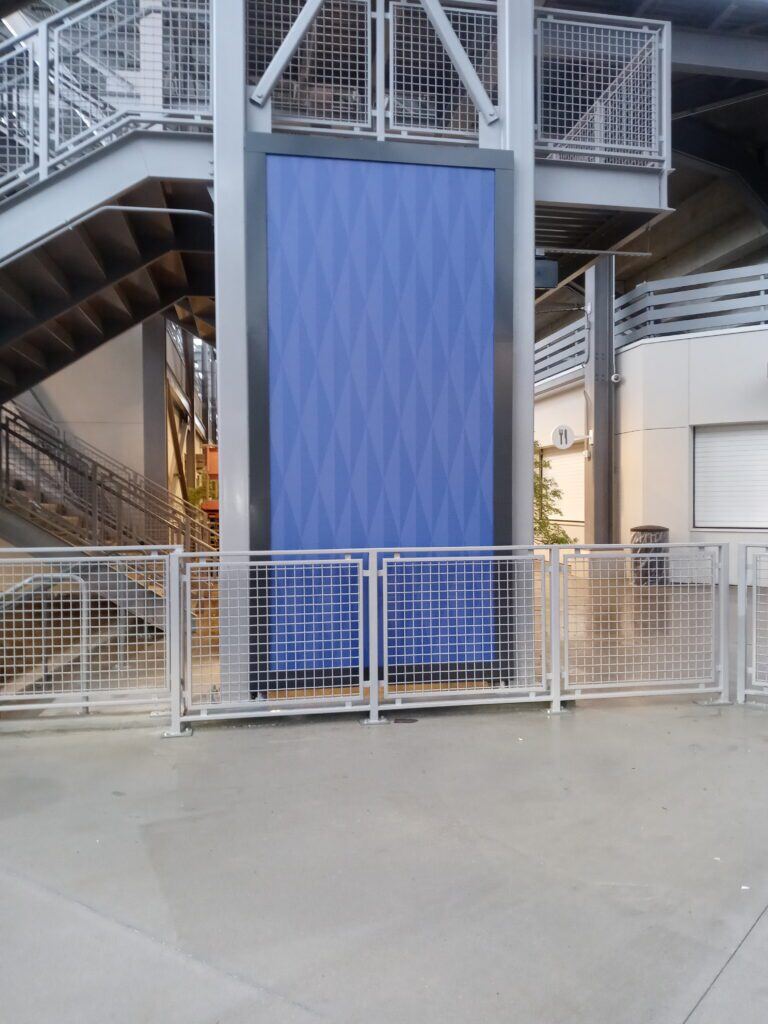
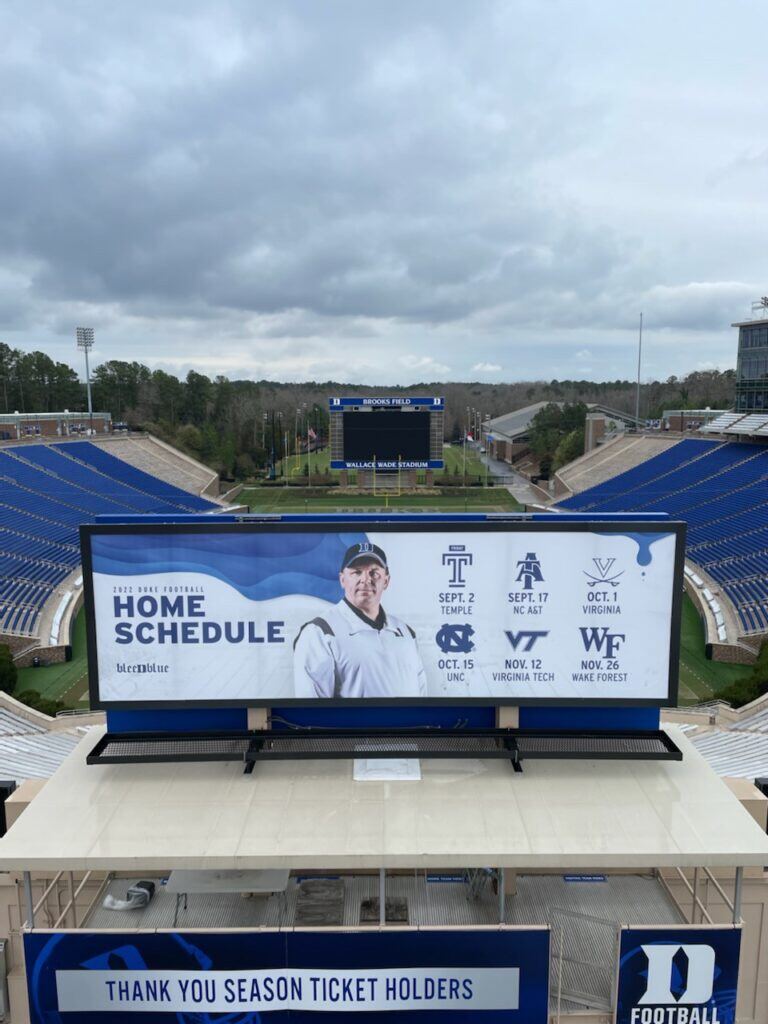
Lind BannerFrameAIR ships pre-measured & prepped for direct-from-box installation! A complete solution for open-air surfaces like parking garage exteriors, scoreboard backs and spaced beams and columns where signage displays lack 4 points of contact.
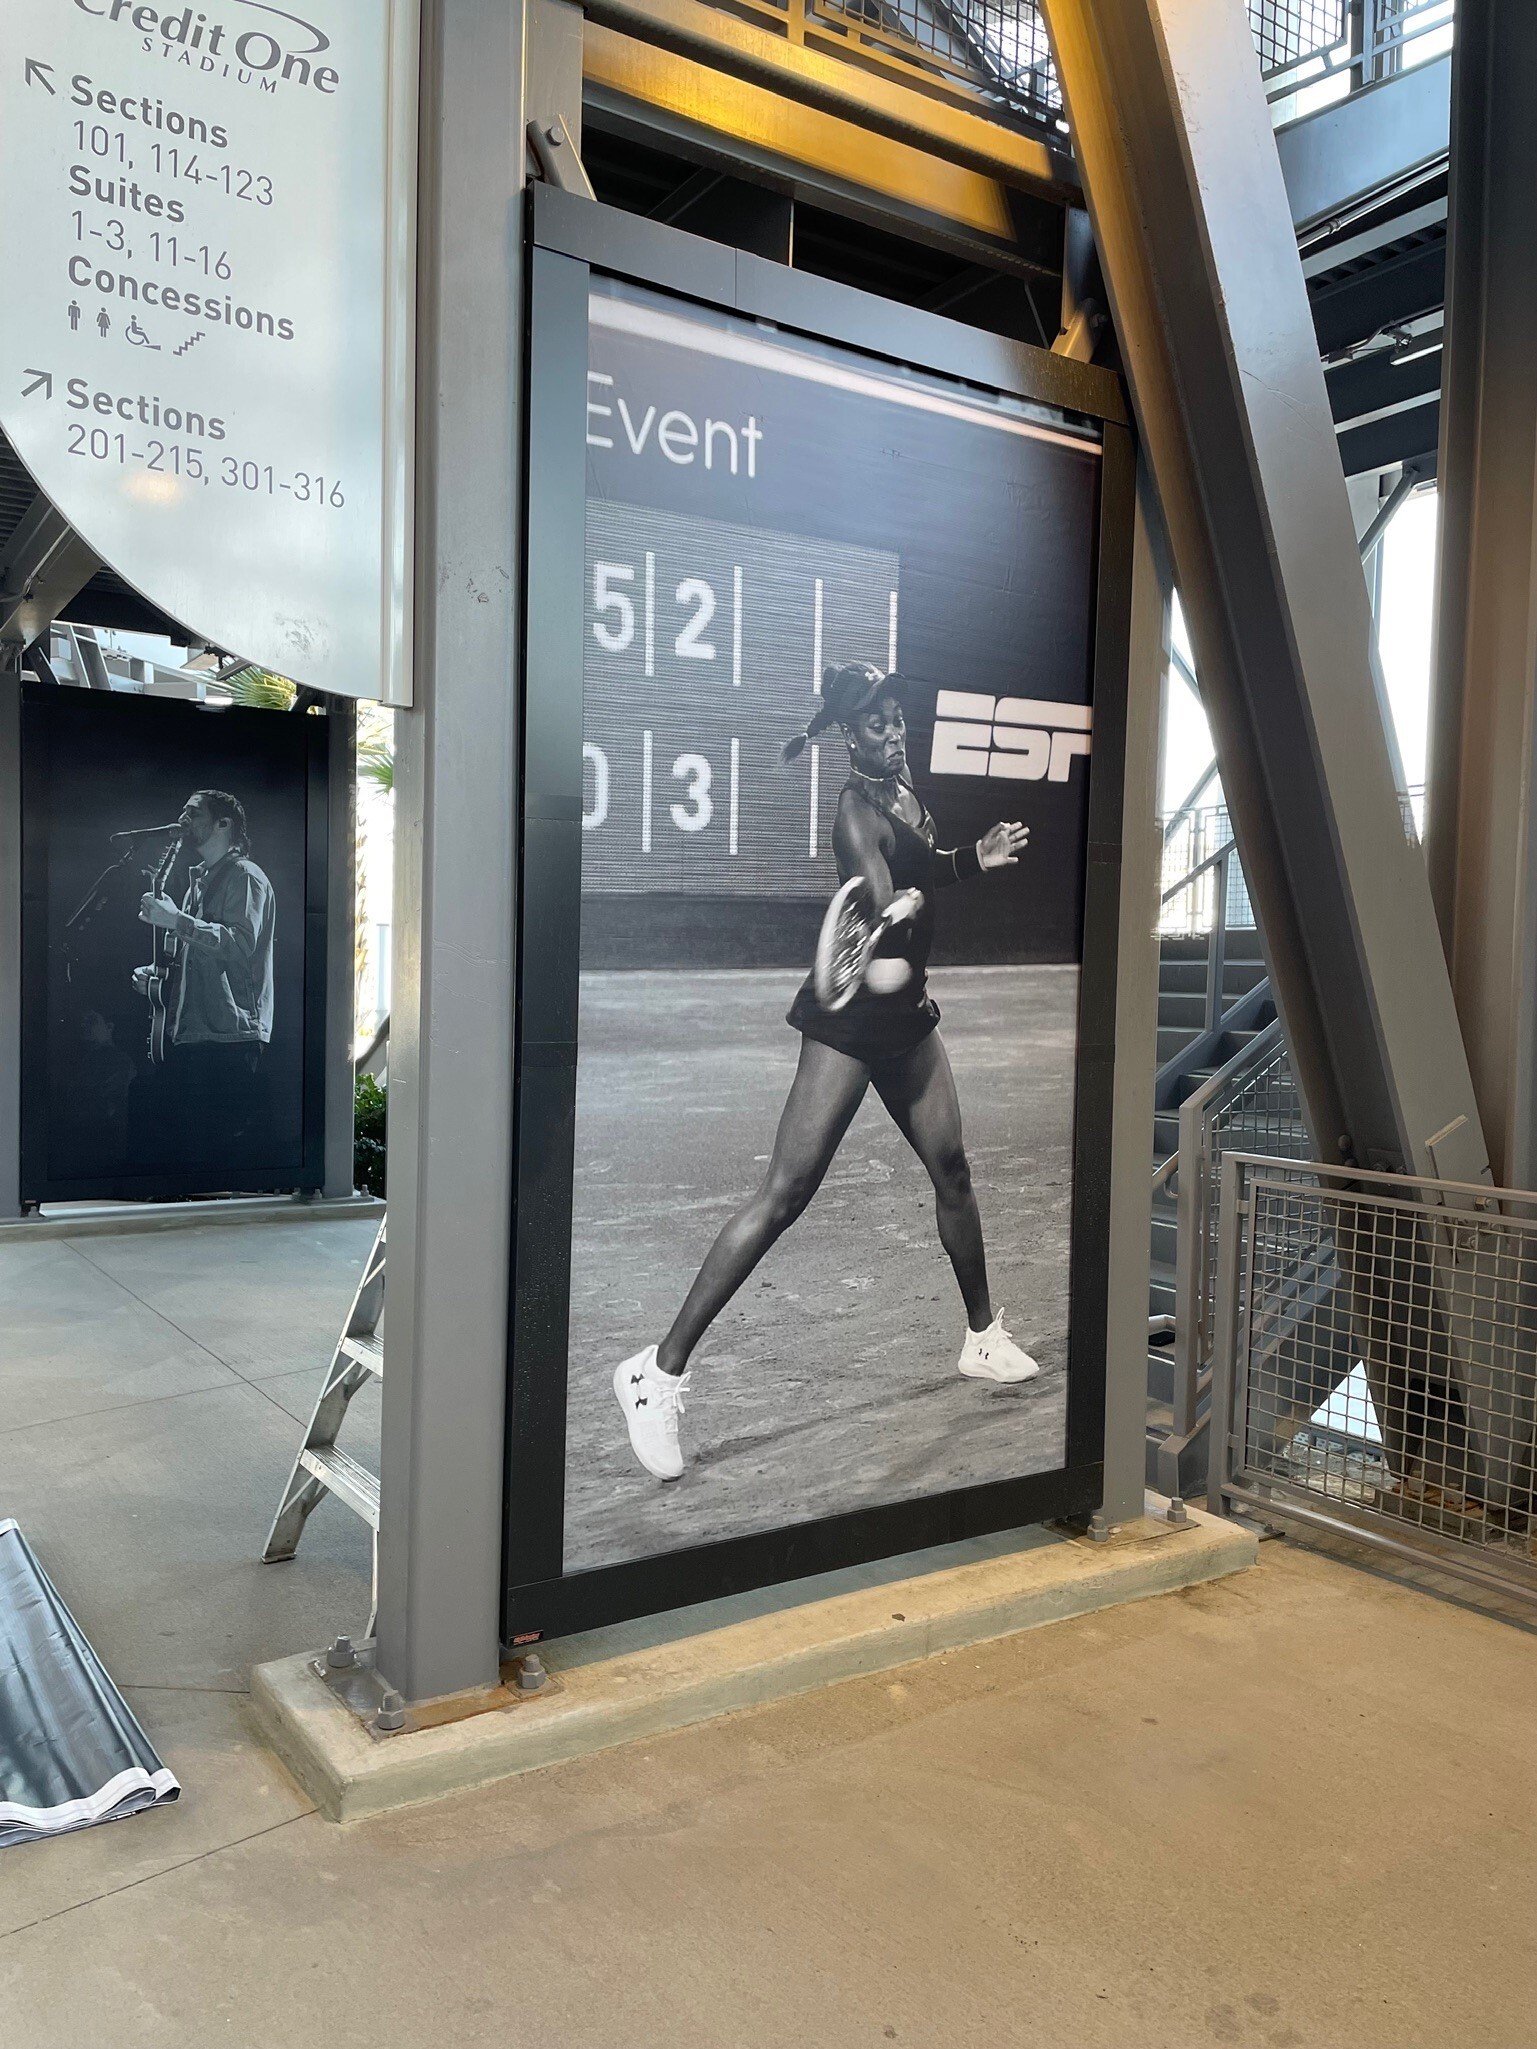
The BannerFrameAIR system offers customizable sizes and branding options to make sure your display represents your brand’s unique identity. From bold graphics to tailored messaging, you can create a truly personalized experience that catches every passerby's eye.
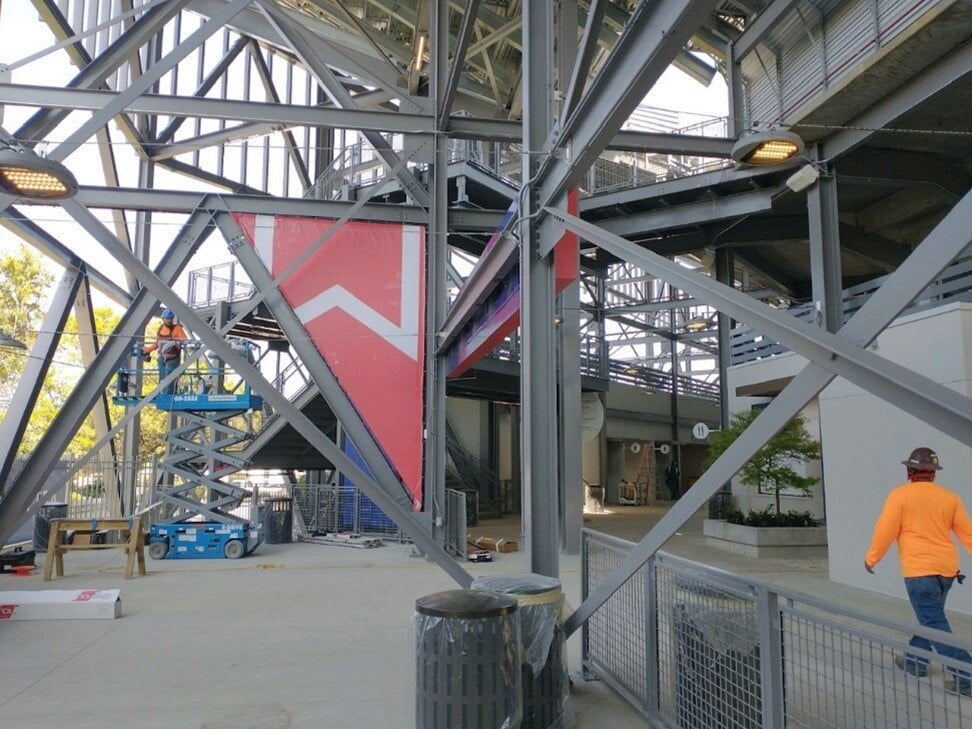
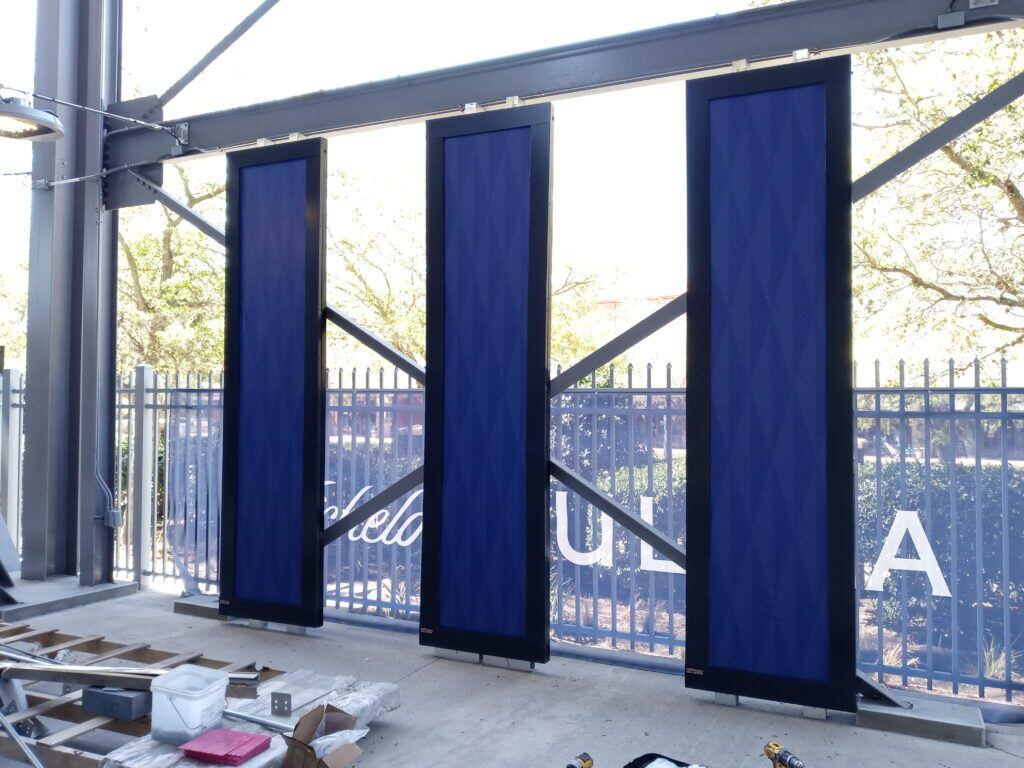
The innovative design allows you to assemble it on-site, in the air, or construct it as one cohesive piece prior to hanging. BannerFrameAIR is a complete banner and signage solution for long term performance, easy installation and quick simple changeouts.
BannerFrameAir options include BannerFrameClassic, BannerFrameDELUXE, and BannerFrameHINGE. Each provides exceptional simplicity, durability, and exceptional finishing touch to a dynamic system!
With minimal tools required, setup will be fast and straightforward, so you can focus on what matters most: getting your message in front of your audience.
Elevate your signage game with the ultimate in freestanding banner displays. From ease of use to the undeniable impact of expertly crafted designs, you can ensure your marketing materials are in good hands with these custom banner frames by Lind SignSpring. Browse our BannerFrameAIR models and many other signage solutions today. Each model delivers the same standard of exceptional quality, making it easy to find the right system for your specific branding goals.
Have questions or need help finding the right banner solution for you? Contact our team today for suggestions and support.
To install the BannerFrameAIR system: Instructions are customized per application and install
-1.jpeg)
-2.jpg)

