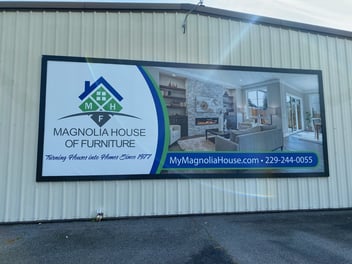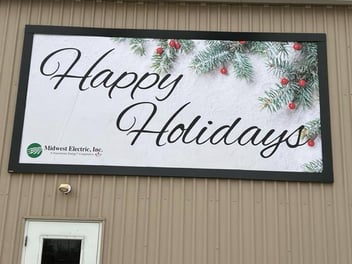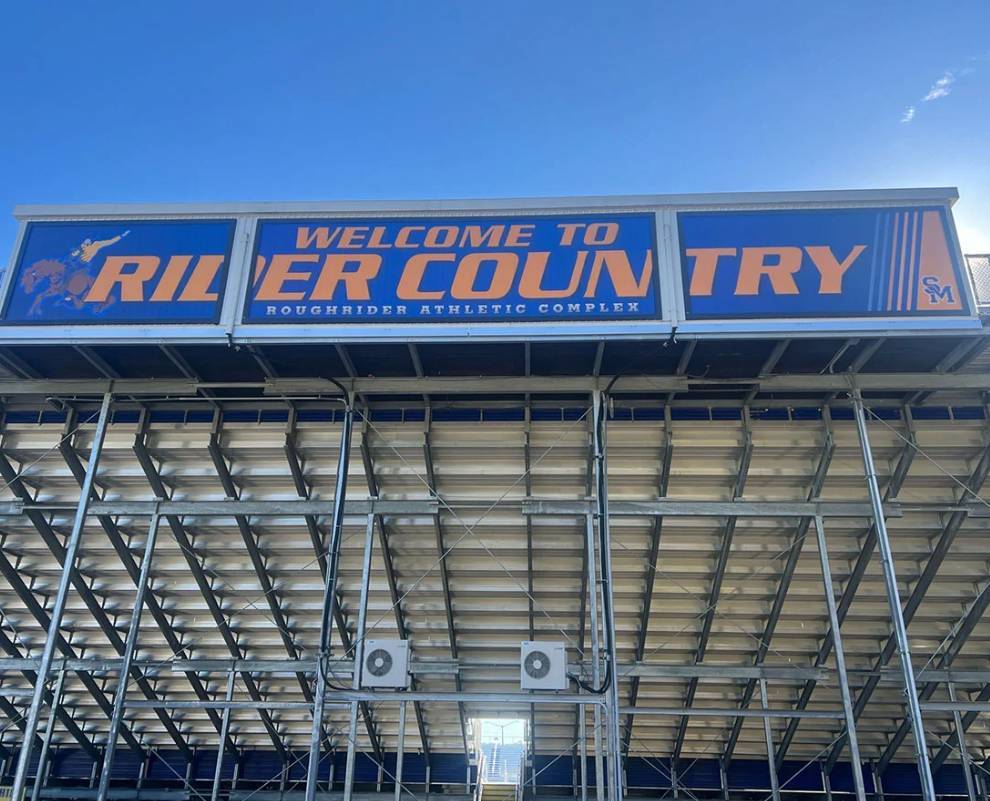
Large graphics can lose their visual impact when neighboring panels don’t line up cleanly. If you’re working with a display where multiple panels affect one continuous image, small placement differences may become easy to spot once you step back. Careful preparation helps you keep transitions cleaner while making changeouts easier to manage. These precision tips for aligning multi-panels focus on practical ways to approach the work with greater consistency.
Start With Accurate Measurements
Before you install anything, confirm the dimensions of the mounting area and compare them with the finished graphic panels. You need dependable measurements because an error at the starting point may carry across every panel that follows. Therefore, treat the first panel as your reference rather than approaching each section as a separate installation.
You should also check where the artwork crosses from one panel into another. A continuous photograph or large lettering will make slight shifts much easier to notice than artwork with open space near the seam. When you know where those critical transitions fall, you can give them extra attention during placement.
Establish Your Reference Point
Choose a consistent reference point before you begin positioning the first graphic. You might work from an established edge of the display when it provides a dependable starting position. Once you establish that point, keep checking your placement against it instead of judging alignment only by eye. This approach gives you a consistent basis for evaluating each neighboring panel.
Prepare for Panel Placement
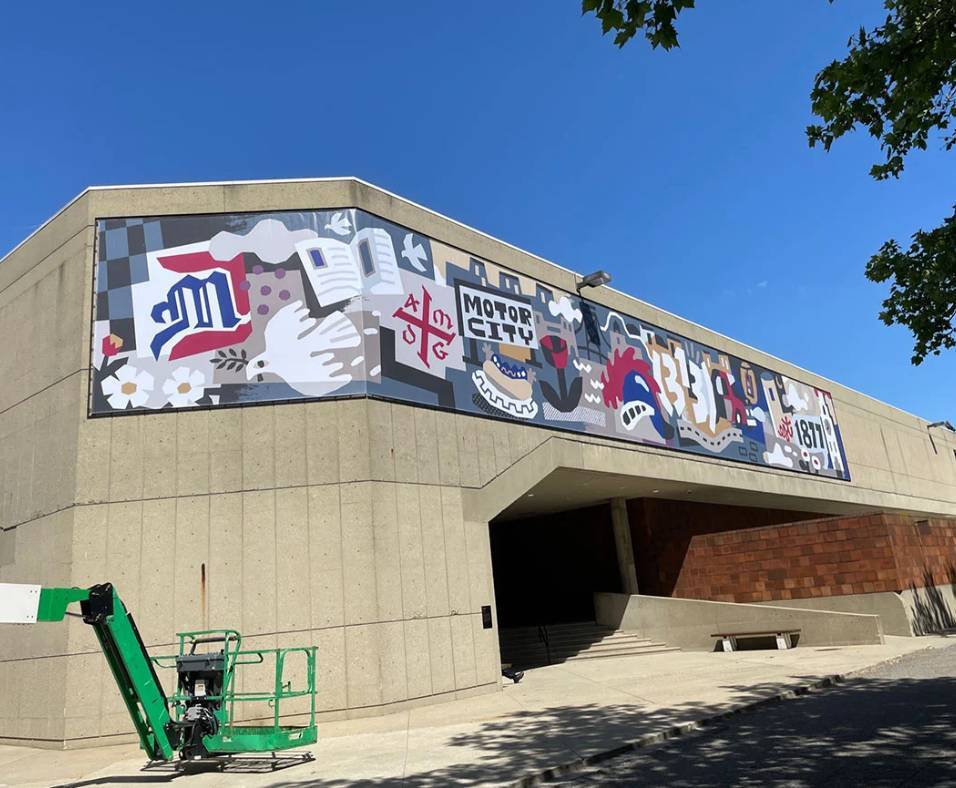
A successful installation starts before you put the graphic onto the system. Check the installation area so you know the frame components provide a consistent perimeter for the graphic. You should also review the finished artwork so you know where adjacent imagery should meet.
A simple preparation routine helps you catch alignment concerns while you still have room to correct them. Use these checks before you begin:
- Confirm the overall display dimensions
- Verify each finished panel size
- Identify the intended panel sequence
- Locate important cross-panel artwork
- Mark a consistent starting reference
Align Adjacent Graphics Carefully
Once you place the first graphic, use it as the visual benchmark for the next section. With a sign frame, accurate multi-panel alignment depends on maintaining the intended relationship between neighboring graphics. Compare shared artwork near the transition before you consider a panel correctly positioned.
Work deliberately as you move across the display. If you notice a mismatch, address it promptly because later panels will rely on the position you establish now. This approach reduces the chance that a small discrepancy becomes increasingly noticeable across a wide installation.
Watch Continuous Artwork
Continuous artwork deserves extra attention because your eye naturally follows lines across panel boundaries. When a photograph or letterform crosses a transition, compare recognizable features on both sides. You’ll spot alignment differences more easily when you concentrate on one shared feature instead of evaluating the entire graphic at once. After that feature lines up, step back and review the broader image.
Use Tension Consistently
Consistent tension supports a clean presentation because the graphic needs to remain taut across its display area. Lind SignSpring uses engineered spring-and-hook technology around the perimeter of fabric graphics, allowing the system to hold the material securely without requiring grommets. When you’re working with multiple panels, consistent installation practices help neighboring sections maintain a more uniform appearance.
Avoid using tension to compensate for artwork that started in the wrong position. Instead, establish placement first and let the system support the graphic after you’ve confirmed its relationship with adjacent panels. That distinction helps you avoid chasing an alignment issue through repeated adjustments.
Understand Frame Support
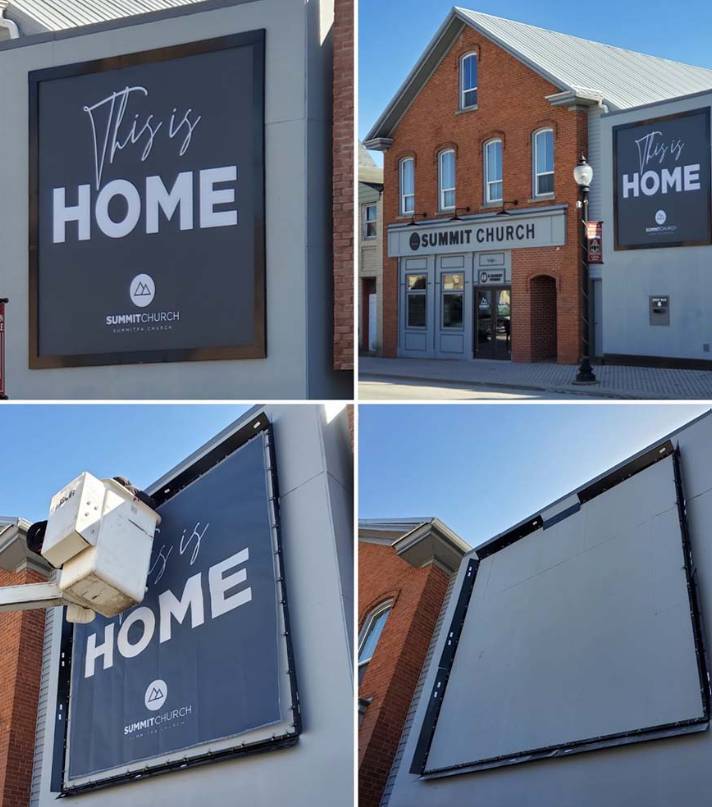
When you evaluate banner display frames, think of them as systems that support and tension large-format graphics around their perimeter. The frame or mounting system gives you a defined area for positioning the graphic, while the artwork itself still requires accurate sizing and placement. That relationship becomes especially important when several graphics create one larger visual.
You’ll get better results when you treat frame setup and graphic alignment as connected parts of the same installation. A correctly prepared system gives you a dependable basis for positioning, but it doesn’t replace careful panel-to-panel comparison. Therefore, keep checking the artwork as you progress rather than assuming the frame alone will establish alignment.
Step Back During Installation
Close inspection helps you work precisely, but distance reveals problems that may disappear when you stand next to the display. After placing a panel, move back far enough to see its relationship with the surrounding artwork. Look at the image as your audience will see it rather than concentrating solely on the panel boundary. This broader view may reveal a shift that looked minor from installation distance.
Verify Before Moving Forward
Rushing through a multi-panel installation makes later corrections harder because each new section builds on the last. Pause after each placement and compare the artwork with your established reference.
A repeatable check keeps your attention on the most useful visual cues during installation. To recap, review each panel using the same basic process by:
- Checking alignment against the reference
- Comparing artwork across the transition
- Confirming the graphic remains taut
- Viewing the display from farther back
- Correcting discrepancies before proceeding
Plan Future Graphic Changeouts
Multi-panel displays may need new graphics as promotions change, so accurate installation practices remain useful beyond the first setup. When you keep panel order clear and use consistent reference points, you give future crews a straightforward process to follow. That preparation can make recurring changeouts easier to approach.
If you expect to reuse graphics, record each panel’s position when you remove it. A simple panel identifier helps you return each section to its intended location without relying on memory during the next installation. This becomes especially useful when similar-looking sections belong to different areas of a large display.
You should also keep the complete display in mind during every replacement. A single new panel still needs to relate correctly to the graphics around it, particularly when the artwork continues across sections. Careful checks help preserve the intended composition without turning each changeout into a new alignment problem.
Lind SignSpring provides spring-based graphic installation systems that support easy installation and changeouts for large signage applications without requiring grommets. If you’re planning a multi-panel display and want a mounting approach that supports straightforward graphic changes, contact Lind SignSpring to discuss the installation.