


-2.jpeg)
%20(1)-1.jpg)

Indoor and Outdoor Banner Frames
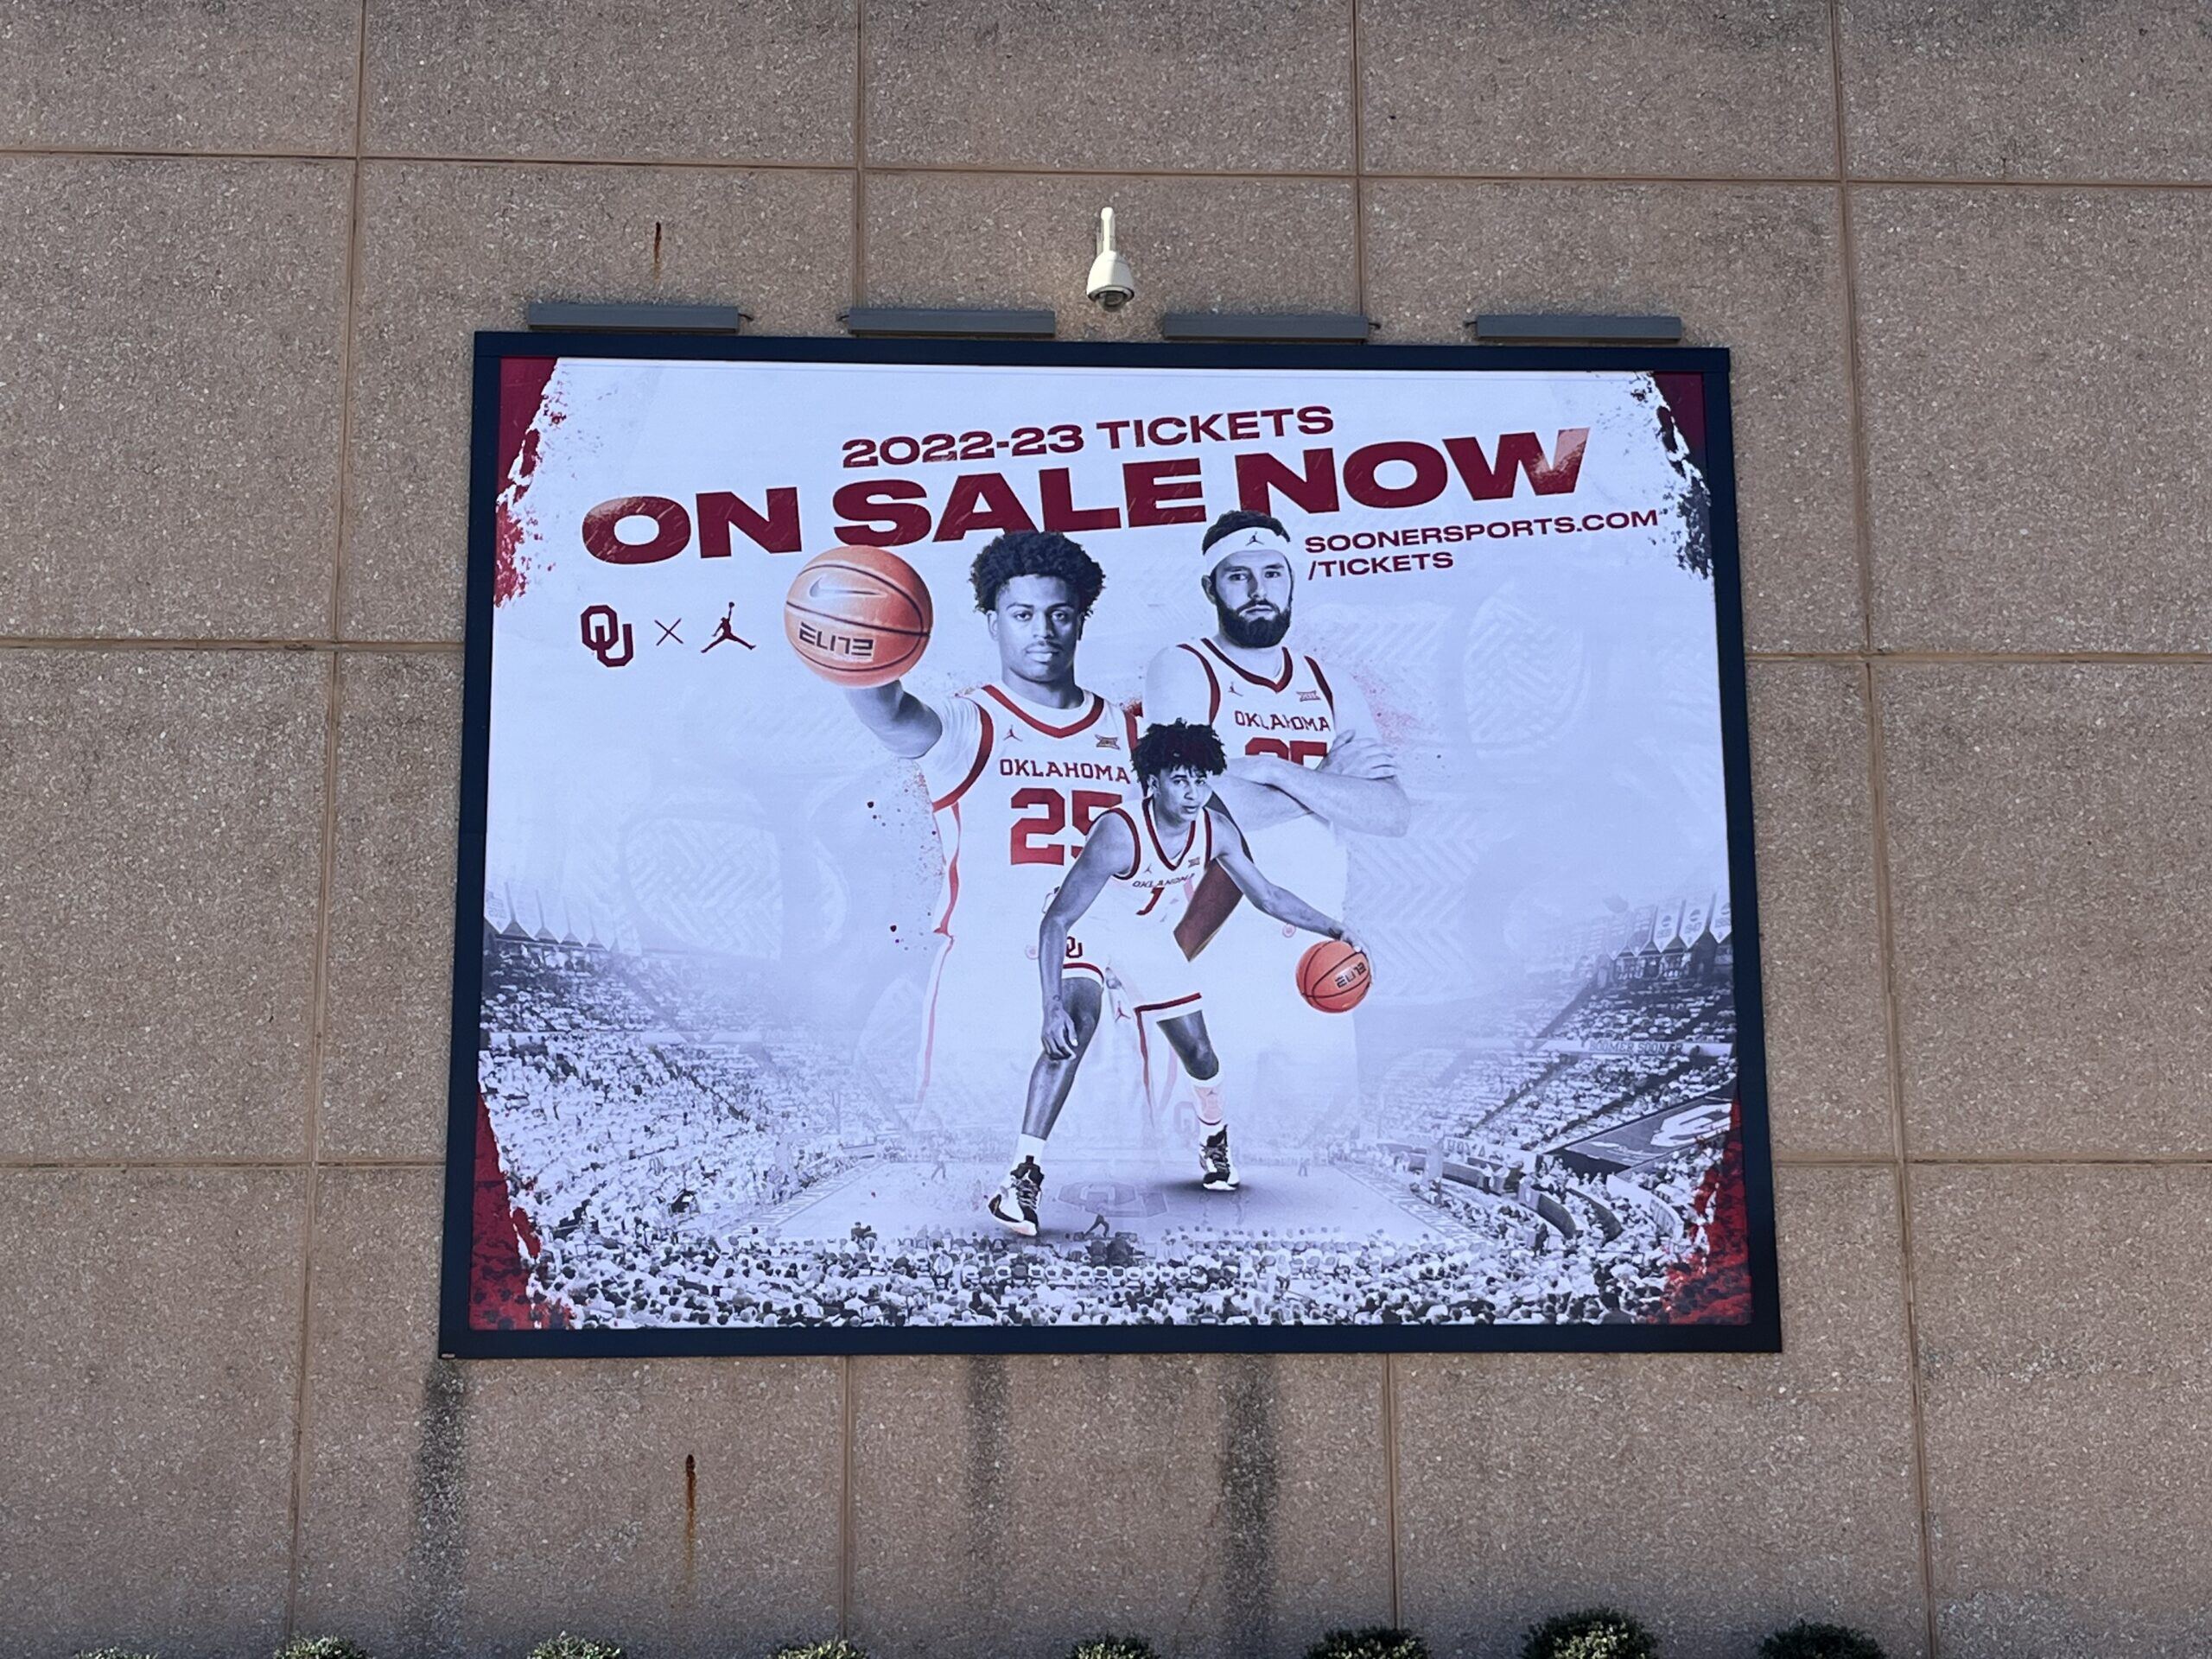
BannerFrameCLASSIC fabric graphic installation system is a revolutionary way to install and display banners on any type of flat surface — from brick and concrete to wood and metal and everything in-between! Our banner frame system provides an attractive solution for displaying banners while offering durability and longevity. With its durable and weather-resistant construction, you can trust that your banners will stay securely in place no matter the location or weather conditions.
Product Details
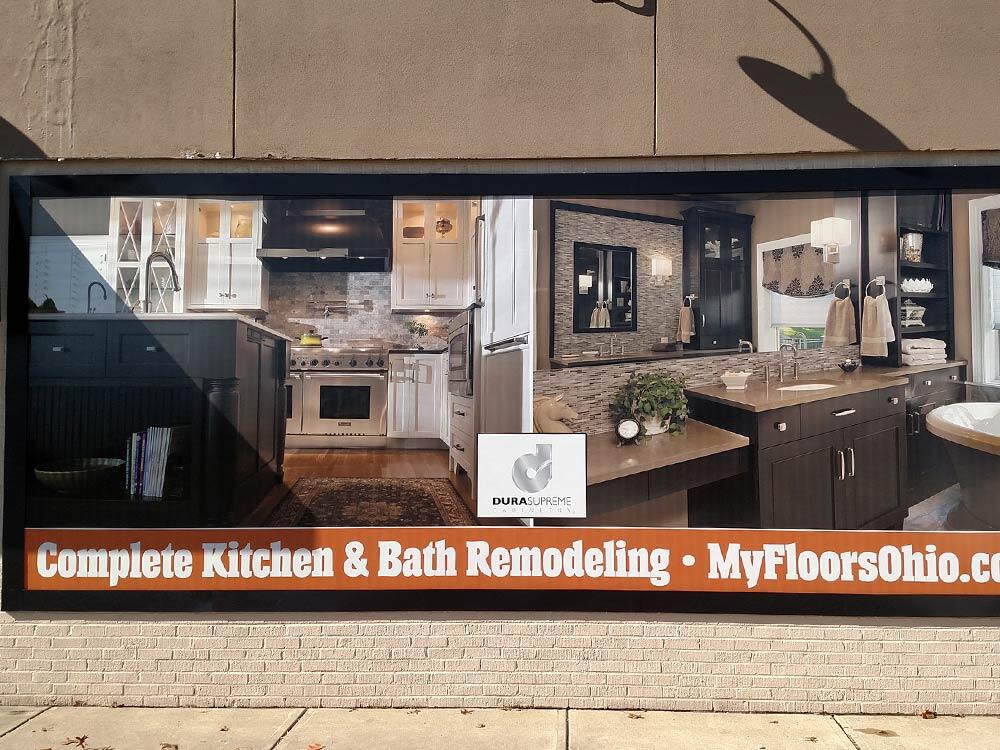
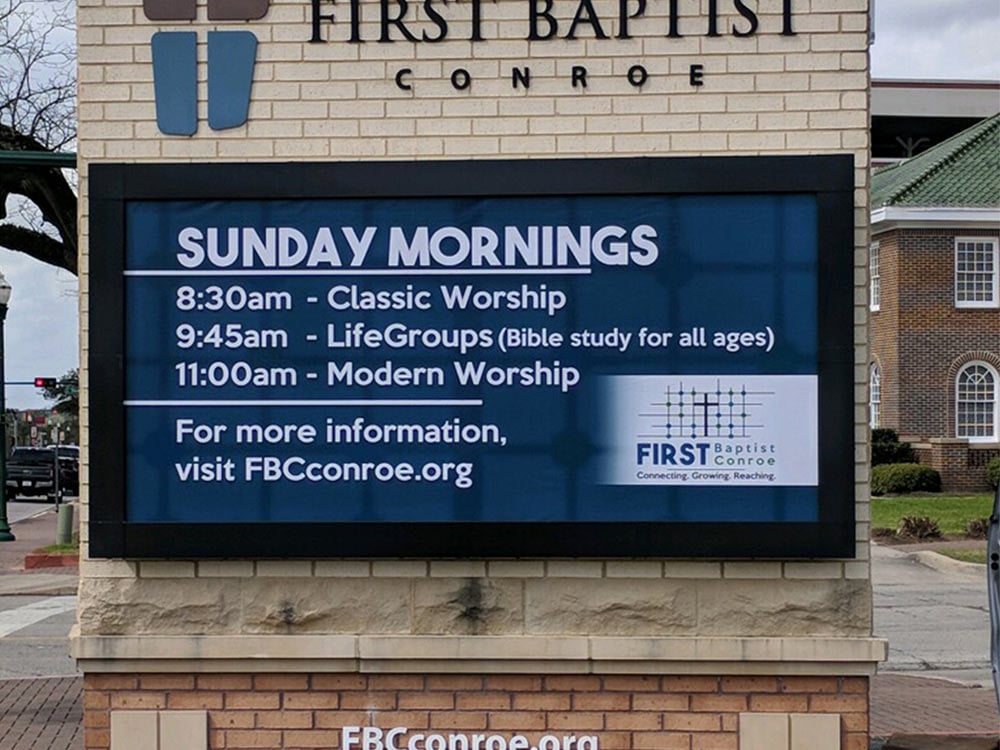
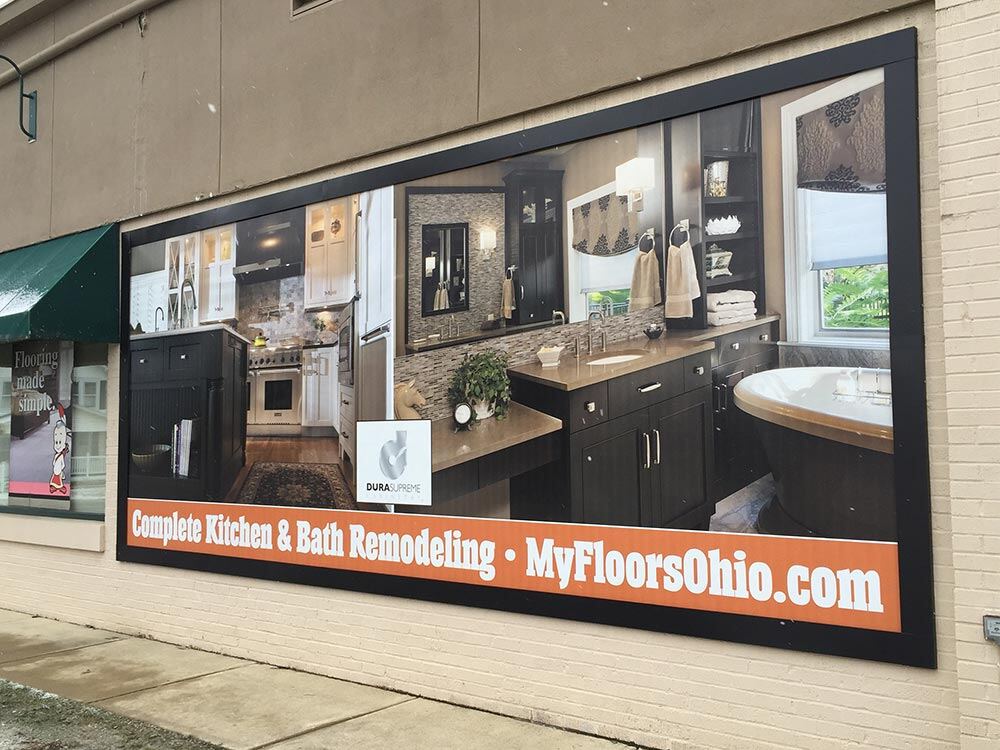
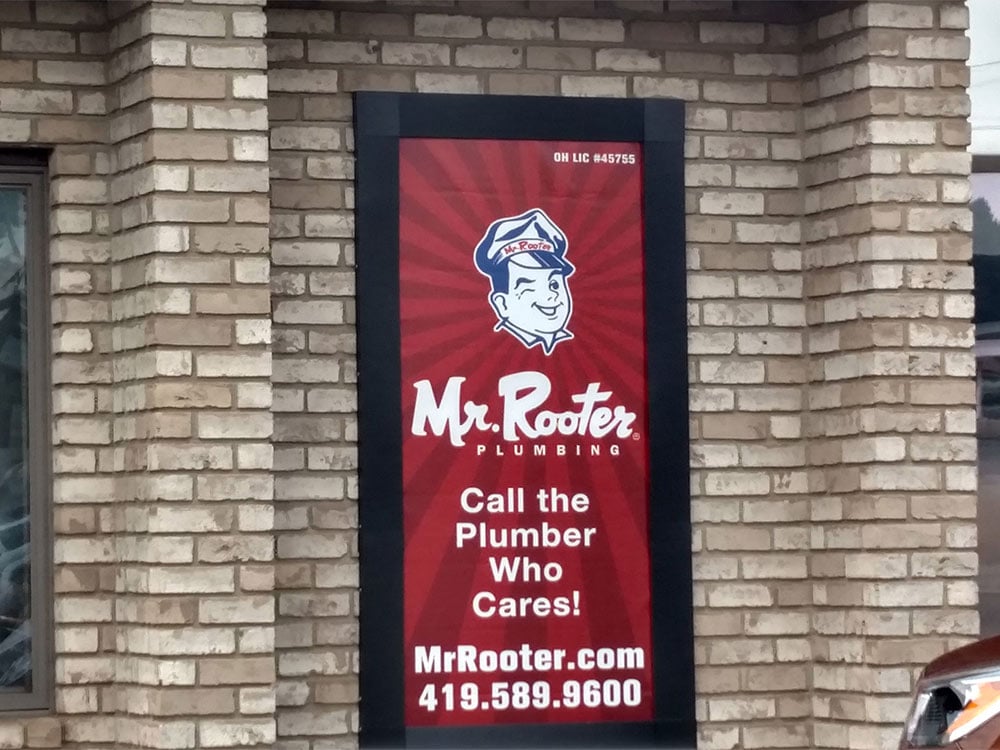
BannerFrameCLASSIC with or without Covers is the perfect solution for a wide range of flat surfaces, offering a sleek, professional look for banners of all sizes. Featuring a screw-on cover, these indoor and outdoor banner frames create an attractive border around your banner while concealing the spring/hook technology from view. These banner stretch frames tightly hold the graphic without any wrinkles or sagging, creating a sleek and polished look that will draw attention to your message or brand.
Engineered to withstand the harshest conditions, BannerFrameCLASSIC not only performs beautifully but also maintains its great appearance throughout the lifespan of your display. Vinyl change-outs are quick and easy—taking just minutes—while the entire installation process takes approximately two hours from start to finish.
Thanks to our patented spring/hook technology, traditional installation methods like grommets, tracks, cables, rods, and other hardware are no longer necessary. BannerFrameCLASSIC ensures a tight, wrinkle-free, and sag-free installation every time.
Each BannerFrameCLASSIC system is shipped in pre-measured sections, making the installation process
even easier. Simply:
- Remove the sections from the box.
- Secure the sections onto the surface.
- Attach your banner to the patented spring tips.
- (Optional) Secure the BannerFrame Cover Sections over the base channels for a polished, professional finish.
It’s that easy to get a high-quality, lasting indoor and outdoor banner frame installation with BannerFrameCLASSIC!
If you’re looking for the best way to display your business or organization’s banners with professionalism and style, trust Lind SignSpring for the solution. Get a quote today to learn how we can help you turn your plain signage into an eye-catching marketing piece.
Vinyl banners are sold separately.
SignSpring is the best fabric graphic
installation system on earth!
BannerFrameCLASSIC offers a hassle-free, direct-from-box installation experience. No need for complicated setup or extra prep work—simply unpack the pre-measured sections, grab your basic tools (preferably a cordless drill, attachment hardware, level, tape measure), and you're ready to install. With just a drill and a few simple tools, you can have your sign mounted securely on any surface, whether it's brick, wood, stucco, or metal. The easy, intuitive process ensures you can quickly and efficiently get your signage up and running, saving you both time and effort on the job.
And, should you need any assistance, 24/7 support is available to ensure your installation goes smoothly from start to finish. Whether you're a first-time user or a seasoned pro, our team is ready to provide expert guidance whenever you need it.
BannerFrameCLASSIC is compatible with all types of vinyl, though for optimal performance, we recommend using a lighter-weight vinyl such as a 7 oz. This ensures a smooth, tight fit and enhances the overall appearance of your sign.
For projects above 100 sq ft, especially when using Covers with the BannerFrameCLASSIC system, it's best to choose a mesh vinyl. The mesh allows for proper airflow, helping to prevent damage from wind and weather, and ensures long-lasting durability for larger installations.
Step 1
Install base channels

Step 2
Begin with the Top Left corner- springing across the entire top to the Top Right corner, followed by Bottom Left and Bottom Right corners.

Step 3
After the top springs are in and the bottom two corners, insert the remaining springs along the system's perimeter.
- Insert springs straight down or across to the dashed lines on the banner.
- Keep springs straight to ensure a taut, wrinkle-free banner
Step 4
Peel off all film and start with the Top 1 cover section.
- Secure with ½” self-tap screws into the top predrilled holes.
Step 5
Attach remainder of cover sections- sections are labeled specific to the base channel they align with.
- Ensure Top and Bottom Cover Sections are overlapping the side cover sections in each corner.

Step 6
Once cover sections are on, add the seam covers.
- Slide bottom lip under, then gently lift the seam cover to fit it in place.


