Installation was easy. With help from my wife and children, we had it installed on a Sunday afternoon.
Ryan Lenger
Lenger Racing, Grand Rapids, MI

Our Client was Super Happy with our Lind BannerFrame Installation!
Marie Fair
FASTSIGNS, Huber Heights, OH
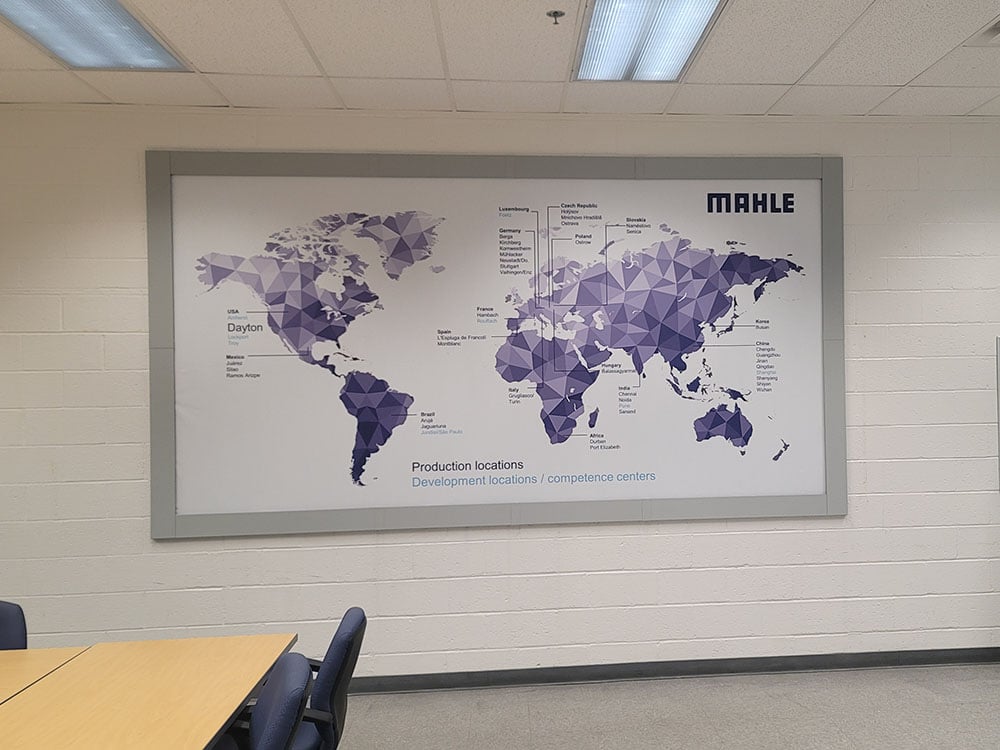
Our client was incredibly pleased. Big thanks to SignSpring for another successful project!
Ronny Skipper
Seiz Signs, Hot Springs, AR
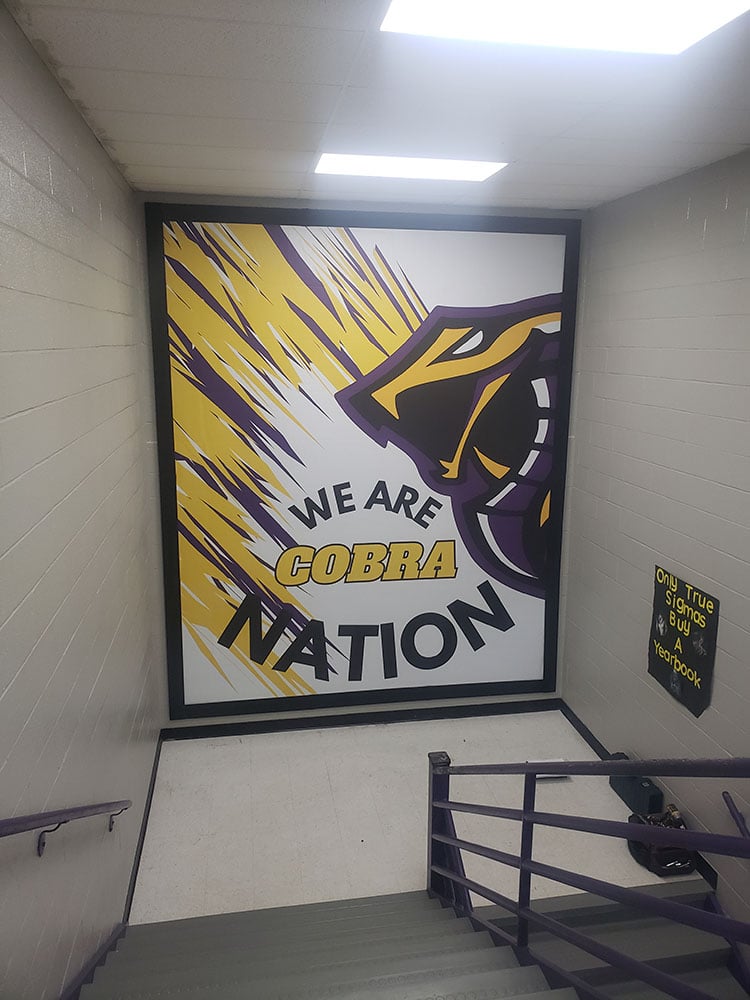
Our installer said SignSpring is the easiest installation and banner system he’s worked with...
Riley Ward
Project Manager, Impact Banners & Signs
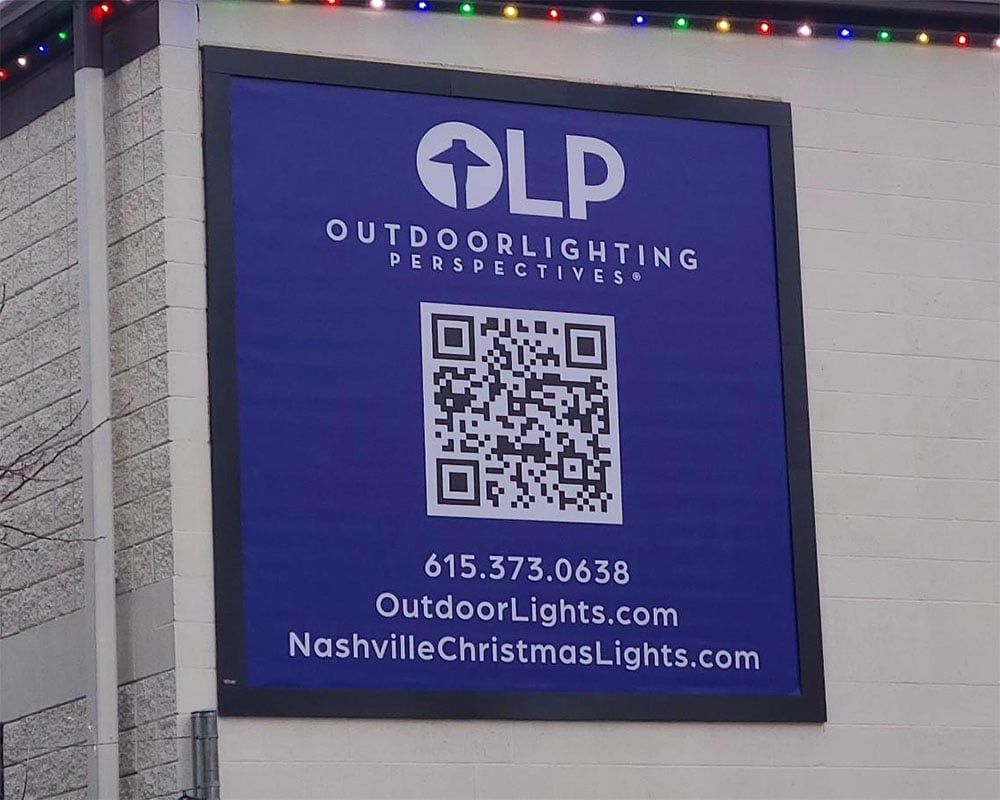
Lind SignSpring knocked this one out of the park for us at Beaver Stadium.
Mike Conkey
SC Vinyl
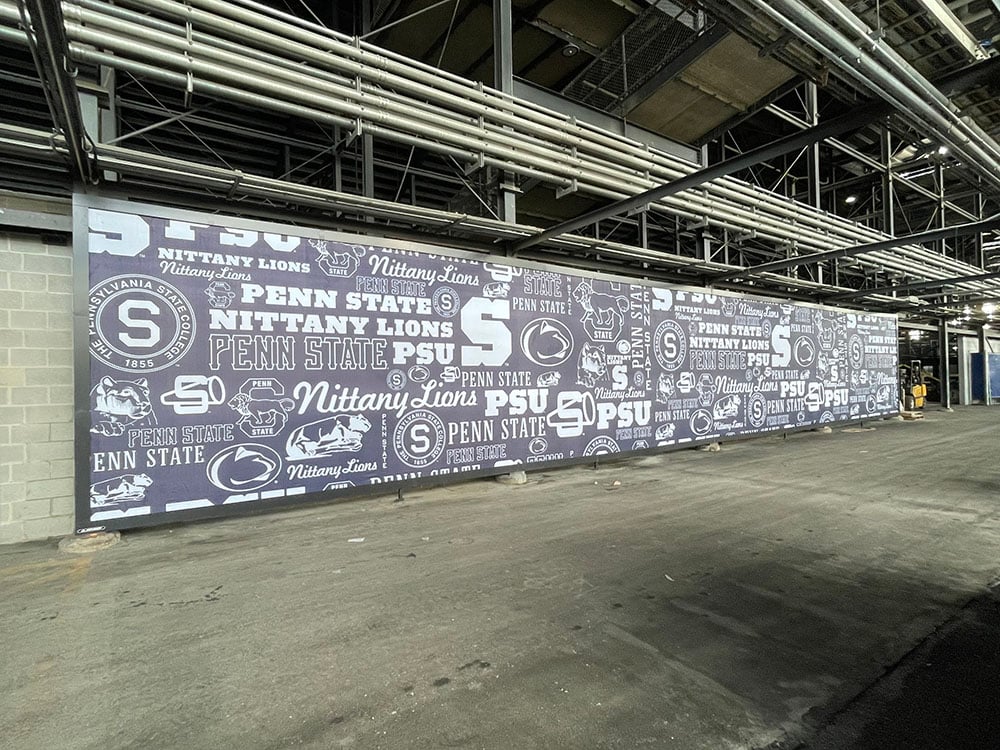
Our customer simply said, 'AWESOME!!' The Lind SignSpring system delivered as expected!
Kelby Ayres
Aryes Sign Co., Branson, MO
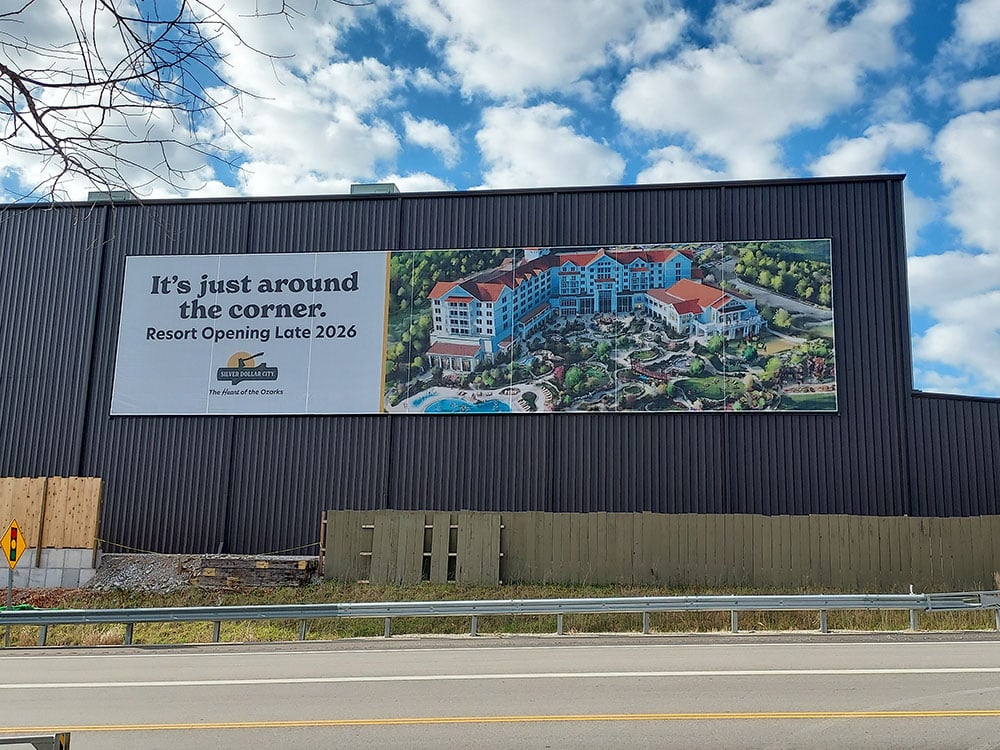
Lind SignSpring was fantastic to work with throughout the entire process.
Joe Moore
Elite Signs, LLC, Vienna, WV
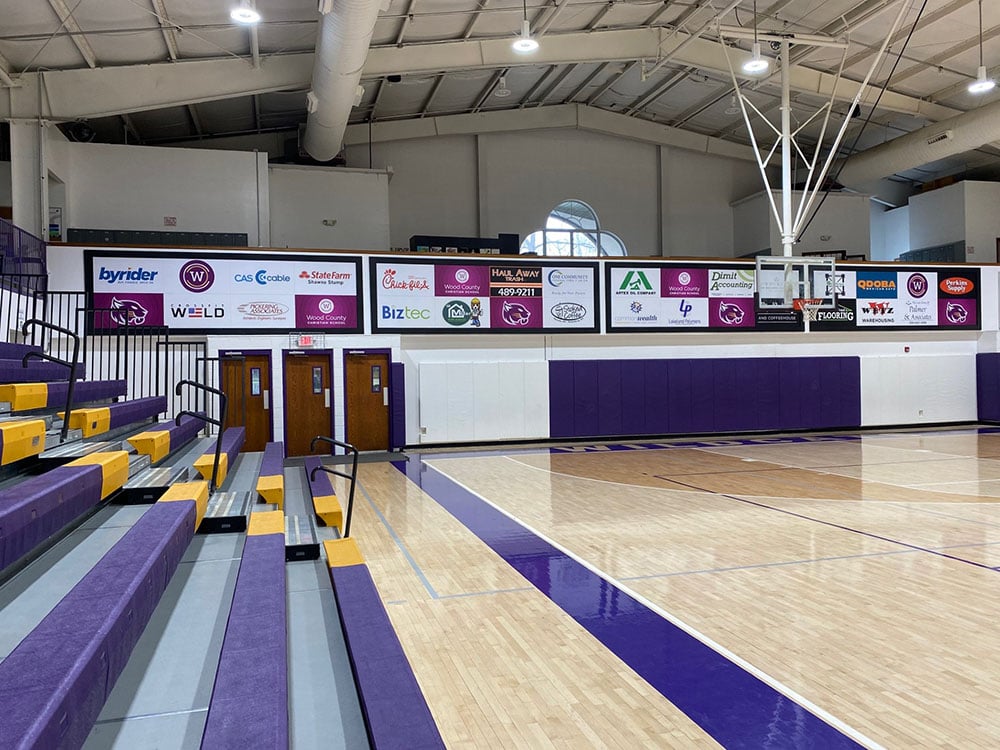
Everything about Lind SignSpring was great! The ordering, the customer service, and the product!
MaryBeth Nagy
Image360, Lauderhill FL
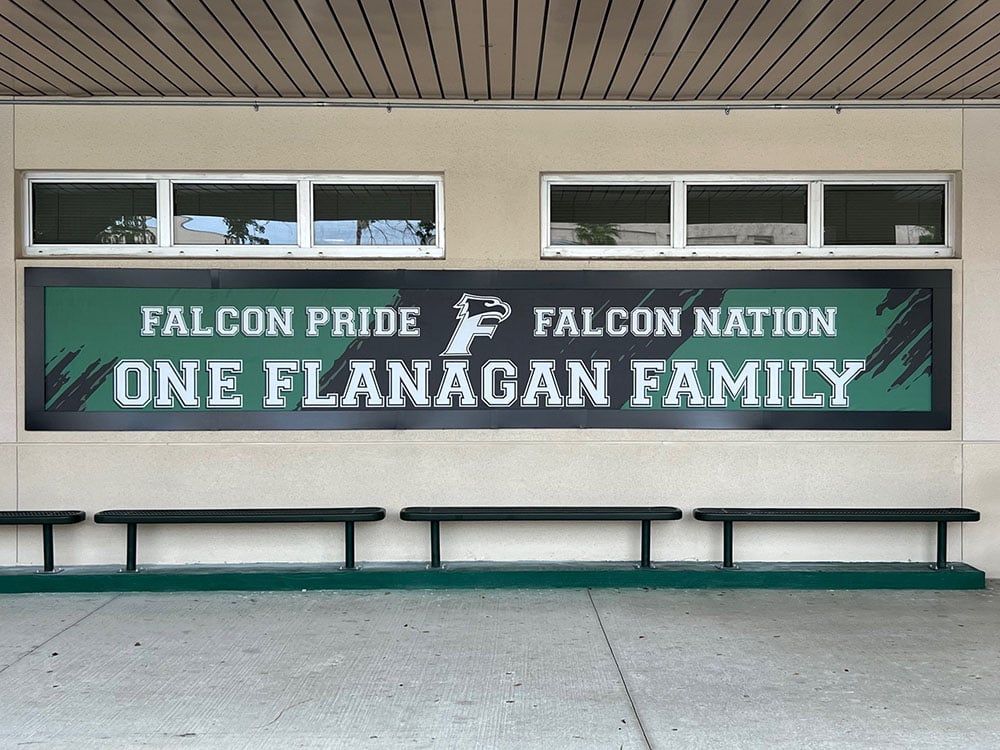
As advertised, it went up exceptionally easy and looks fantastic. SignSpring customer service and support were excellent!
Josh Palmer
VitalSigns, Webster, NY
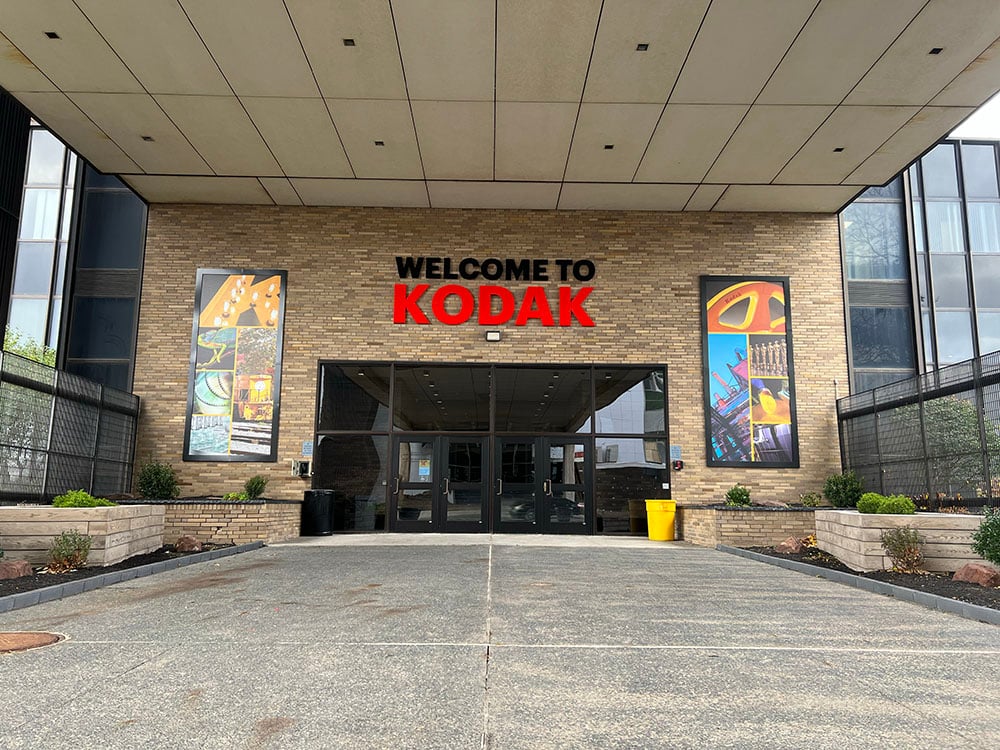
My client is happy, my installers were happy and I am too!
Christie David
Paragon Printing
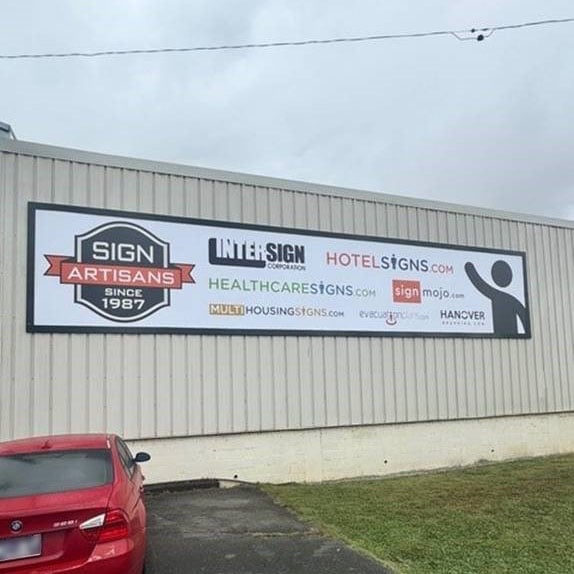
Lind SignSpring far exceeded our expectations!
Mark Elliott
Northwest Passage, Webster, Wisconsin
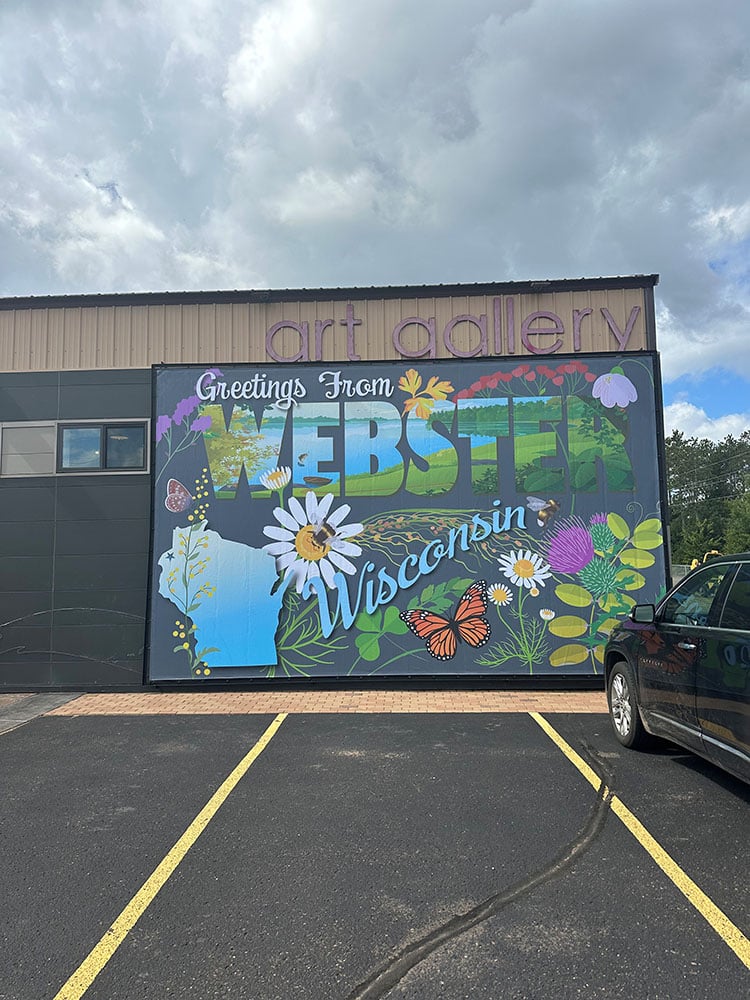
We are so grateful we discovered LSG, because you have provided us with signage solutions that work in so many situations!
Travis Doseck
Stars & Stripes Graphix LLC, St Mary's, OH
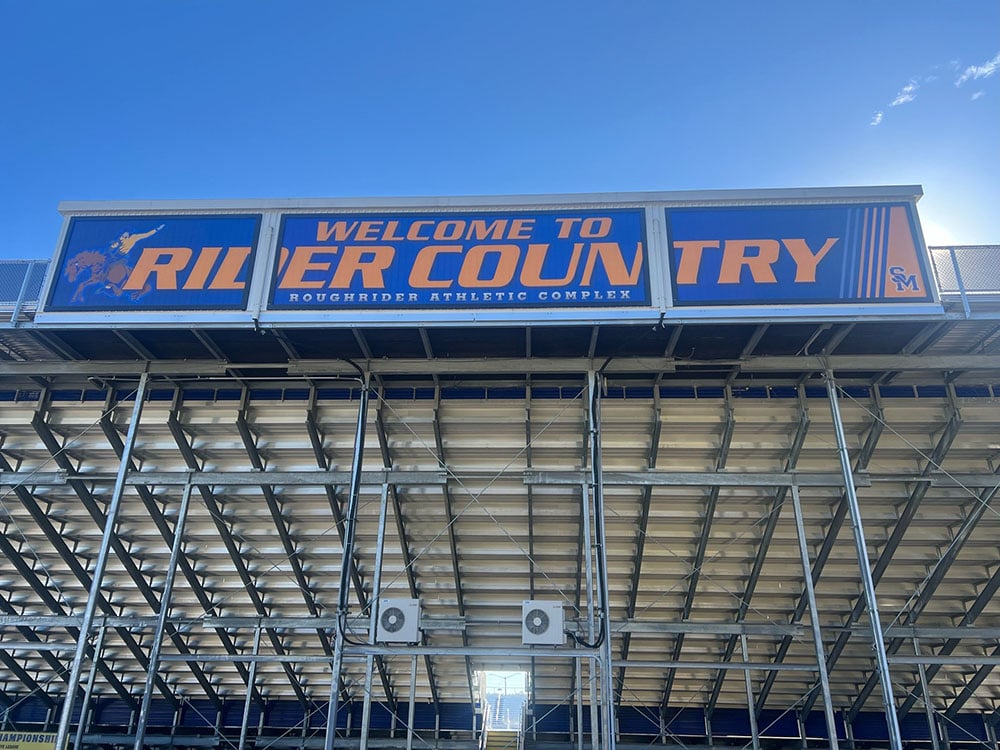
Install went Great! We printed to your simple specs and it worked perfectly!
Rodney Drew
Lindmark Ink, Norman, OK
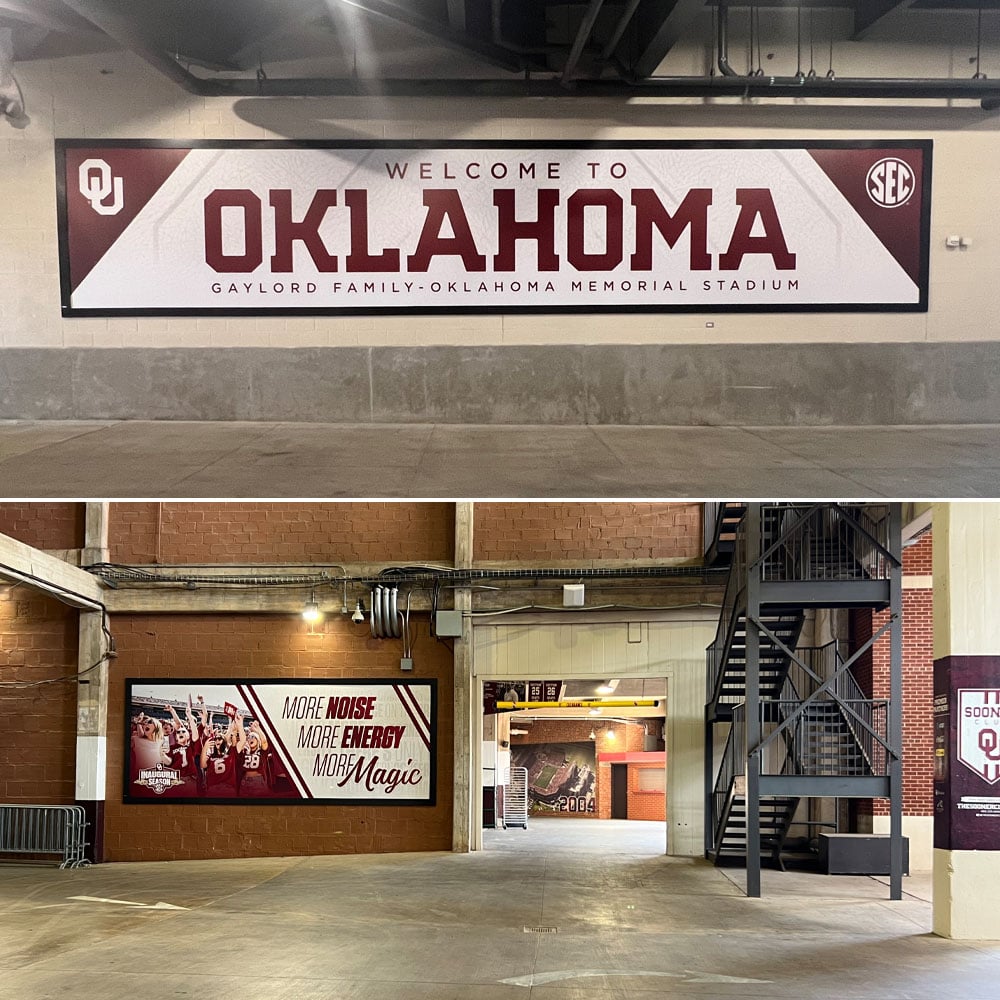
Lind SignSpring is Amazing! We are thrilled with how they turned out. Our Client is really thrilled!
Eric Wolfe
Ideation Orange, Hazel Park, MI
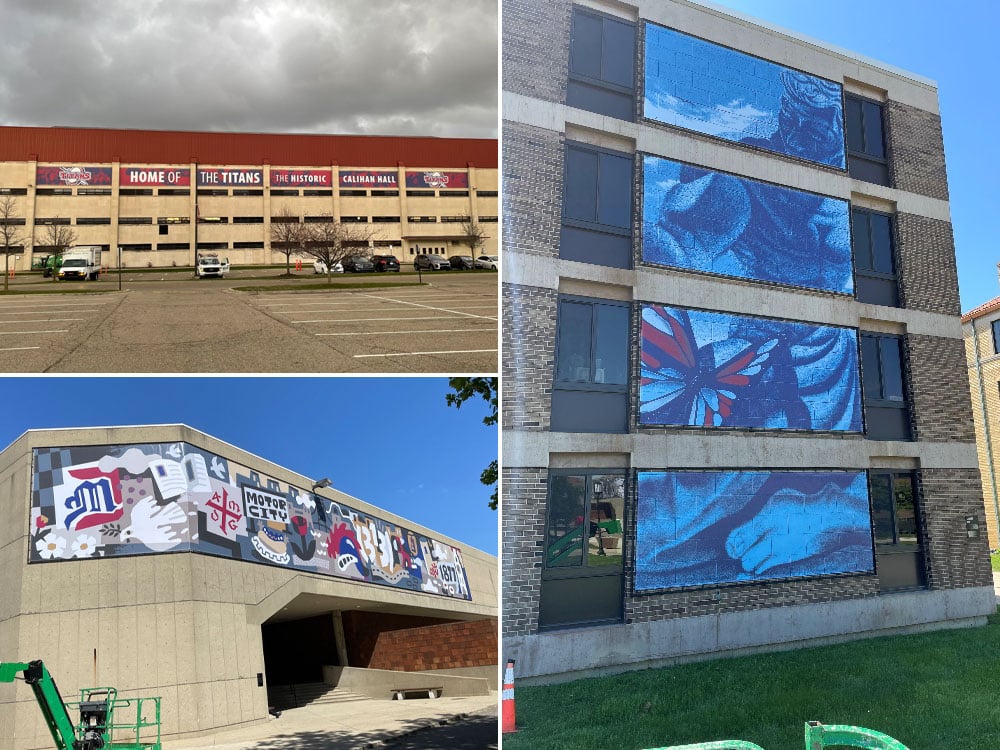
Our advice for other sign companies: “Quit turning your metal building into swiss cheese and use Lind SignSpring!”
Brandon Hall
Lewis Signs, Buda, Texas
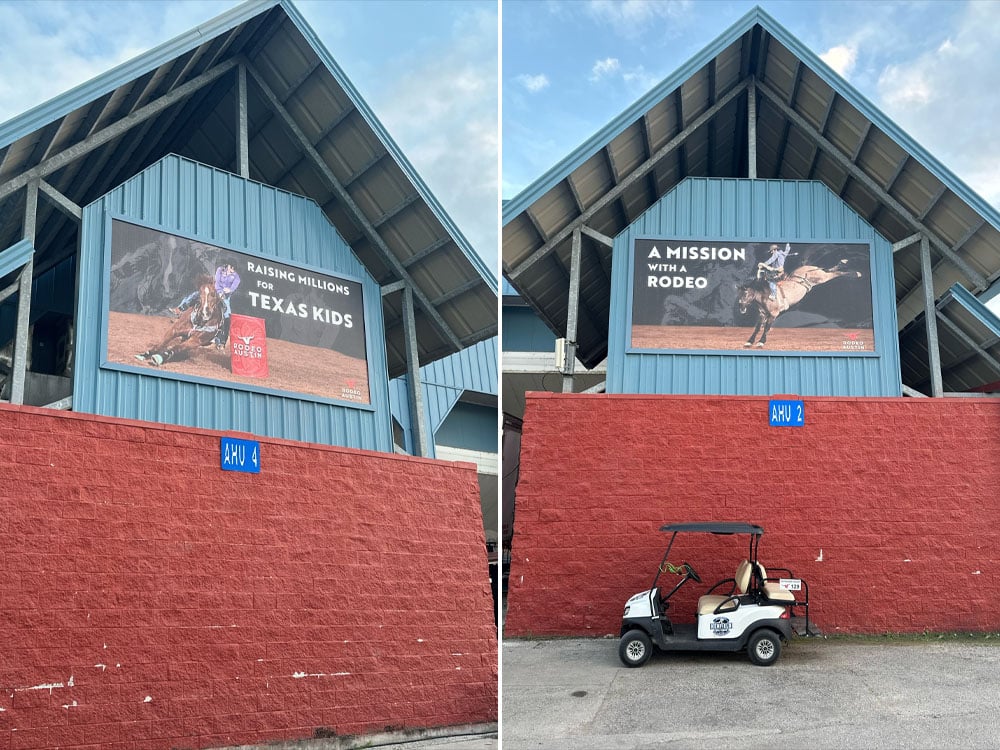
Working with Lind SignSpring was a game-changer! Their ground-breaking system made installation incredibly efficient—cutting our install time in half. The customizable design not only made setup simple, but also ensured the banner was perfectly stretched and professional-looking. We couldn’t be more pleased with the results and the support we received. Lind SignSpring has truly elevated the way we approach large-format installs.
Aaron Garman All Seasons Signs
Joplin, MO
-1.jpeg)
SignSpring for Banner, Sign, and Fabric Graphic Industries
The Lind SignSpring fabric installation system offers a highly efficient and durable solution for displaying graphics, particularly fabric banners, without the need for traditional hardware like grommets, cables, tracks, or clips. Using innovative Spring and Hook technology, SignSpring ensures that graphics are displayed with constant, even tension, preventing wrinkles, sagging, or damage. This creates a smooth, professional finish that’s both durable and permanent, while also allowing for easy graphic change-outs.
Whether your display period is a few weeks or several years, the system provides a simple, clean installation process, similar to setting up a trampoline. Developed and tested in the harsh conditions of the Great Lakes, SignSpring has proven its reliability for a range of applications—from small P-O-P banners to large urban wallscapes and billboards. It offers an unmatched, hassle-free technique for vinyl graphic installation, ensuring tight, wrinkle-free, and sag-free displays every time.
SignSpring for the Outdoor Advertising Industry
Lind SignSpring products offer the simplest, most durable, and flawless installation method for outdoor billboards and bulletins, ranging from standard 30-sheets and 8-sheets to large, multistory wallscapes.
The PosterSpring and BannerSpring systems utilize patented spring and hook technology, made entirely of 100% stainless steel. These systems eliminate the need for pulleys, plastic components, cables, clips, gripper bars, or pockets, making installation both quick and efficient. A single sheet poster can be installed in 10 minutes or less, and with no preparation required, PE posters and vinyls can go directly from the shipping box to the billboard. The springs, which are cleverly hidden under the molding, hold the poster tight to the face of the billboard, preventing any wind ripple, sag, or wrinkles.
The system also minimizes cuts and protrusions in the poster, making it easy to rotate graphics and extend their lifespan in the market, resulting in cost savings that can be passed on to clients.
SignSpring is the best fabric graphic
installation system on earth!
SignSpring Updates in Your Inbox
Our Affiliations
